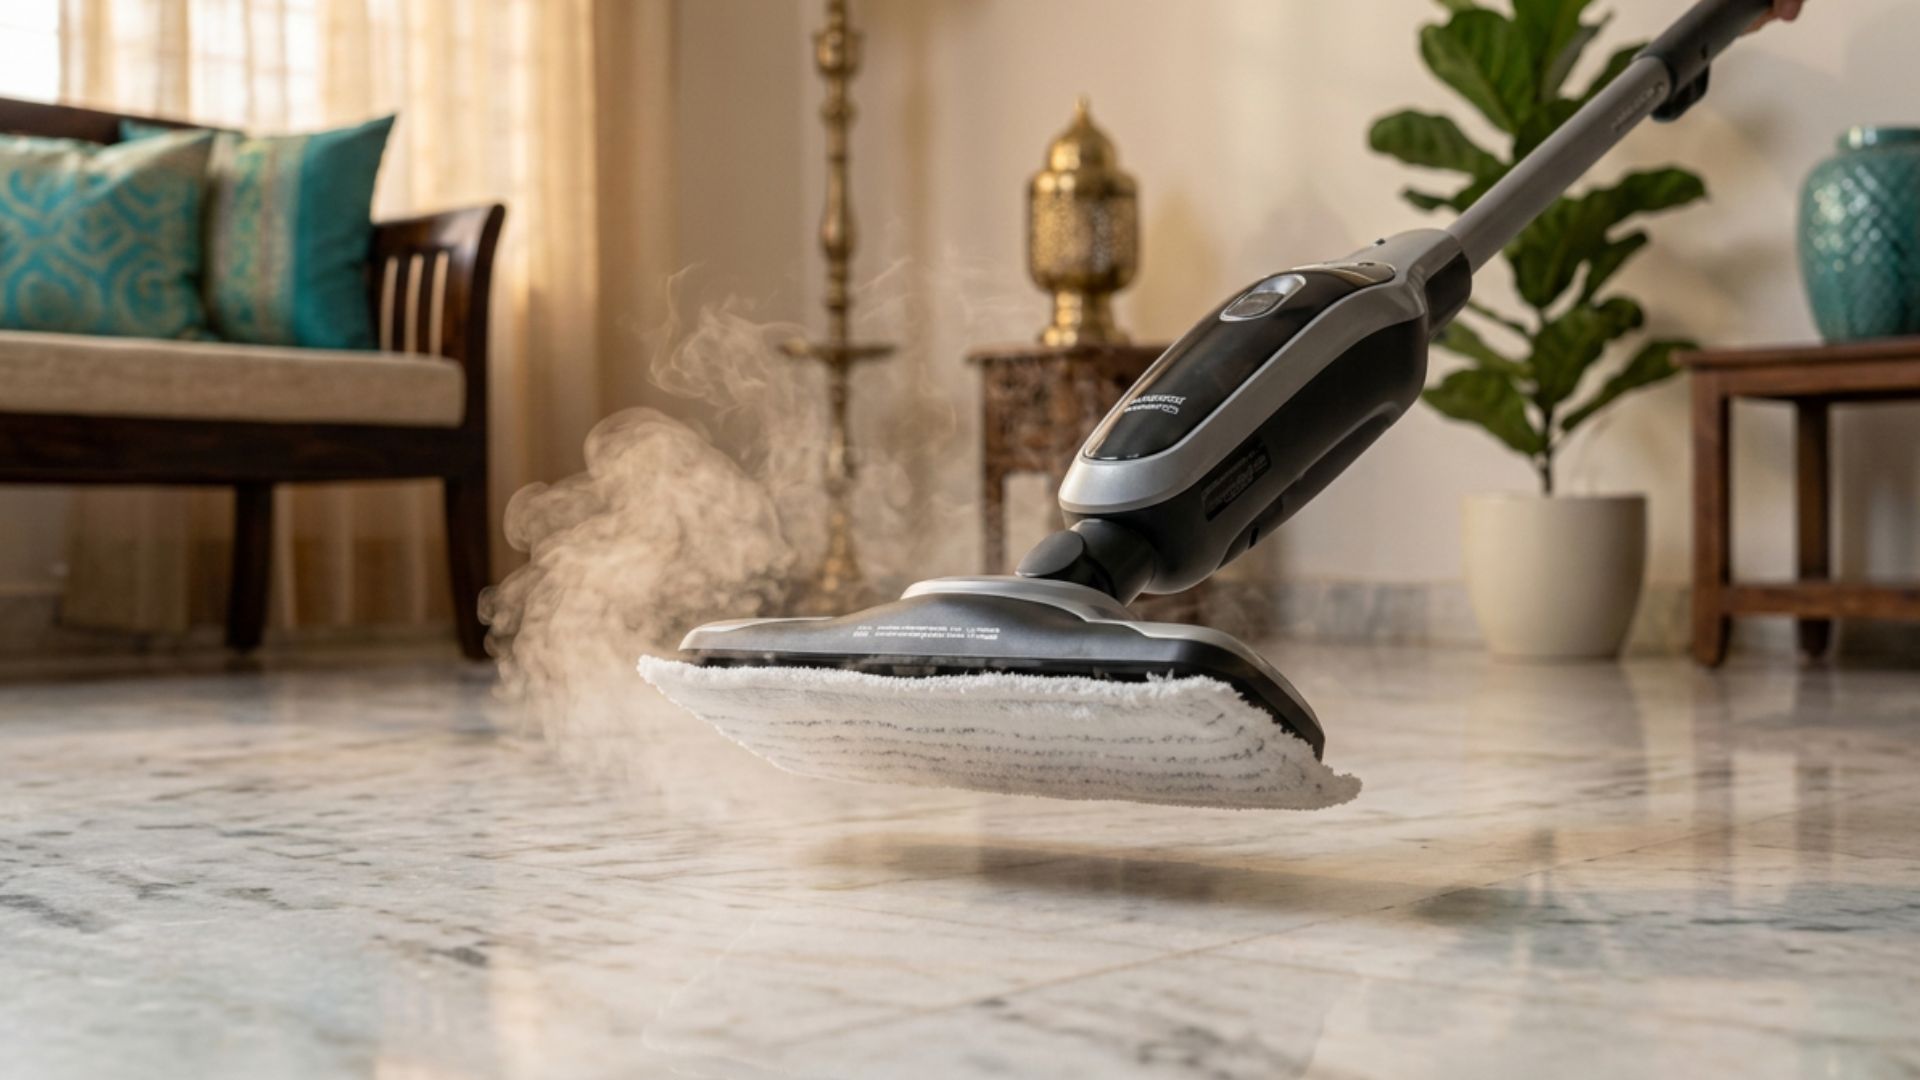

Sealing hardwood floors is one of the best things you can do to protect your investment. I’ve seen floors go from dull and scratched to looking brand new after a proper seal job.
This guide walks you through everything, tools, sealant types, step-by-step instructions, and mistakes to avoid.
Whether you’re sealing for the first time or resealing worn-out floors, I’ve got you covered.
With over a decade of hands-on floor care experience, I’ll help you get it right the first time. No guesswork.
Just clear, simple steps.
Overview of Sealing Hardwood Floors

Sealing hardwood floors means applying a protective layer on top of the wood to block moisture, dirt, and daily wear from getting into the wood fibers. Without it, wood absorbs moisture quickly and gets damaged over time.
A good seal keeps floors looking clean longer, makes maintenance easier, and cuts down on repair costs. New floors should always be sealed before use.
For older floors, reseal when the finish looks dull or worn, when water stops beading on the surface, or when you notice dry patches and visible scratches. Catching these signs early saves you from a costly full refinish job.
Tools and Materials Needed for Sealing

Get the right tools before you start this saves time and avoids mid-project problems.
Important Tools Checklist
You’ll need
- Floor buffer or hand sander
- Vacuum and tack cloths
- Painter’s tape
- Applicator pad or lambswool applicator
- Stirring stick
Types of Sealants You’ll Need
Pick one based on your floor type and usage. Options include water-based polyurethane, oil-based polyurethane, penetrating oil, and hardwax oil. More on these below.
Safety Gear for DIY Projects
Always wear
- Gloves
- Safety goggles
- A respirator mask (especially with oil-based products)
- Old clothes you don’t mind ruining
How to Seal Hardwood Floors Properly at Home
Follow these simple steps to seal your hardwood floors the right way and make them last longer.
Step 1 – Prepare the Room and Floor
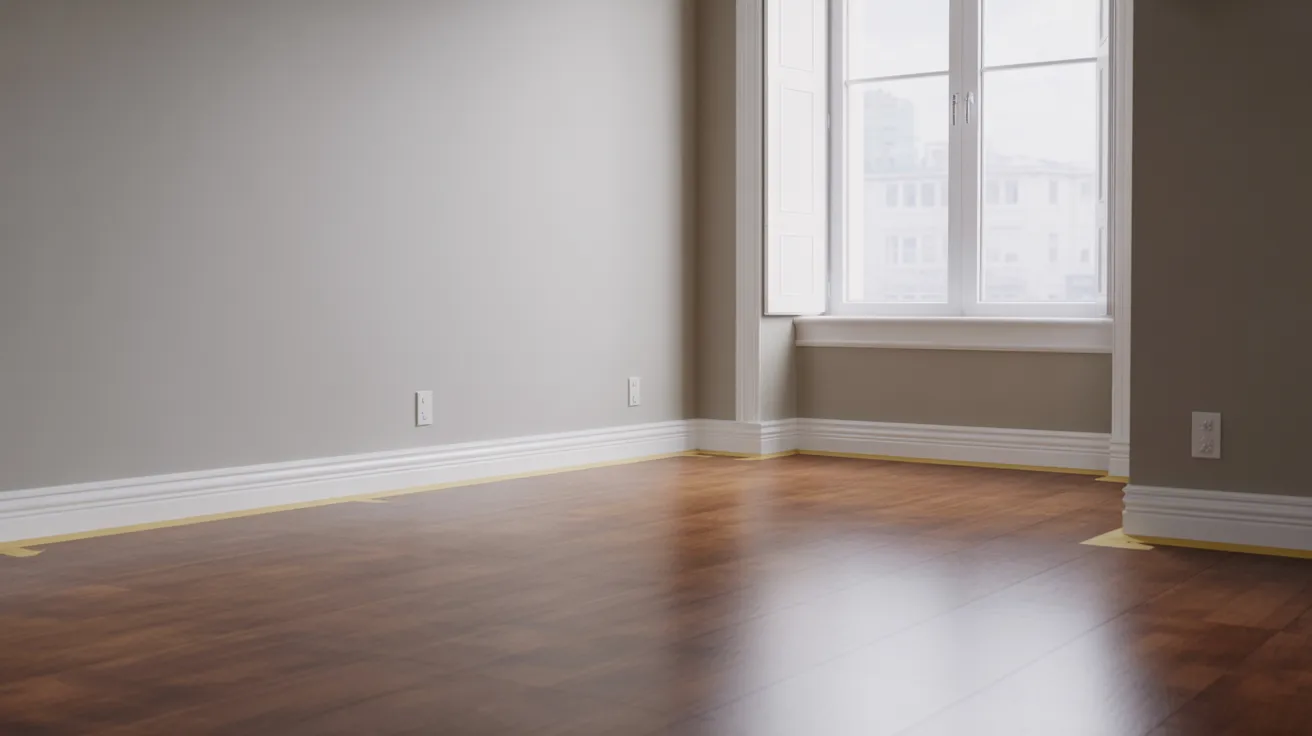
Clear all furniture from the room. Remove rugs, door mats, and anything sitting on the floor. Open windows for airflow. Tape off baseboards with painter’s tape to protect them.
Step 2 – Repair Cracks and Sand the Surface

Fill small cracks with wood filler and let it dry fully. Then sand the entire floor using a floor sander. Sand along the grain, not against it. Start with a medium grit, then finish with a fine grit for a smooth surface.
Step 3 – Clean Dust and Debris Thoroughly
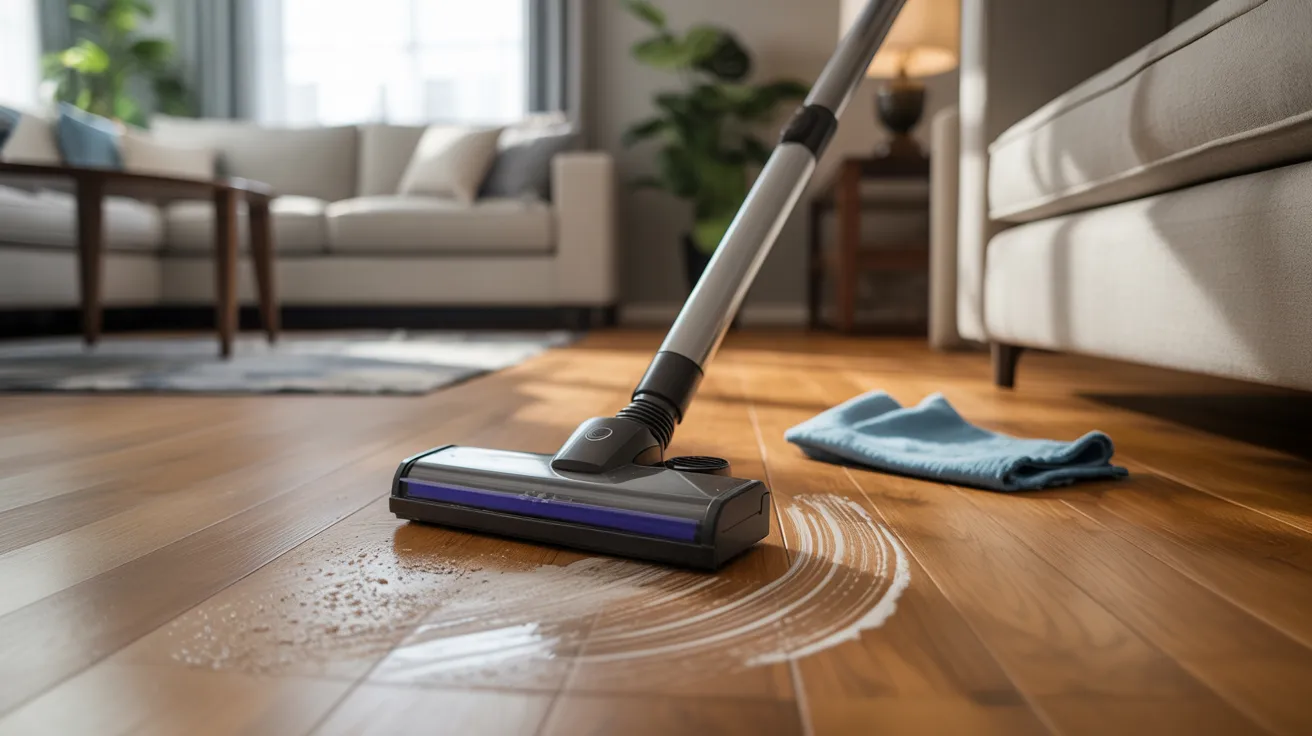
Vacuum the floor twice. Then wipe it down with a tack cloth to catch any fine dust. Even small dust particles can ruin the finish. Don’t skip this step.
Step 4 – Apply the Sealant Evenly
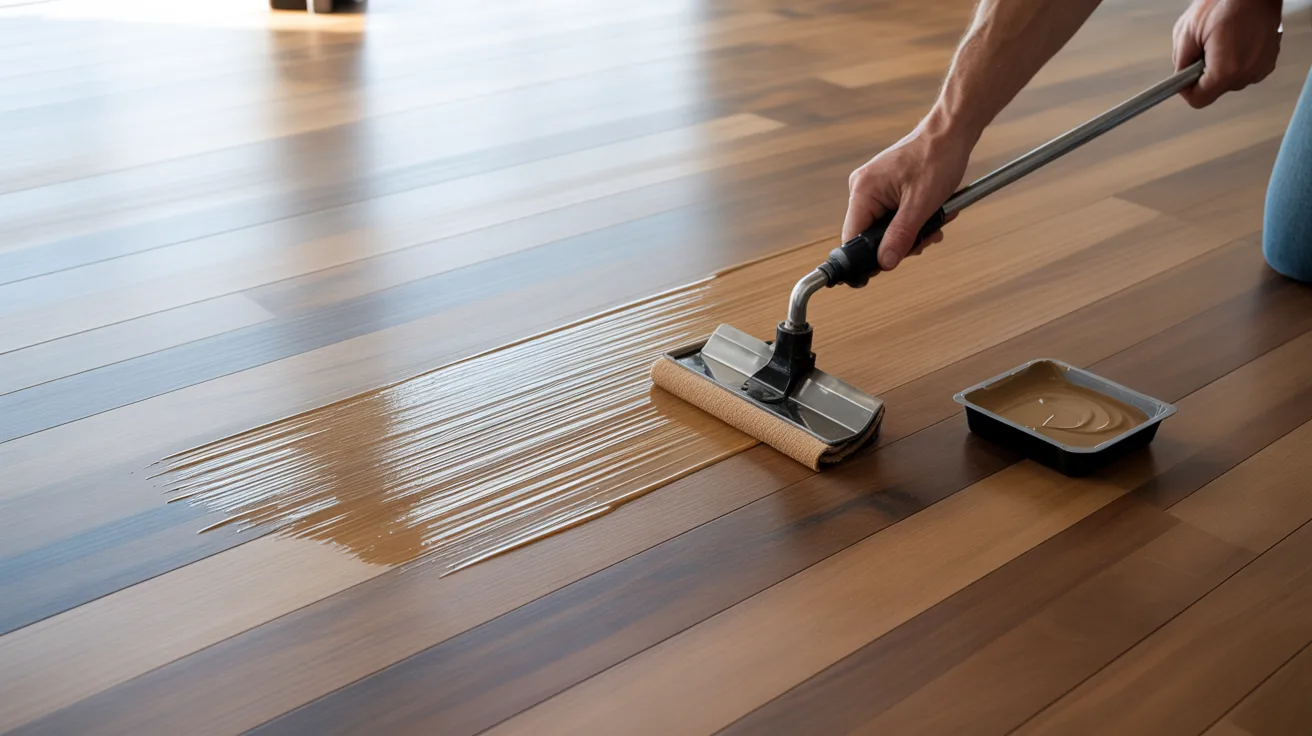
Pour a small amount of sealant onto the floor. Use an applicator pad to spread it in long, smooth strokes. Work from the far corner toward the door. Don’t go back over wet areas that create streaks.
Step 5 – Allow Proper Drying and Curing
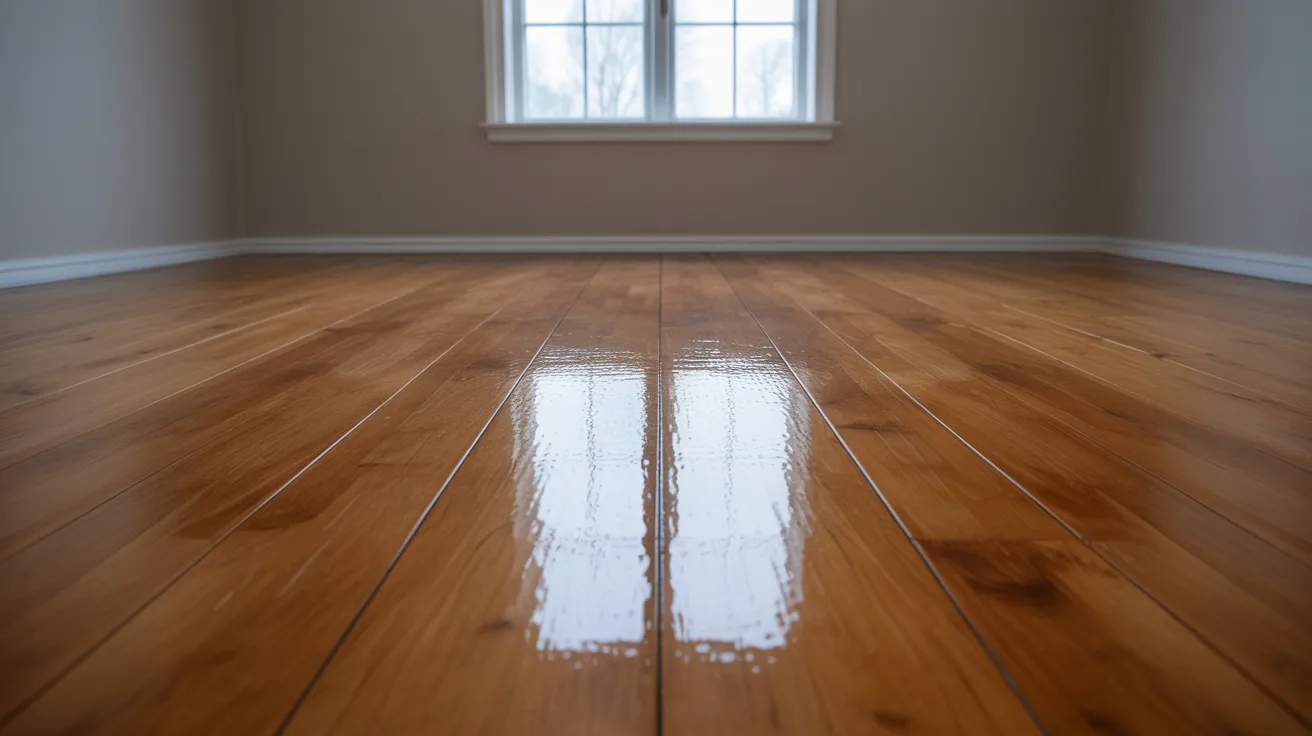
Let the first coat dry fully. Water-based products dry in 2-4 hours. Oil-based products need at least 8 hours. Do not walk on the floor during this time.
Step 6 – Screen and Apply Additional Coats
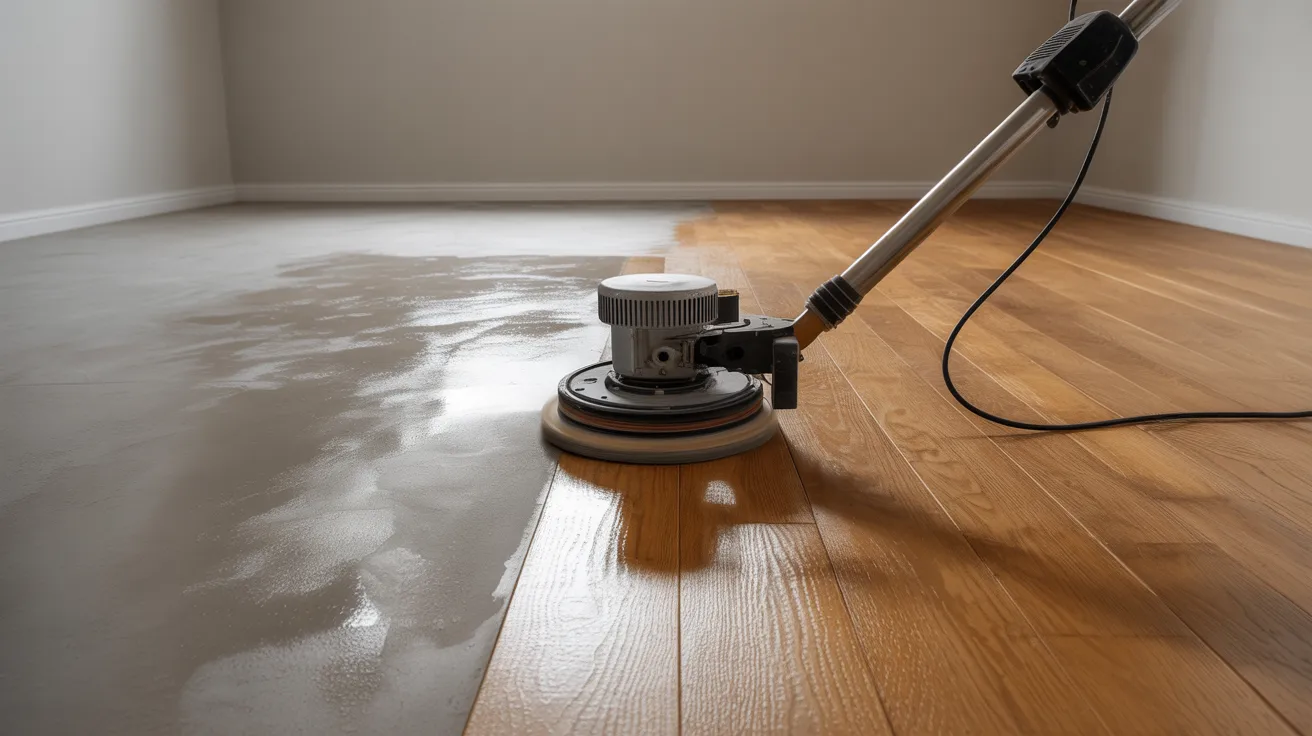
Lightly screen (buff) the floor between coats using a fine screen pad. This helps the next coat bond well.
Apply 2-3 coats total for best results. Let the final coat cure for 24-72 hours before placing furniture back.
Types of Hardwood Floor Sealants Explained

Each sealant type has its pros and cons knowing the difference helps you choose wisely.
Water-Based Polyurethane
This dries fast and has a low odor. It gives a clear finish that doesn’t yellow over time. Great for lighter wood floors. Needs more coats than oil-based options.
Oil-Based Polyurethane
This is more durable and gives a warm, amber tone to wood. It takes longer to dry and has a strong smell. It’s a solid pick for high-traffic areas.
Penetrating Oil Sealers
These soak into the wood rather than sitting on top. They give a natural, matte look. They’re easier to spot-repair but need more frequent reapplication.
Hardwax Oil Finishes
These combine oil and wax for a soft, natural finish. They’re popular in European-style homes. Easy to maintain but not as hard-wearing as polyurethane.
How to Choose the Right Sealant for Your Home
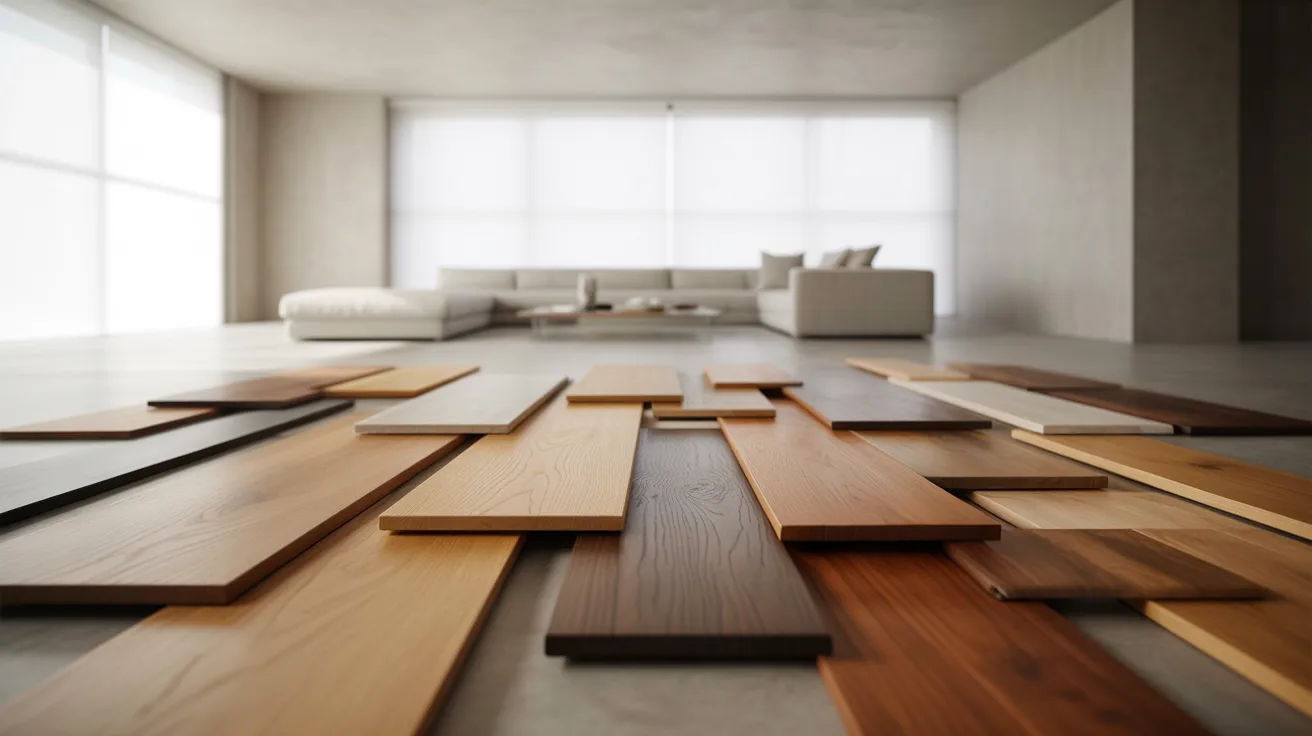
Picking the right product depends on your lifestyle, floor type, and how much upkeep you want.
Based on Foot Traffic
High-traffic areas like hallways and kitchens need oil-based or commercial-grade water-based finishes. Low-traffic rooms can use lighter options like penetrating oil.
Based on Finish and Appearance
Want a shiny floor? Go with polyurethane. Want a more natural, matte look? Try penetrating oil or hardwax oil.
Based on Maintenance Requirements
Polyurethane needs less frequent recoating. Oils and waxes need more upkeep but are easier to spot-repair without redoing the whole floor.
Common Mistakes to Avoid When Sealing Floors

Small mistakes during sealing can lead to big problems. Here’s what to watch out for.
Skipping Surface Preparation
Not sanding or cleaning the floor properly is the number one mistake. Sealant won’t stick well to a dirty or rough surface. Always prep first.
Applying Thick or Uneven Coats
Thick coats take longer to dry and often crack or peel. Apply thin, even coats and build up layers gradually.
Ignoring Drying Times
Rushing between coats leads to a tacky, uneven finish. Always follow the manufacturer’s drying time. Give each coat the time it needs.
Choosing the Wrong Sealant
Using an indoor sealant in a wet area or a light-duty finish in a busy hallway will lead to fast wear. Match the product to the space.
Maintenance Tips for Sealed Hardwood Floors
Once sealed, your floors need regular care to stay looking their best for years.
- Sweep or dry mop daily to keep grit and dust off the surface
- Always use a hardwood floor cleaner avoid steam mops or excess water
- Place felt pads under all furniture legs to prevent scratches
- Lay area rugs in busy spots like hallways and entryways
- Remove shoes before walking on sealed floors when possible
- Recoat every 3-5 years and reseal fully when bare wood starts showing through
Conclusion
I hope this guide makes sealing hardwood floors feel less intimidating. I remember the first time I did it. I was nervous I would ruin the floor.
But with the right prep and patience, it turned out great. Your floors are worth the effort. Take it one step at a time, follow the process, and don’t rush the drying.
It always pays off in the end. If this helped you, leave a comment below and share it with someone who needs it.
Check out our other floor care guides too!
Frequently Asked Questions
How long does it take to seal hardwood floors?
The process usually takes 1-3 days depending on the number of coats. Each coat needs time to dry before the next one goes on.
Can I walk on floors after sealing?
Light foot traffic is usually fine after 24 hours. Full furniture placement should wait 48-72 hours after the final coat.
How many coats of sealant do hardwood floors need?
Most floors need 2-3 coats. High-traffic areas may benefit from 3 coats for added durability and protection.
Do I need to sand before resealing?
Yes. Light sanding or screening between coats helps the new layer bond properly. Always clean after sanding before applying the next coat.
How often should hardwood floors be resealed?
Most floors need resealing every 3-5 years. Floors in busy areas may need it sooner if the finish shows visible wear.