
I know how frustrating it feels to look at dull, scratched hardwood floors. You want them to look good again, but sanding sounds like too much work, mess, and money.
Good news you do not always need to sand. In this guide, I will show you how to restore hardwood floors without sanding using simple, proven methods.
I have helped many homeowners bring their floors back to life without renting a sander. You will learn which method fits your floor, how to apply it, and what mistakes to skip.
How to Identify If Your Hardwood Floors Need Sanding or Not

Not every hardwood floor needs sanding. Sometimes the wood is fine and only the top finish is worn out. Look closely at your floor.
Light surface scratches, dull patches, minor scuff marks, or a tired-looking top coat are signs you can skip sanding. If water still beads on the surface, your finish is still doing its job. But some damage goes deeper.
Deep gouges, stains soaked into the wood, warped or cupping boards, or a finish that has been redone too many times all call for full sanding. Be honest about what you see before picking a method.
Restore Hardwood Floors Without Sanding
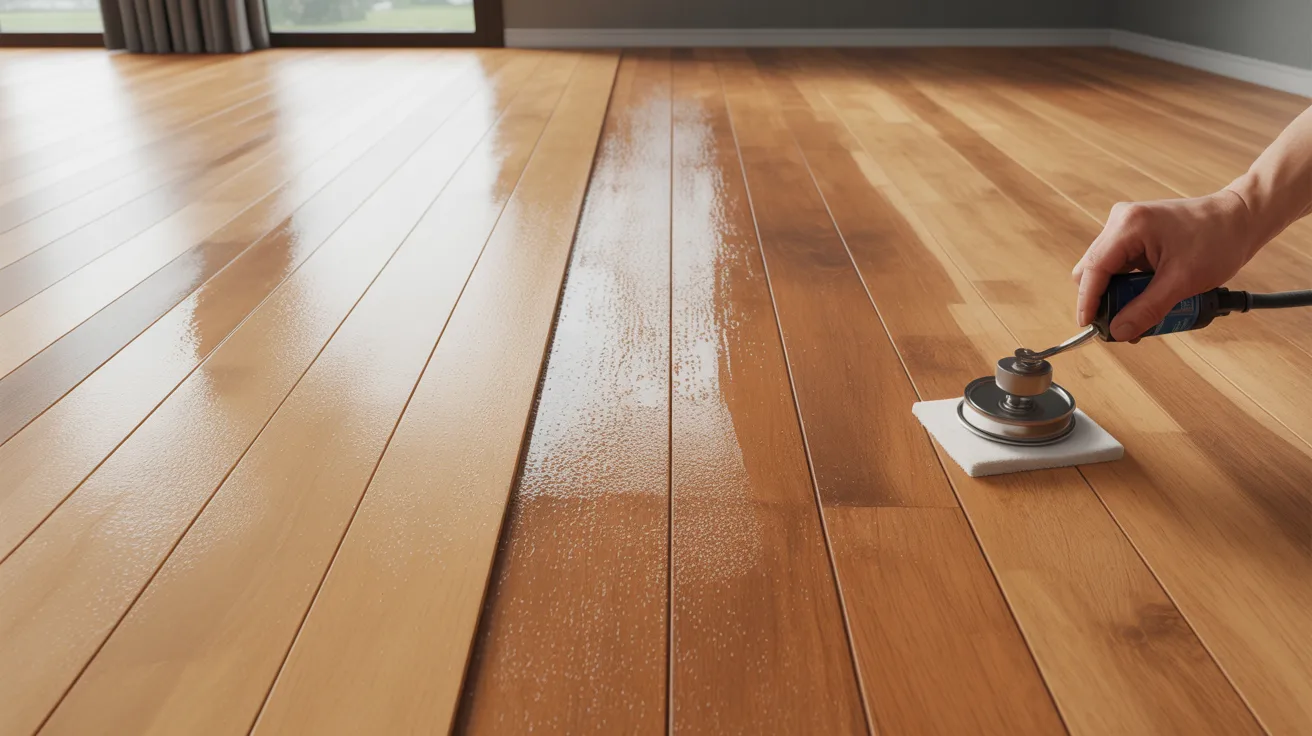
Three solid methods can bring back your floor’s look, each suited to a different level of wear.
Screening and Recoating Method for Light Wear Floors
Screening means using a fine abrasive pad to lightly scuff the old finish. This helps the new coat bond well. After screening, a fresh layer of polyurethane or water-based finish is applied.
This method works well when the finish is worn but the wood is fine. It refreshes the sheen and adds a protective layer. It is not a full refinish, but for many floors, it is more than enough.
Chemical Etching for Reapplying Finish Without Sanding
Chemical etching uses a liquid solution to lightly roughen the old finish. No abrasive pad is needed. The etching solution opens up the surface so the new finish sticks properly.
This is a good option for floors where even light sanding feels like too much. It is cleaner and faster. Always follow the product instructions and test a small area first.
Floor Restorers and Polishes for Quick Shine and Scratch Fill
Floor restorers are products you apply directly to a clean floor. They fill in fine scratches and add a fresh layer of shine. Brands like Bona or Rejuvenate are popular choices.
These are the easiest to use. No special tools needed. They work best on floors with minor wear and dullness.
Which Method Works Best for Different Floor Conditions
Here is a simple guide
Minor dullness and light scratches: Use a floor restorer or polish
Worn finish with more visible scuffs: Try chemical etching
Finish is peeling or flaking slightly: Go with screening and recoating
Pick the method that matches your floor’s actual condition.
Step-by-Step Process to Restore Hardwood Floors Without Sanding
Following the right steps makes the whole process easier and gives better results.
Cleaning and Preparing the Floor Properly
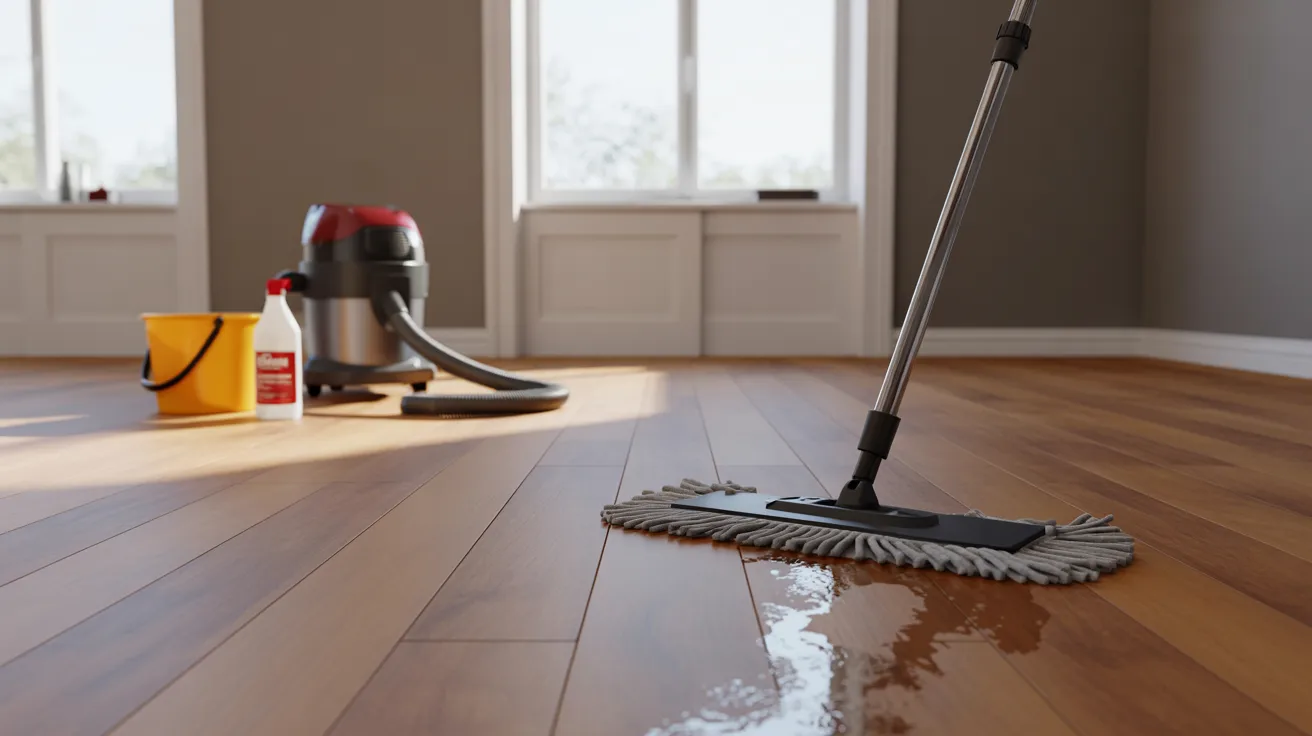
This step matters more than most people think. Any dirt, grease, or wax left on the floor will ruin your results.
- Sweep or vacuum the floor well
- Use a hardwood floor cleaner, not a general-purpose cleaner
- Wipe with a slightly damp mop, then let it dry fully
- Remove all furniture from the area
Do not skip the cleaning step. A dirty floor means a patchy, uneven finish.
Applying Polish, Coating, or Restoration Product
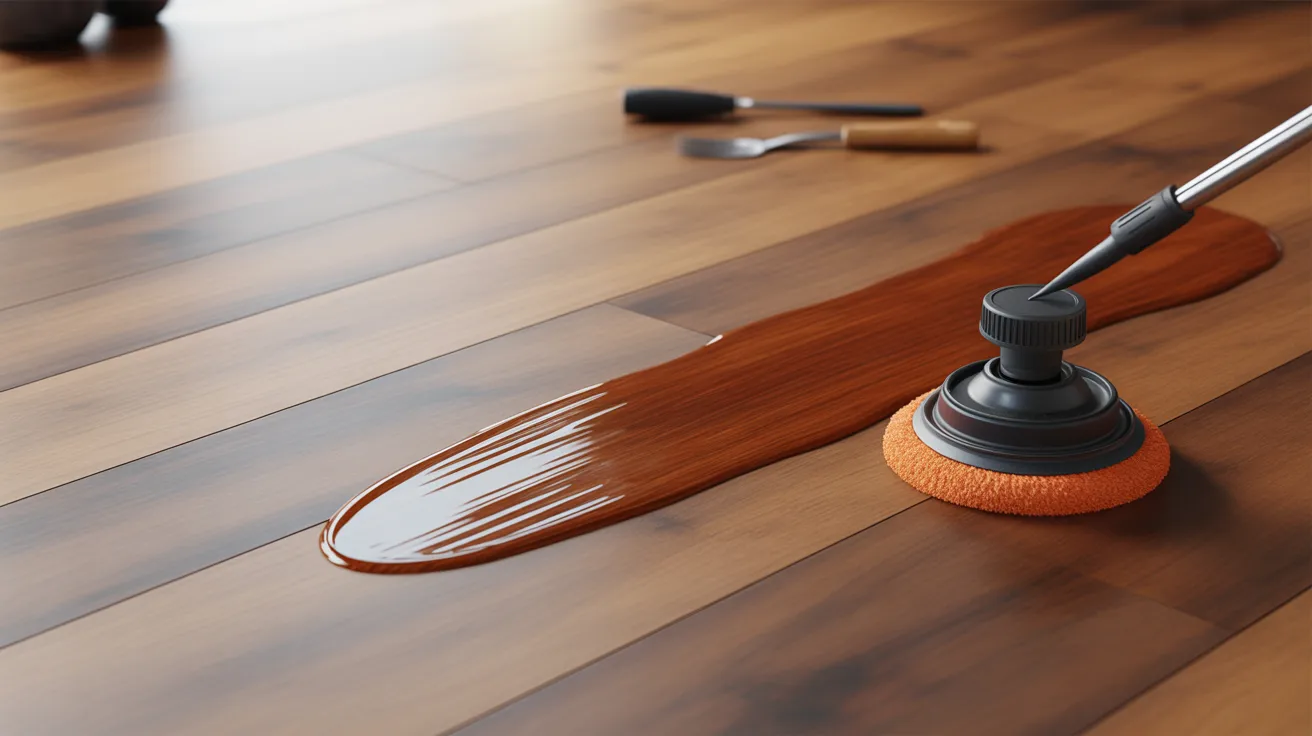
Once the floor is clean and dry
- Pour a small amount of your chosen product onto the floor
- Spread it evenly using an applicator pad or microfiber mop
- Work in small sections, moving with the wood grain
- Avoid going over the same area multiple times while wet
Keep the room well-ventilated. Open windows if possible.
Drying Time and Finishing Tips for Best Results
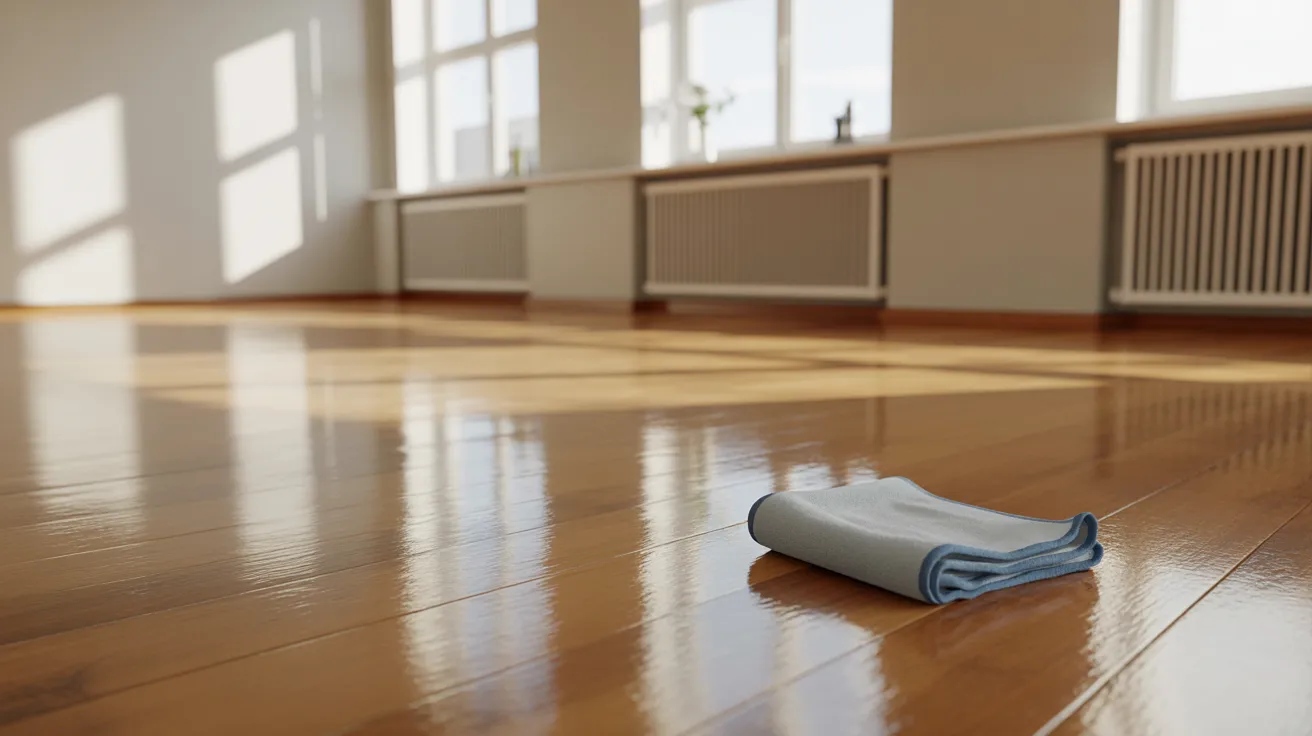
Most products need at least 1 to 2 hours to dry before foot traffic. Some need 24 hours before placing furniture back.
- Do not rush the drying process
- Keep pets and kids off the floor until fully dry
- Apply a second coat if the floor still looks uneven after drying
- Buff lightly with a dry cloth for extra shine
Pros and Cons of Restoring Hardwood Floors Without Sanding
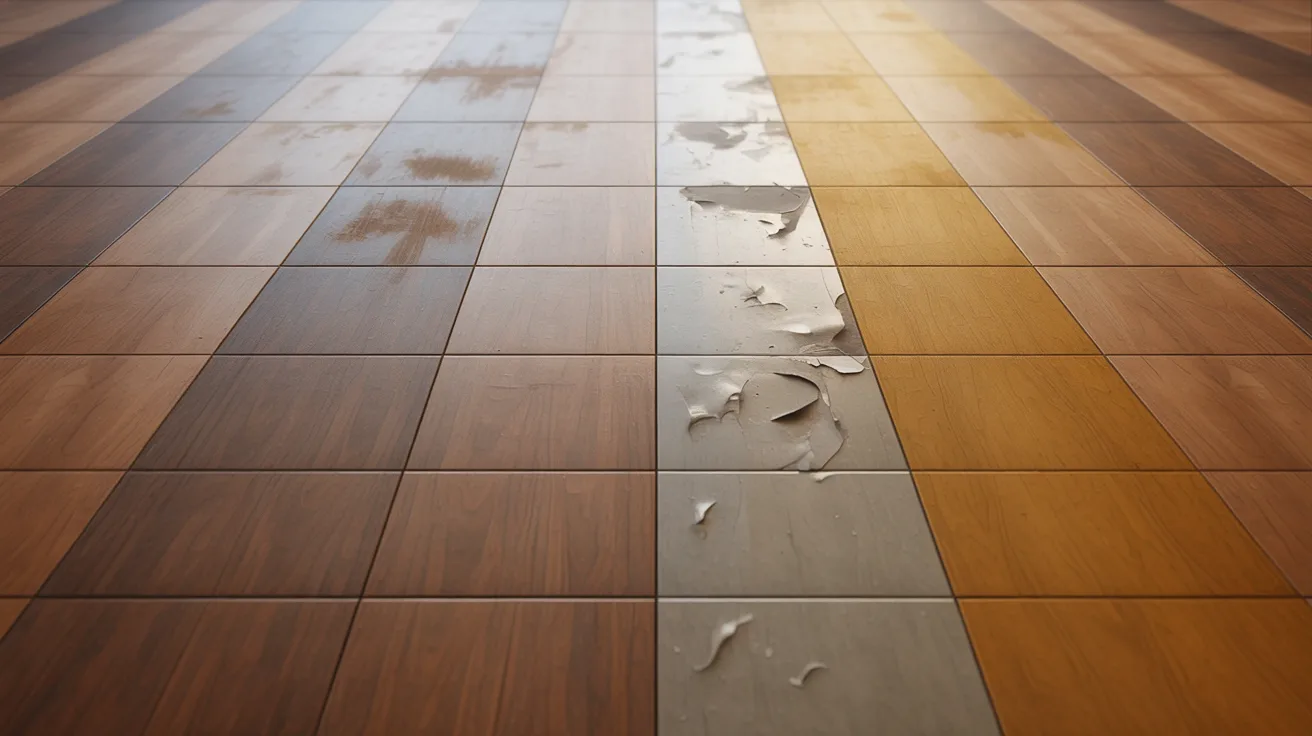
Knowing the benefits and limits helps you set the right expectations before you start.
Advantages Like Cost Savings, Speed, and Low Mess
Like Cost Savings, Speed, and Low Mess Skipping the sander saves you money, time, and a whole lot of cleanup.
- Cost: No sanding equipment to rent or hire
- Speed: Most methods take just a few hours
- Mess: No wood dust to clean up
- Convenience: You can do it yourself with basic tools
For many homeowners, this is a practical and smart choice.
Limitations Compared to Full Sanding and Refinishing
Compared to Full Sanding and Refinishing It won’t fix everything, so knowing its limits helps you make the right call.
- Cannot fix deep scratches or stains in the wood
- Results may not last as long as a full refinish
- Works best only when the existing finish is still mostly intact
- Repeated use of polish can build up and make floors look cloudy
Know what the method can and cannot do.
Common Mistakes to Avoid When Restoring Hardwood Floors Without Sanding
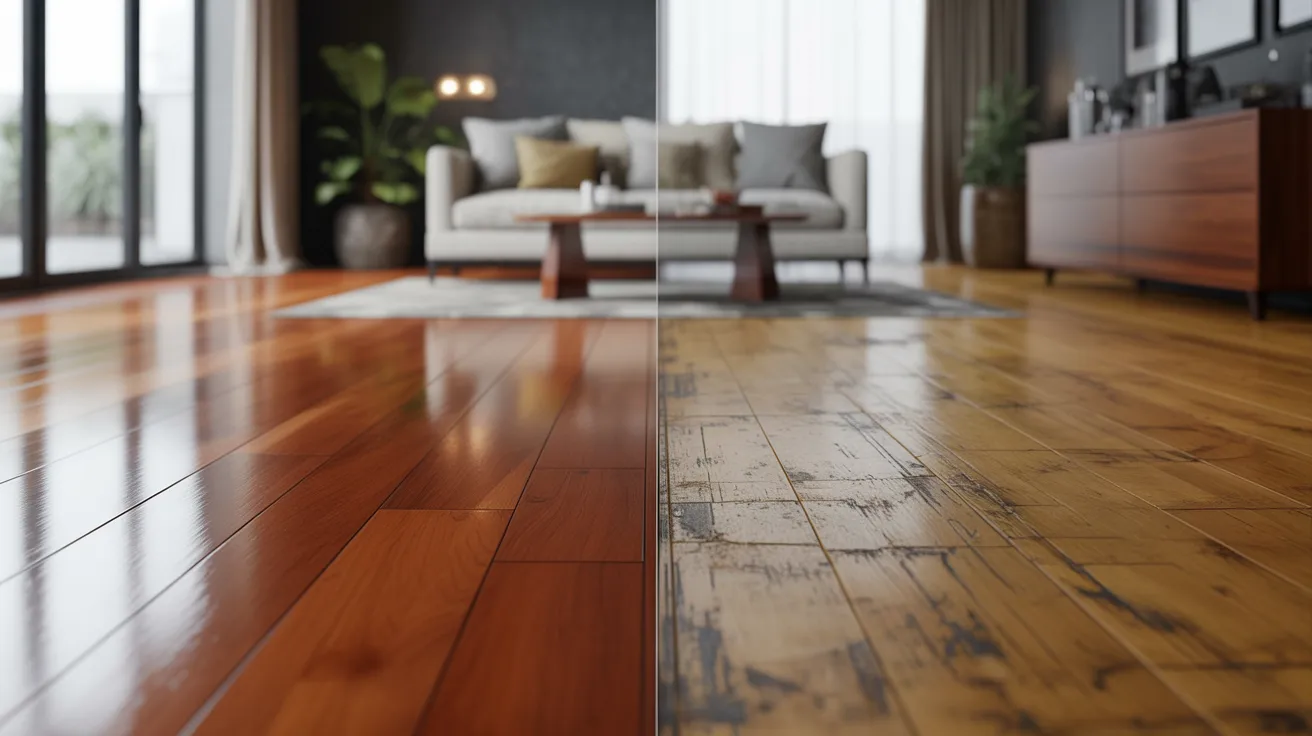
Small errors during restoration can leave your floors looking worse than before.
Using the Wrong Products for Floor Type
Not all products work on all floors. Wax-based products should not go on polyurethane-finished floors.
Water-based restorers may not work well on oil-finished wood. Always check what finish your floor already has before buying a product.
Skipping Proper Cleaning Before Application
This is the most common mistake. If you apply a restorer over dirt or grease, it will bond unevenly. You will see streaks and patches. Clean the floor well before every application.
Overusing Polish or Restorer Products
More is not better here. Applying too many coats too quickly leads to product buildup. The floor will start to look cloudy or feel sticky. One or two thin coats is usually all you need.
Maintenance Tips to Keep Hardwood Floors Looking New
Simple habits done regularly will keep your floors looking great for years.
- Sweep or vacuum at least twice a week to stop dirt from scratching the surface.
- Use a damp mop with a hardwood-safe cleaner once a week for a deeper clean.
- Wipe up spills right away since standing water can damage wood fast.
- Place felt pads under furniture legs and a doormat at every entrance.
- Avoid walking on hardwood floors with high heels and keep pet nails trimmed.
- Reapply a floor restorer every 3 to 6 months to keep the finish fresh and protected.
Conclusion
Restoring hardwood floors without sanding is very doable. I tried it myself and was honestly surprised by how good my floors looked after.
The key is knowing your floor’s condition and picking the right method for it. Clean well, choose your product carefully, and take your time.
You do not need expensive equipment or a full weekend to get great results. Your floors can look fresh again without the dust or the big cost.
Try it out and drop a comment below sharing how it went!
Frequently Asked Questions
How many times can you restore hardwood floors without sanding?
You can use no-sanding methods several times before the buildup becomes a problem. Most floors handle 3 to 5 applications well before needing a proper screen and recoat.
Can you use a floor restorer on old hardwood floors?
Yes, as long as the finish is still mostly intact. If the finish is fully worn off and bare wood is exposed, a restorer will not give good results.
How long does a no-sanding floor restoration last?
Results typically last 6 to 12 months depending on foot traffic and how well the floor is maintained after the treatment.
Is it safe to use chemical etching products at home?
Yes, most chemical etching products sold for home use are safe when used with good ventilation. Always read the label and wear gloves during application.
What is the cheapest way to restore hardwood floors without sanding?
Using a floor restorer polish is the most budget-friendly option. Products like Rejuvenate or Bona are affordable, easy to find, and simple to apply on your own.