
That grinding, dragging sound every time you close a door is enough to drive anyone up the wall.
I ignored mine for weeks before finally deciding to figure out what was actually causing it.
Turns out, knowing how to fix a door that sticks is much simpler than it looks. No contractor, no expensive tools, no guesswork. Just a few steps in the right order and the problem is gone.
But here is what surprised me most about the whole process. The real cause is almost never what you expect. Keep reading to find out.
What Causes a Door to Stick?
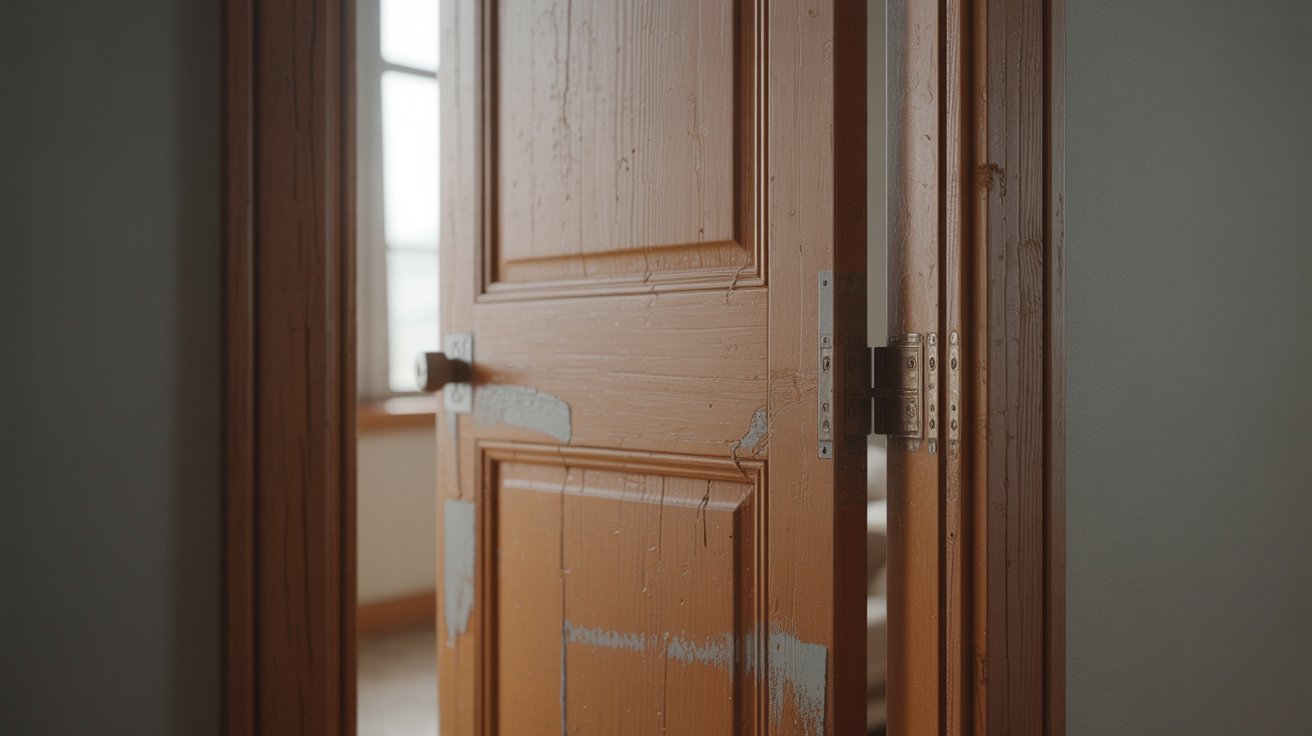
Before you fix anything, it helps to know why it is happening. The most common reason is humidity. Wood absorbs moisture from the air and swells, especially during rainy seasons or in poorly ventilated rooms.
Loose or misaligned hinges are another frequent cause. When hinges shift even slightly, the door sits differently in the frame. That small change creates friction in spots that were perfectly fine before.
Sometimes the door itself warps over time. Heat, cold, and moisture all put stress on wood. A warped door will stick no matter how well the hinges are aligned.
Paint buildup is an easy one to miss. Layers of old paint along the edges can quietly shrink the clearance between the door and the frame until the door barely closes. Identifying the actual cause first will save you a lot of trial and error.
Tools You May Need
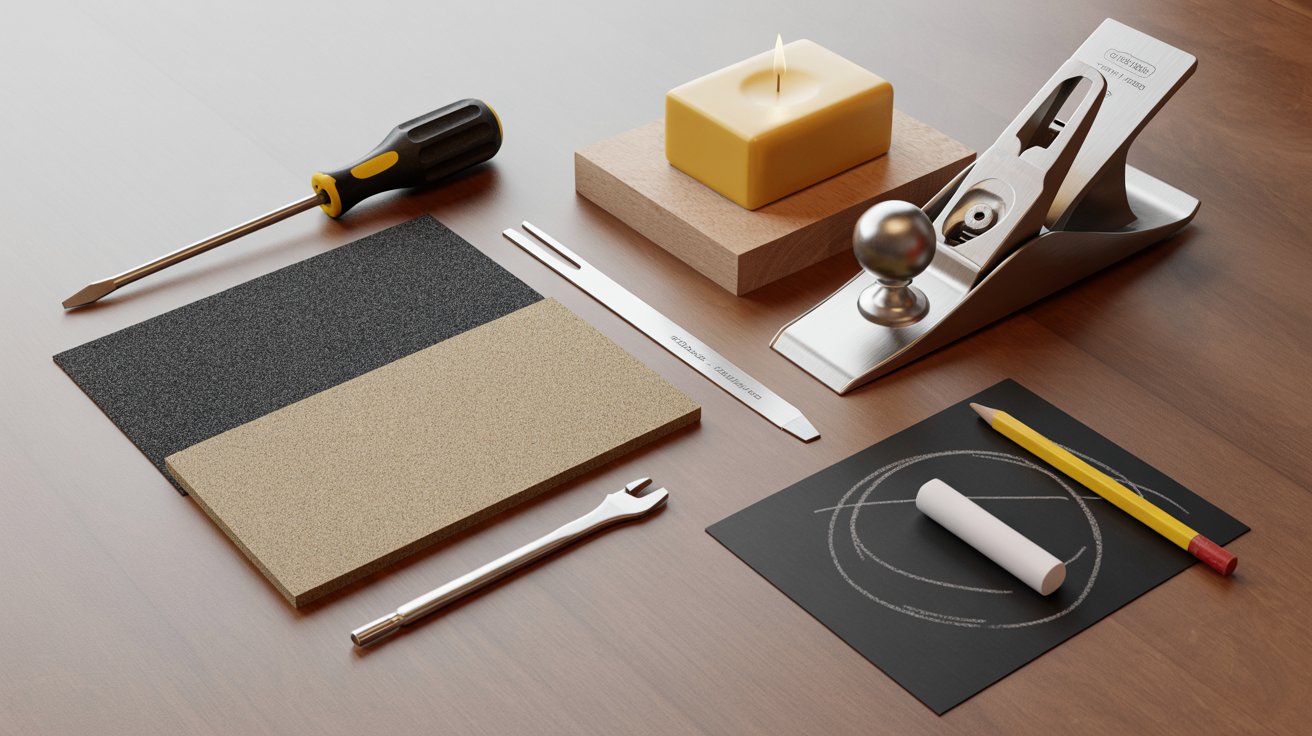
You do not need a full workshop to fix a sticking door. Most of what you need is probably already sitting in a drawer at home.
Here is a simple list to check before you start:
- Screwdriver for tightening or replacing hinge screws
- Sandpaper in medium and fine grit for controlled material removal
- Hand plane for severe cases where sanding is not enough
- Lubricant such as wax, soap, or light oil for quick friction relief
- Chalk or pencil to mark the exact sticking point before you work
These are all beginner-friendly tools. Nothing here requires experience or special training to use safely. If you have these ready before you start, the whole process moves much faster.
How to Fix a Door That Sticks (Step-by-Step Guide)
Each step here builds on the last. Start from the beginning and test as you go. You may not need all five steps depending on how severe the problem is.
Step 1: Identify Where the Door Sticks
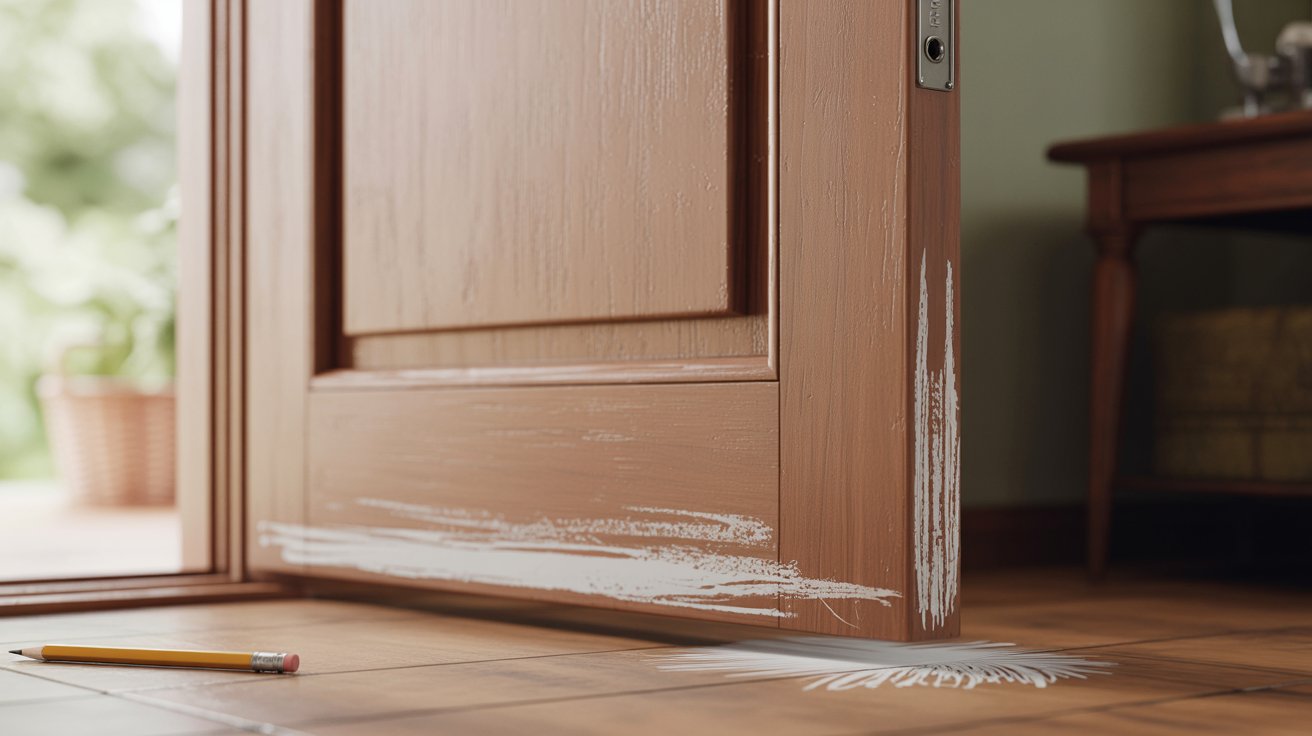
Open and close the door slowly. Pay attention to where it drags or catches. You should be able to hear and feel the friction point pretty clearly.
Try the chalk trick if you are not sure. Run chalk along the edges of the door, then close it and open it again. The chalk will transfer to the frame at the exact spot where contact is happening.
Common friction points are the top edge, the latch side, and the bottom. If your door drags on the floor, you are dealing with how to fix a door that sticks at the bottom, which usually comes down to hinge alignment or a swollen lower edge.
Mark the problem area with a pencil once you find it. This keeps you focused when you move to the next step.
Step 2: Tighten or Adjust the Hinges
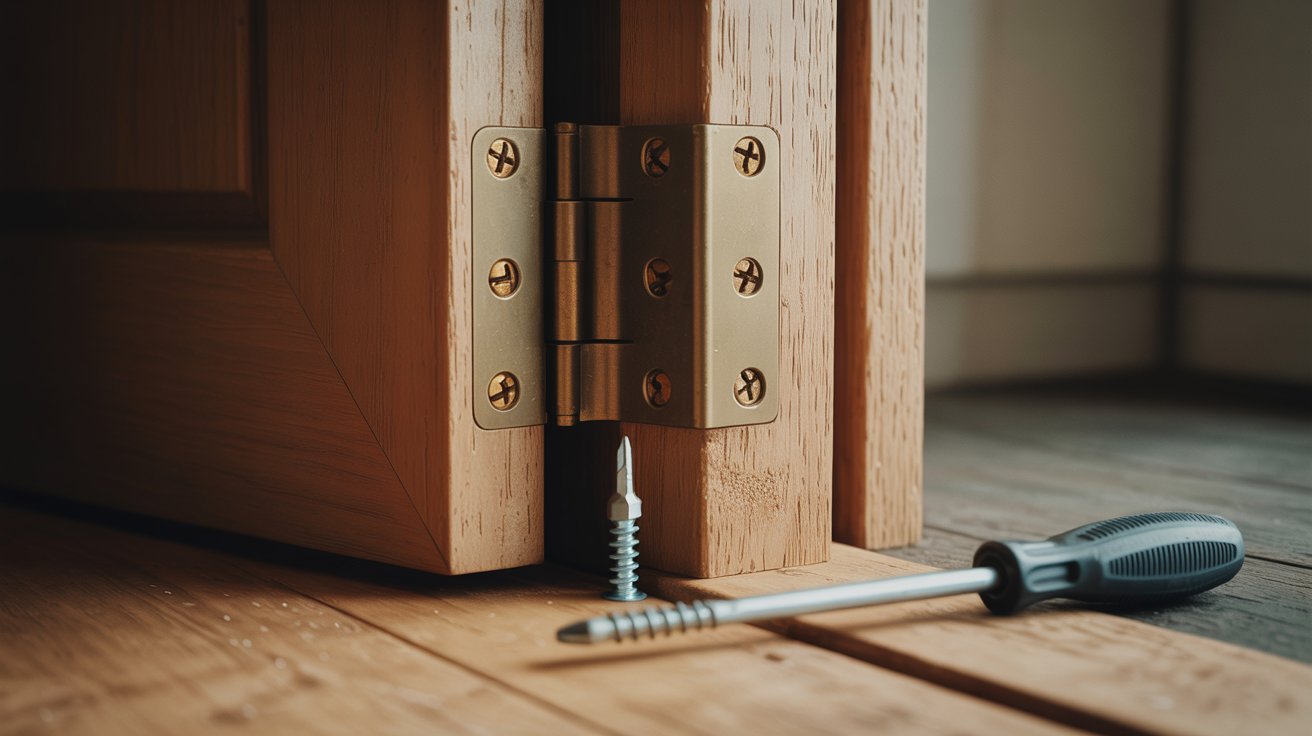
Start here before you do anything else. Loose hinges are responsible for more sticking doors than most people realize.
Check every screw on both hinges. Turn each one by hand first to feel if it is loose. Then use a screwdriver to tighten anything that gives. Even a quarter turn can make a difference.
If the screws spin without tightening, the holes are stripped. Fix this by swapping out the current screws for longer ones. They will grip deeper into the door frame and hold properly.
Once everything is tightened, open and close the door again. A lot of sticking problems stop right here without needing any further steps.
Step 3: Sand Down the Sticking Area
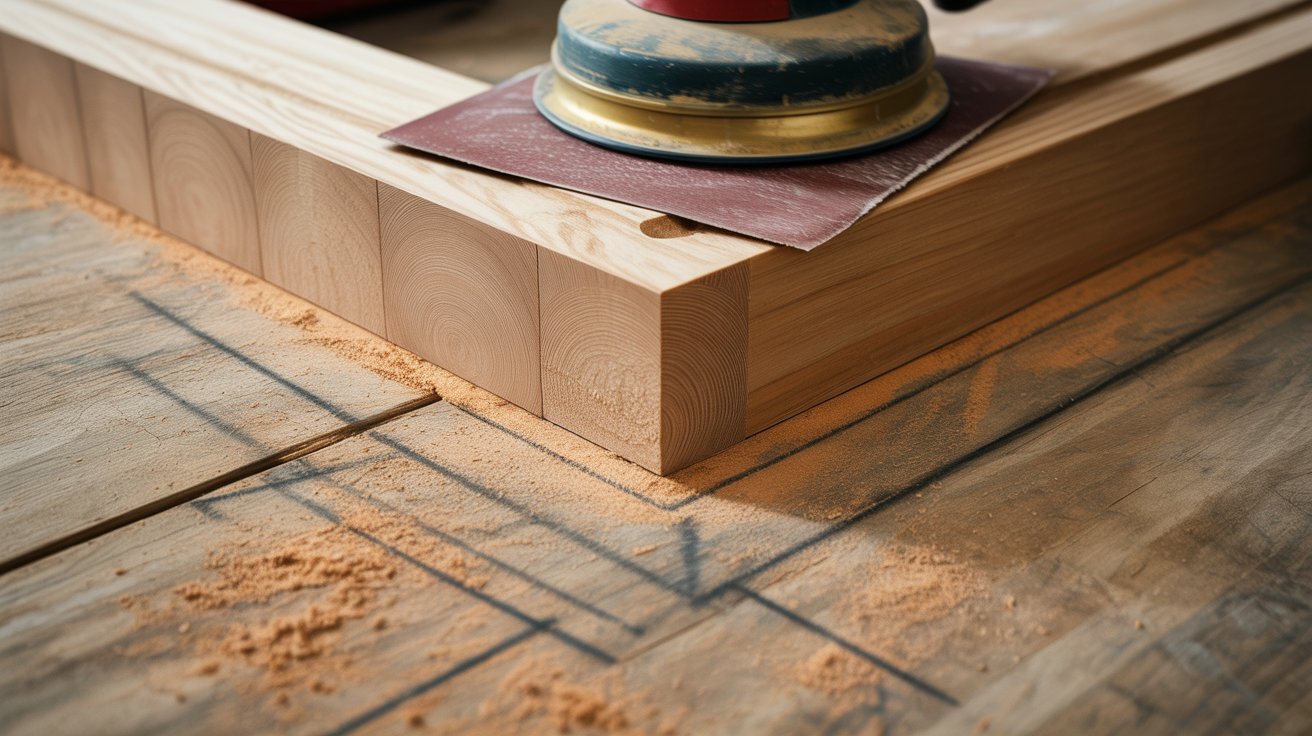
If tightening the hinges did not fully solve the problem, sanding is your next move. Use your pencil mark from Step 1 as your guide.
Start with a medium-grit sandpaper like 80 or 100 grit. Sand along the marked area using even, back-and-forth strokes. Keep the pressure steady and consistent.
Test the door every few passes. Close it and check if the friction has reduced. This is important because it is very easy to remove too much material if you are not stopping to check regularly.
Once the door moves more freely, switch to a fine-grit sandpaper like 180 or 220 grit. This smooths out the roughness left by the coarser paper and leaves a cleaner surface ready for sealing or painting.
Step 4: Lubricate Moving Parts
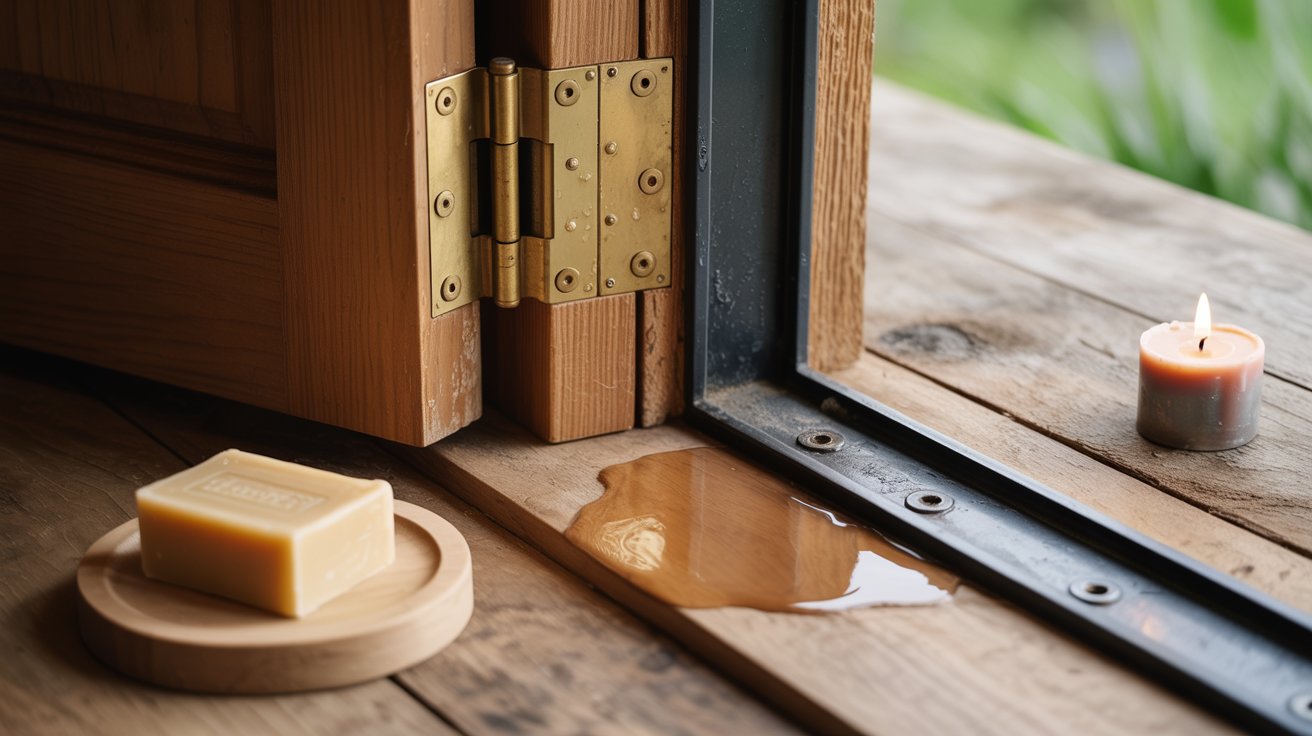
Lubrication will not fix a structural problem, but it works well for minor sticking and is a fast temporary solution while you sort out the bigger issue.
Apply a dry lubricant, candle wax, or a bar of soap directly to the hinge pins and along the sticking edge. Petroleum jelly also works. These reduce friction quickly without leaving a greasy residue on your floor.
Open and close the door several times after applying. The lubricant spreads and works its way into the friction areas with each movement.
Step 5: Plane the Door (For Severe Cases)
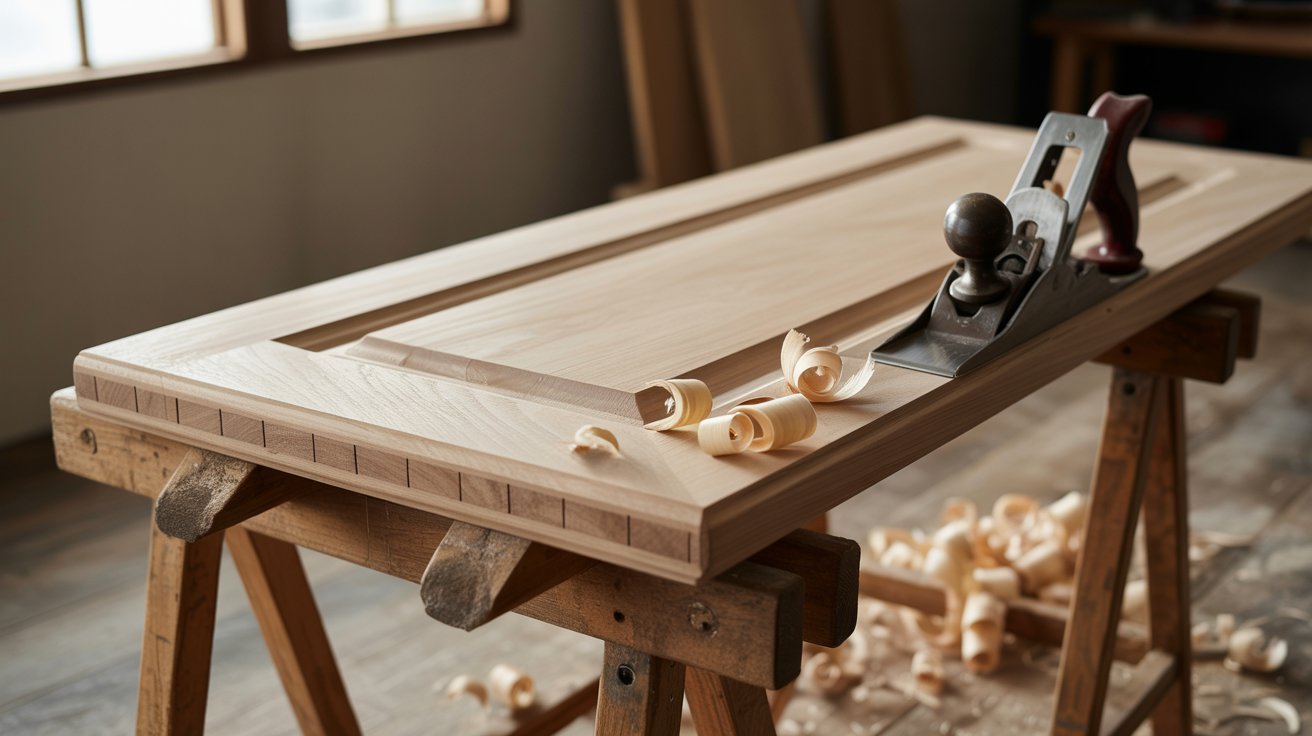
If sanding did not remove enough material, a hand plane is the right tool for the job. This step is for cases where the door is significantly swollen or warped.
Remove the door from its hinges first. Lay it flat across two sawhorses or any stable surface. Mark the area that needs planing clearly so you stay focused on just that section.
Use the hand plane in short, controlled strokes going with the grain of the wood. Take off a thin layer, then rehang the door and test. Repeat until the door swings freely.
Once you are happy with the fit, seal or repaint the planed area immediately. Bare wood absorbs moisture fast, and skipping this step often means the door swells right back within weeks.
Common Mistakes to Avoid
Most people who struggle with this repair are not making big errors. They are making small ones that add up. Knowing what to avoid saves you from having to redo the work.
Watch out for these:
- Sanding too much in one pass without testing between rounds, which can leave a visible gap when the door is closed
- Ignoring hinge alignment and jumping straight to sanding when a loose screw was the real issue all along
- Skipping the test step between each stage, which is how people end up over-correcting
- Using force to close the door during diagnosis, which can damage the frame or the door itself
- Not sealing wood after planing or sanding, leaving it exposed to moisture and causing the problem to return
Take your time with each step. Rushing this repair is the most common reason people end up calling a professional for something they could have handled themselves.
Conclusion
A sticking door does not have to stay that way. I have seen people put up with this for months before realizing the fix took less than twenty minutes. Do not wait that long.
Pick up a screwdriver this weekend and start with Step 1. You might not even need to go further. Once you sort it out, drop a comment below and tell me which step made the difference.
And if someone you know is dealing with the same problem, send this their way. It might save them a lot of daily frustration.
Frequently Asked Questions
Why Does My Door Suddenly Start Sticking?
Seasonal humidity is the most common reason, causing wood to swell and reduce clearance in the frame. Changes in temperature can also shift the door frame slightly over time.
Can I Fix a Sticking Door Without Removing It?
Yes, most fixes like tightening hinges, lubricating, and light sanding can all be done with the door in place. You only need to remove it for more serious planing work.
What Is the Easiest Way to Fix a Door That Sticks at the Bottom?
Check your hinge alignment first, then lightly sand the bottom edge if the hinges are fine. These two steps resolve the majority of bottom-sticking issues without any complicated work.
How Long Does It Take to Fix a Sticking Door?
Most repairs take between ten and thirty minutes depending on how severe the problem is. Simple hinge tightening can take as little as five minutes.
Do I Need Professional Tools to Fix a Sticking Door?
No, a basic screwdriver and sandpaper handle most cases without any specialist equipment. Only severe warping might require a hand plane, which is still a simple beginner-friendly tool.