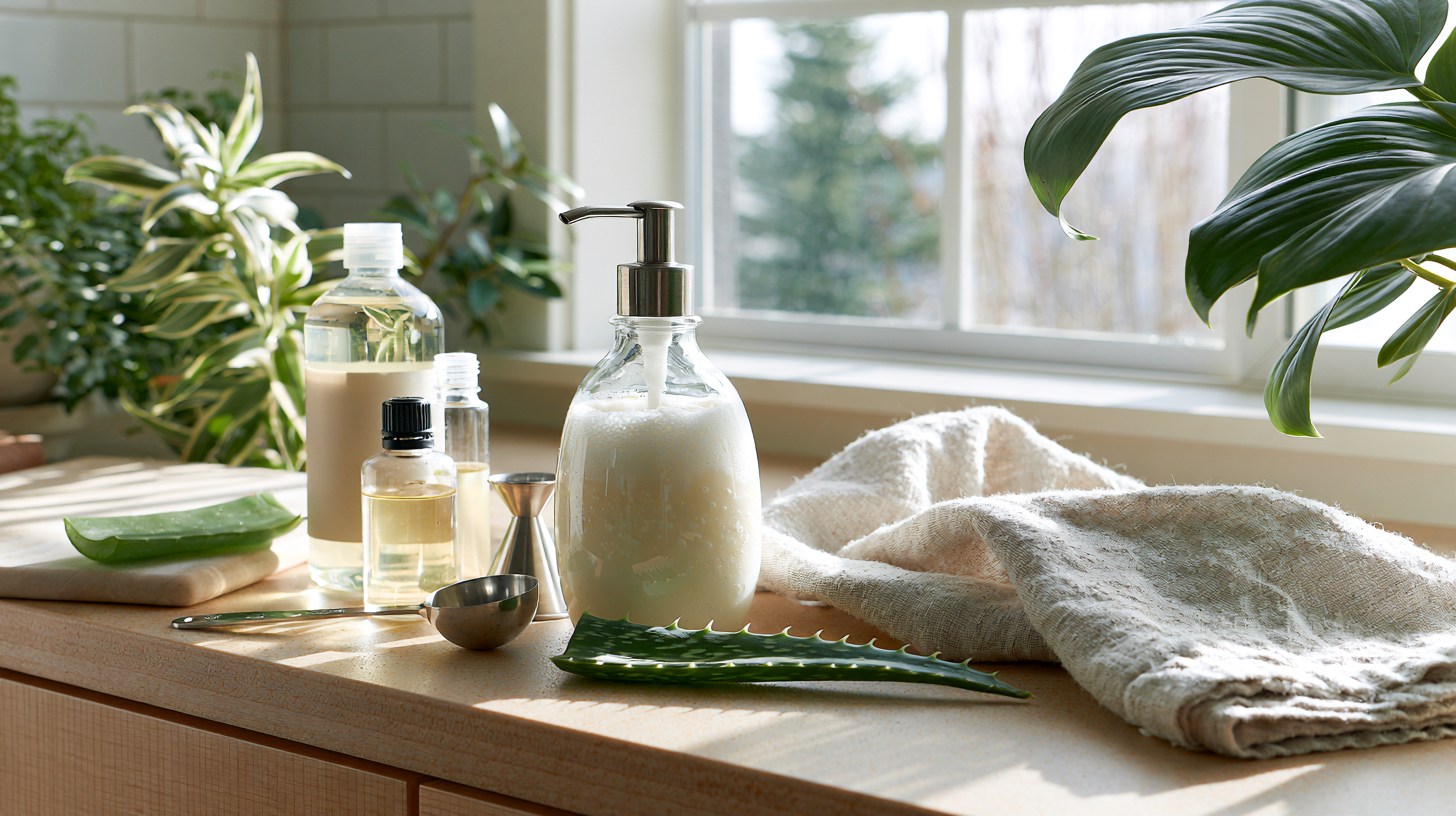
Store bought soap often costs more than it should, and many bottles list ingredients you cannot even pronounce, including sodium lauryl sulfate and parabens.
If you want something simpler, this guide on the best homemade foaming hand soap will show you exactly how to make it at home.
We will cover the ingredients you need, the right soap to water ratio, and easy steps to get thick, rich foam every time.
Small changes in the soap-to-water ratio can noticeably affect the texture and foam quality.
By the end, you will know how to mix, store, and customize your soap so it fits your skin and your budget.
What Makes the Best Homemade Foaming Hand Soap?

A few small details separate a good batch from a great one.
The best homemade foaming hand soap comes down to three things:the right soap base, the correct water ratio, and a foaming pump that actually works. Regular liquid soap poured into a foaming pump will not foam well on its own.
It needs to be diluted with water first, since foaming pumps mix air into the liquid as you press down.
Good ingredients matter too. Castile soap, glycerin, and a few drops of essential oils give you a soap that cleans well without drying out your skin. essential oils like lavender and tea tree also carry natural antimicrobial properties, which is a nice bonus during cold and flu season.
Once you understand these basics, making foaming soap at home becomes simple and repeatable.
Ingredients You'll Need
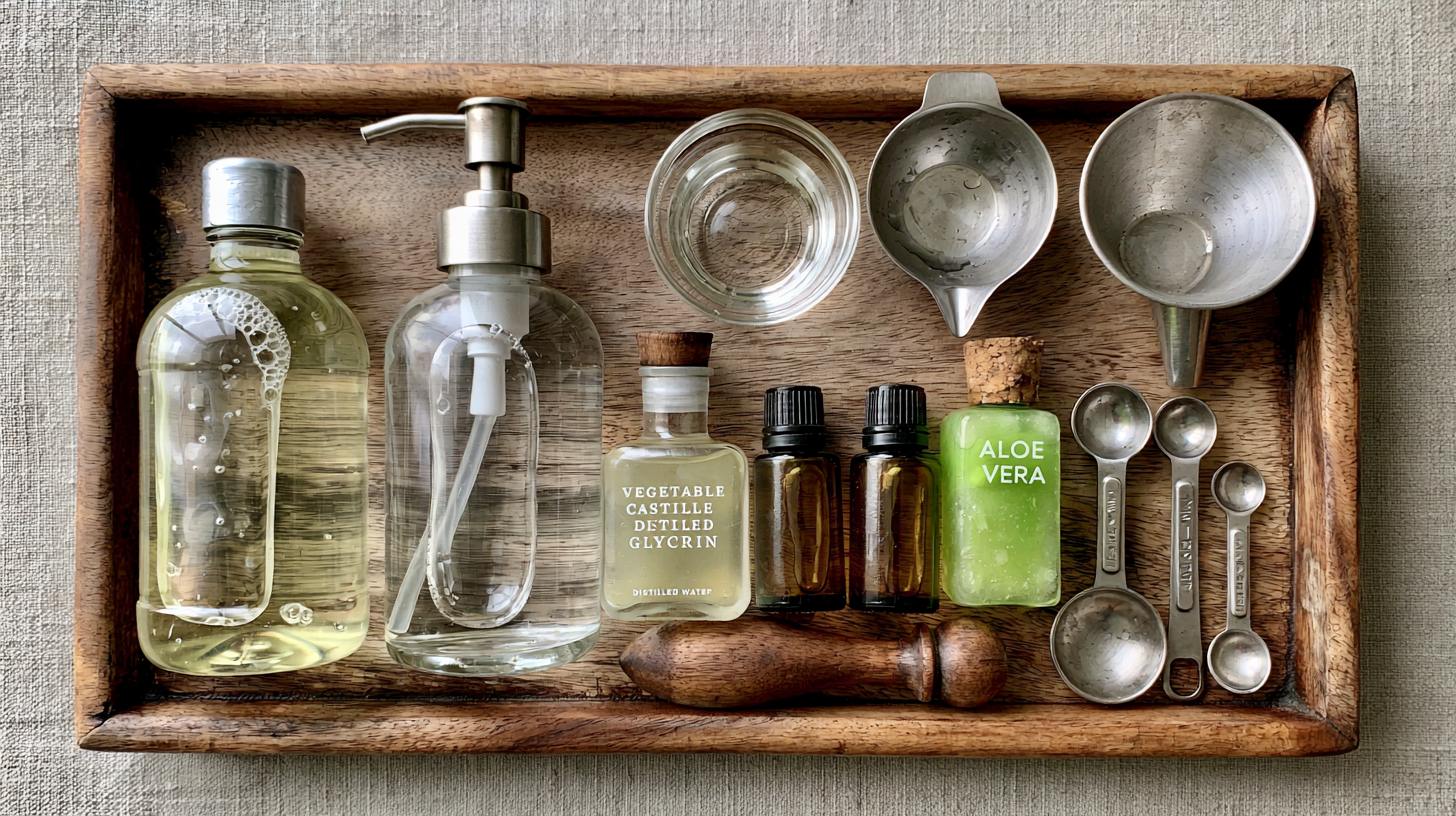
Most of these items are probably already in your kitchen or bathroom cabinet.
Here is what you need to get started:
- Liquid castile soap or a mild liquid hand soap
- Distilled or filtered water
- A foaming soap dispenser bottle
- essential oils of your choice (optional)
- Vegetable glycerin (optional, for extra moisture)
- Aloe vera gel (optional, for sensitive skin)
You do not need fancy tools. A measuring spoon, a funnel, and your foaming bottle are enough to get started.
Best Homemade Foaming Hand Soap Recipe (Step-by-Step)
These two base recipes work for almost any skin type.
Step 1: Basic Castile Soap Recipe
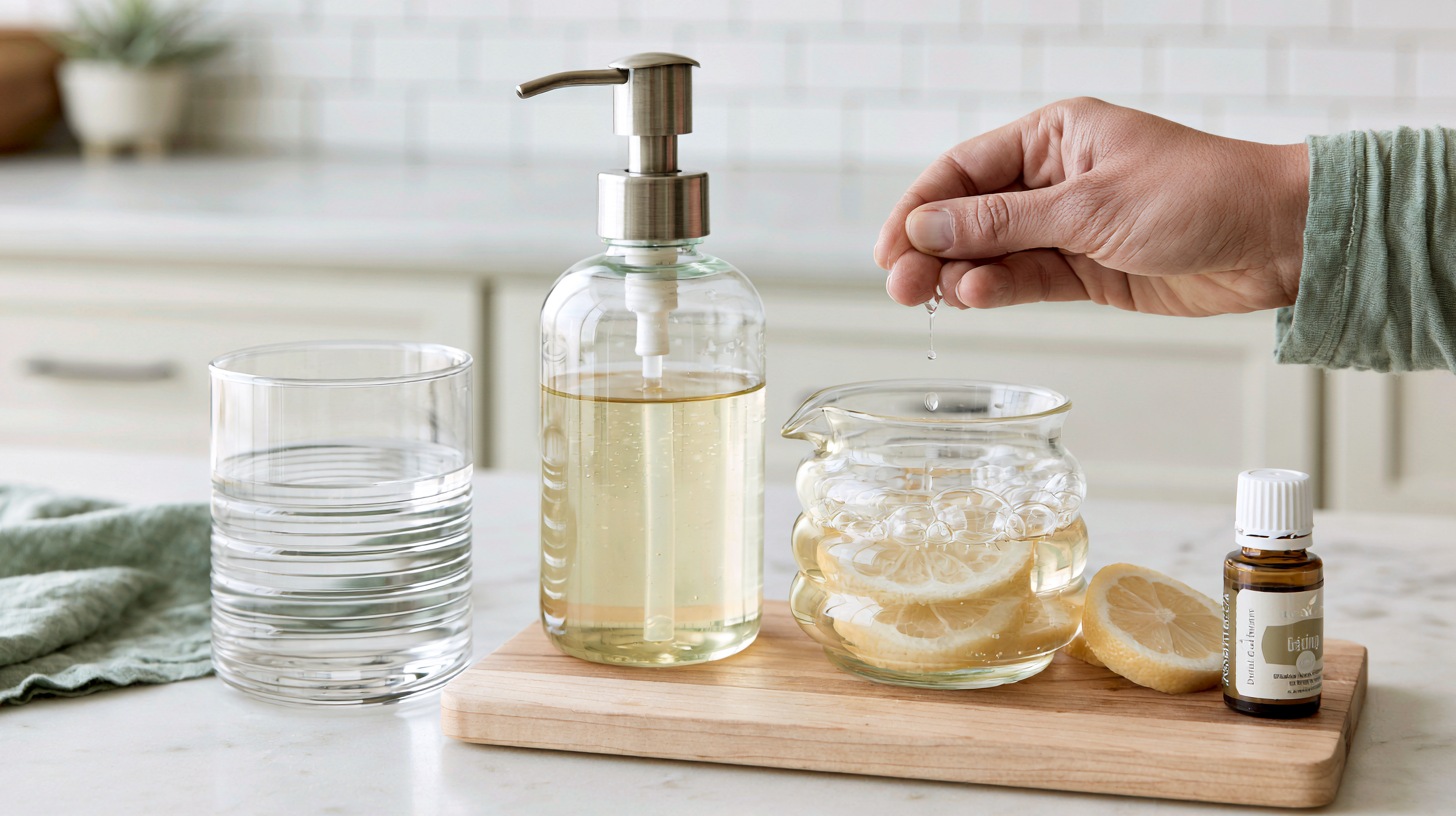
Mix three tablespoons of liquid castile soap with about one and a quarter cups of water. Add ten to fifteen drops of your chosen essential oil.
Pour into your foaming bottle and shake gently before use.
Step 2: Regular Liquid Hand Soap Recipe

If you already have a bottle of liquid hand soap, use two tablespoons of it with one and a half cups of water.
This version foams a bit differently than castile soap, so adjust water slightly if needed.
Step 3: Recommended Soap-to-Water Ratio

A good starting point is one part soap to three or four parts water. Thicker soaps need more water, while thinner soaps need less. Test a small batch first, then adjust based on how it foams.
Step 4: How to Mix the Ingredients Correctly
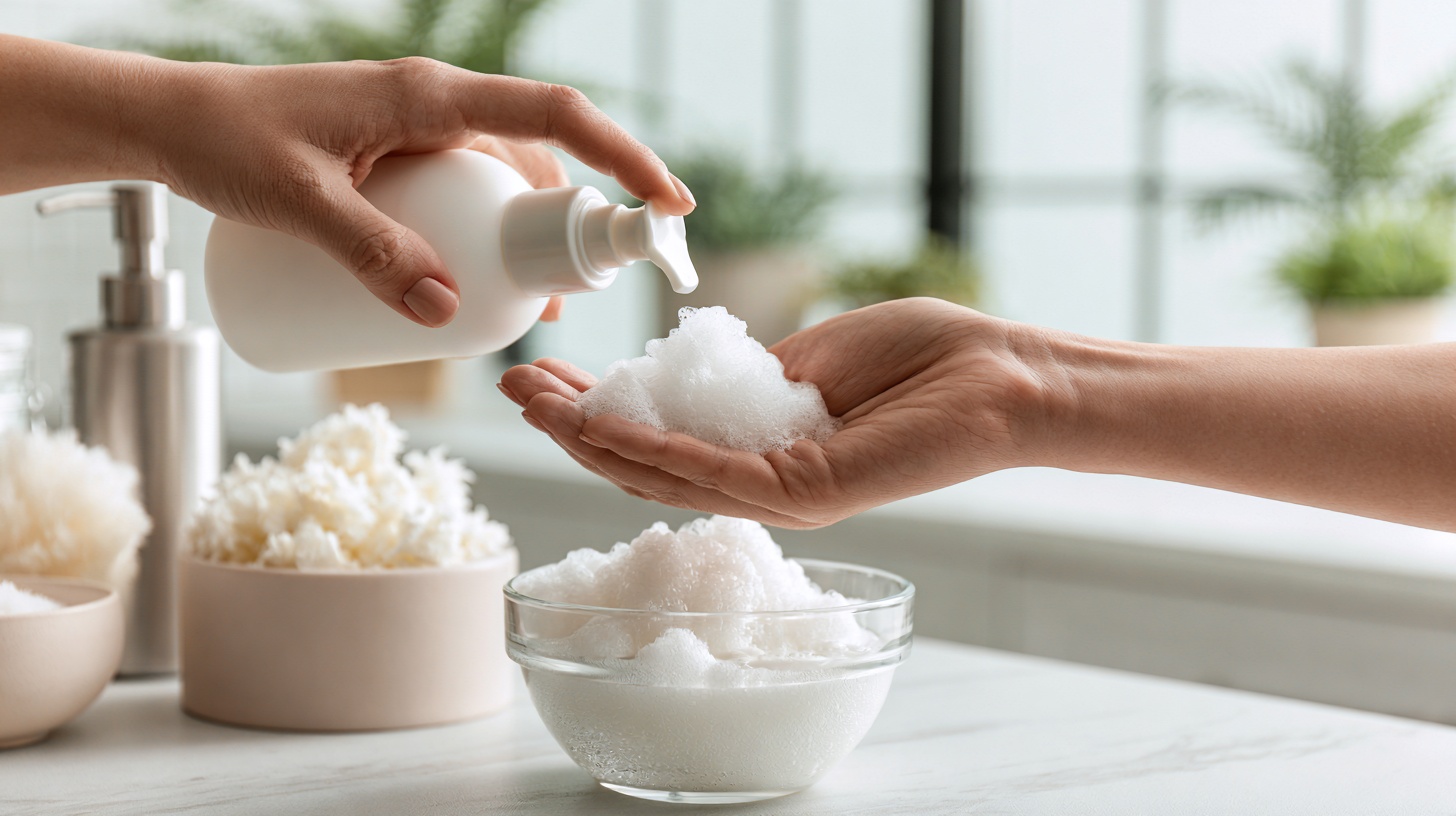
Always add soap to the bottle first, then pour water on top. Adding water first often causes too many bubbles, which makes mixing harder. Close the pump and gently tip the bottle upside down a few times instead of shaking hard.
Why This Is the Best Homemade Foaming Hand Soap Recipe
It checks every box:affordable, gentle, and easy to repeat.
This recipe works because it uses simple, recognizable ingredients and takes only a few minutes to prepare. You control exactly what goes into it, which means no sodium lauryl sulfate, parabens, or artificial dyes.
Studies on hand hygiene show that thorough washing matters more than whether soap is foam or liquid, so a gentle homemade version does the job just fine.
It is also easy to adjust for different skin types, scents, or budgets, which is not something you get with most store bought soaps.
Recipe Variations You Can Try
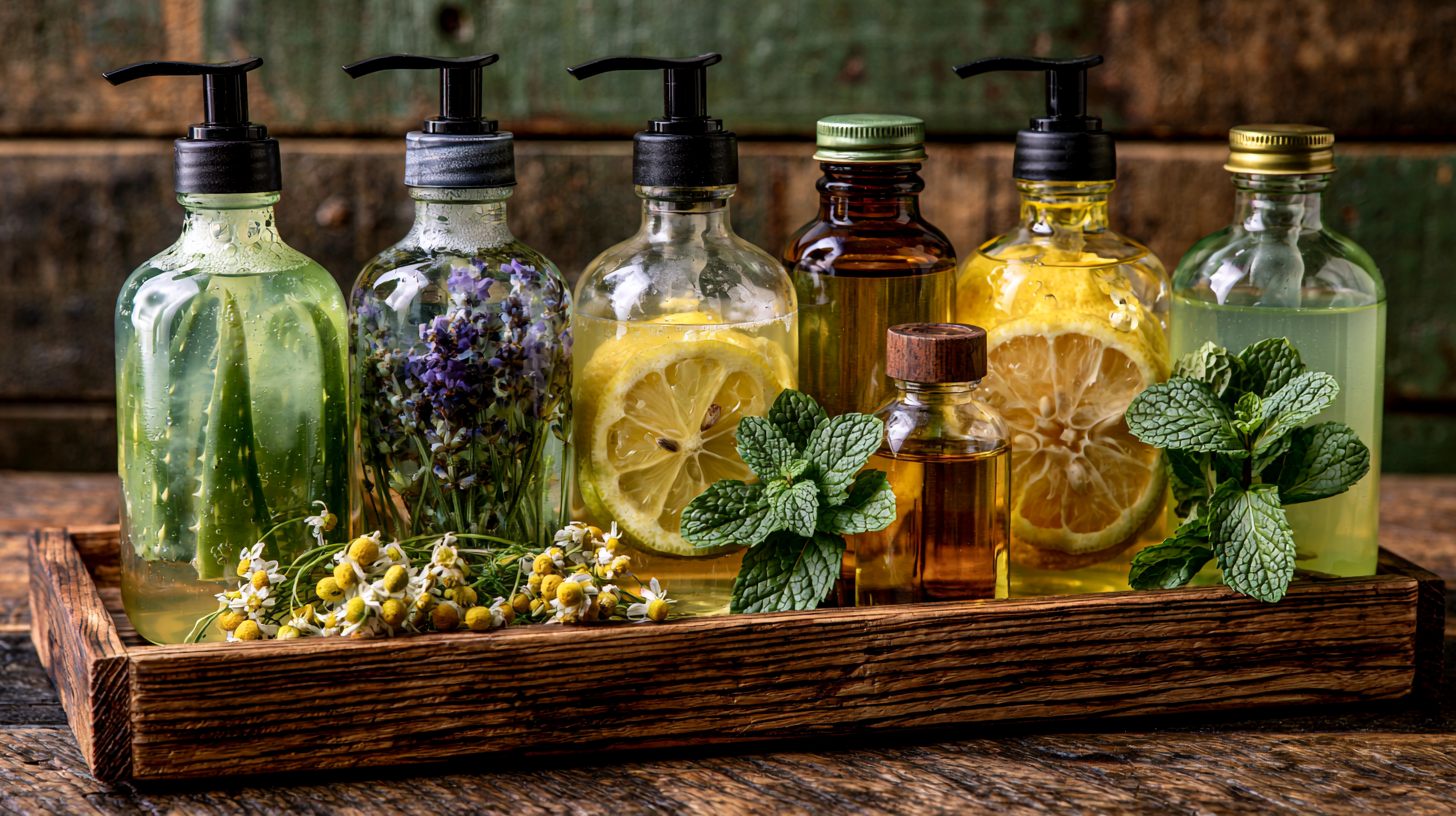
Once you know the basics, it is easy to switch things up.
Unscented Foaming Hand Soap
Simply skip the essential oils. This version works well for babies or anyone sensitive to strong smells. It is also a smart pick if you deal with skin sensitivities, since fragrance is one of the most common triggers for irritation.
Without added oils, this soap still cleans just as well because the castile base does the actual work.
Many parents keep an unscented bottle by the kitchen sink and a scented one in the bathroom, so everyone in the house has an option that suits their skin.
It is the simplest variation to make, since you only need soap and water.
Aloe Vera Foaming Hand Soap
Add two tablespoons of aloe vera gel to your base mix for a cooling, soothing feel. Aloe vera is known for calming irritated skin, which makes this version a good choice if your hands feel raw from frequent washing or cold weather.
The gel blends smoothly into the soap and water mixture without changing how well it foams. This variation works especially well during winter months when skin tends to dry out faster.
If your aloe gel is thick, whisk it into the water first before adding the soap, so it mixes evenly and does not clump inside the bottle.
Glycerin-Enriched Foaming Hand Soap
Add extra glycerin for a soap that feels noticeably softer on dry or cracked hands. Glycerin pulls moisture from the air and holds it against your skin, which helps explain why this version feels less drying after repeated washes.
It also creates a slightly thicker, creamier foam compared to the basic recipe.
This is a great option for anyone who washes their hands often, like parents, cooks, or people working in healthcare settings. Start with one teaspoon and adjust from there, since too much glycerin can make the foam heavier and slower to dispense.
Kid-Friendly Foaming Hand Soap
Use a mild, tear free soap base and a gentle scent like vanilla or chamomile. Kids tend to rub their eyes without thinking, so a tear free formula helps avoid stinging or discomfort during bath time or after meals.
Light, familiar scents also make handwashing feel less like a chore and more like a fun routine. You can even let kids help measure and pour the ingredients, which turns a simple task into a small lesson about mixing and proportions.
Keep this version unscented if your child has known sensitivities to fragrance.
Seasonal Essential Oil Blends
Try peppermint and eucalyptus in winter, or citrus blends in summer, to match the season. Rotating scents throughout the year keeps your soap feeling fresh and can even shift the mood of a room, since peppermint feels brisk and citrus feels bright and energizing.
Fall blends like clove and orange work well around the holidays, while lavender is a steady year round choice for calming, everyday use.
Rotating oils also helps you figure out which scents you enjoy most, so you can settle on a favorite once you have tried a few combinations.
Ingredient Substitutions and Customizations
No castile soap on hand? These swaps still work fine.
If you are out of castile soap, a gentle dish soap can work in a pinch, though it may dry out skin faster with regular use, so save it for occasional batches rather than everyday soap.
Honey or a few drops of jojoba oil can replace glycerin for a natural moisture boost, since both help soften skin without leaving a sticky residue behind.
If you do not have essential oils, dried herbs steeped in warm water can add a light, natural scent instead, though the fragrance will be much softer and will fade faster than oil-based scents.
These swaps are handy for last minute batches when your usual ingredients run low, and most pantry staples work well enough to get you through until your next grocery trip.
Homemade Foaming Hand Soap vs Store-Bought
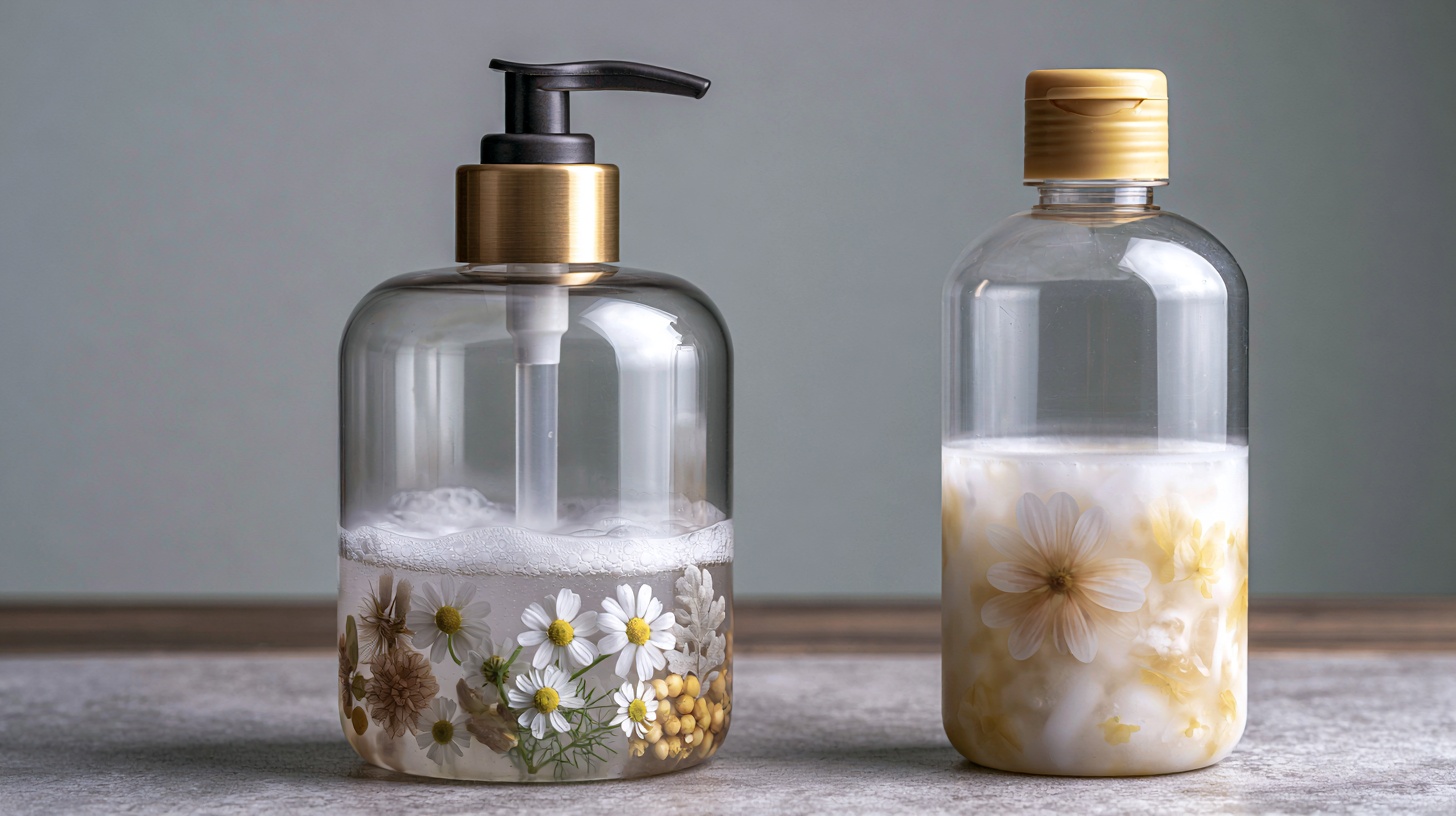
Here is how the two compare side by side.
| Factor | Homemade Foaming Soap | Store-Bought Soap |
| Cost per bottle | Lower after first purchase | Higher, especially refills |
| Ingredients | Simple, controlled by you | Often includes SLS or parabens |
| Customization | Fully adjustable | Fixed formula |
| Shelf life | Shorter, best used fresh | Longer due to preservatives |
| Scent options | Flexible | Limited to product line |
How Much Money Can You Save?
A little math shows the savings add up fast.
A bottle of store bought foaming hand soap often costs three to five dollars and lasts a few weeks in a busy household. If you have several bathrooms and a kitchen sink to keep stocked, that cost climbs quickly month after month.
A bottle of castile soap costs about twelve to sixteen dollars but makes many refills, since it gets diluted with water each time you fill your bottle.
One bottle can last several months, even in a house full of kids who wash their hands often.
Over a year, many people save well over half of what they used to spend on soap, and that gap grows even more if you also use castile soap for dish soap or all purpose cleaning.
How to Store Homemade Foaming Hand Soap
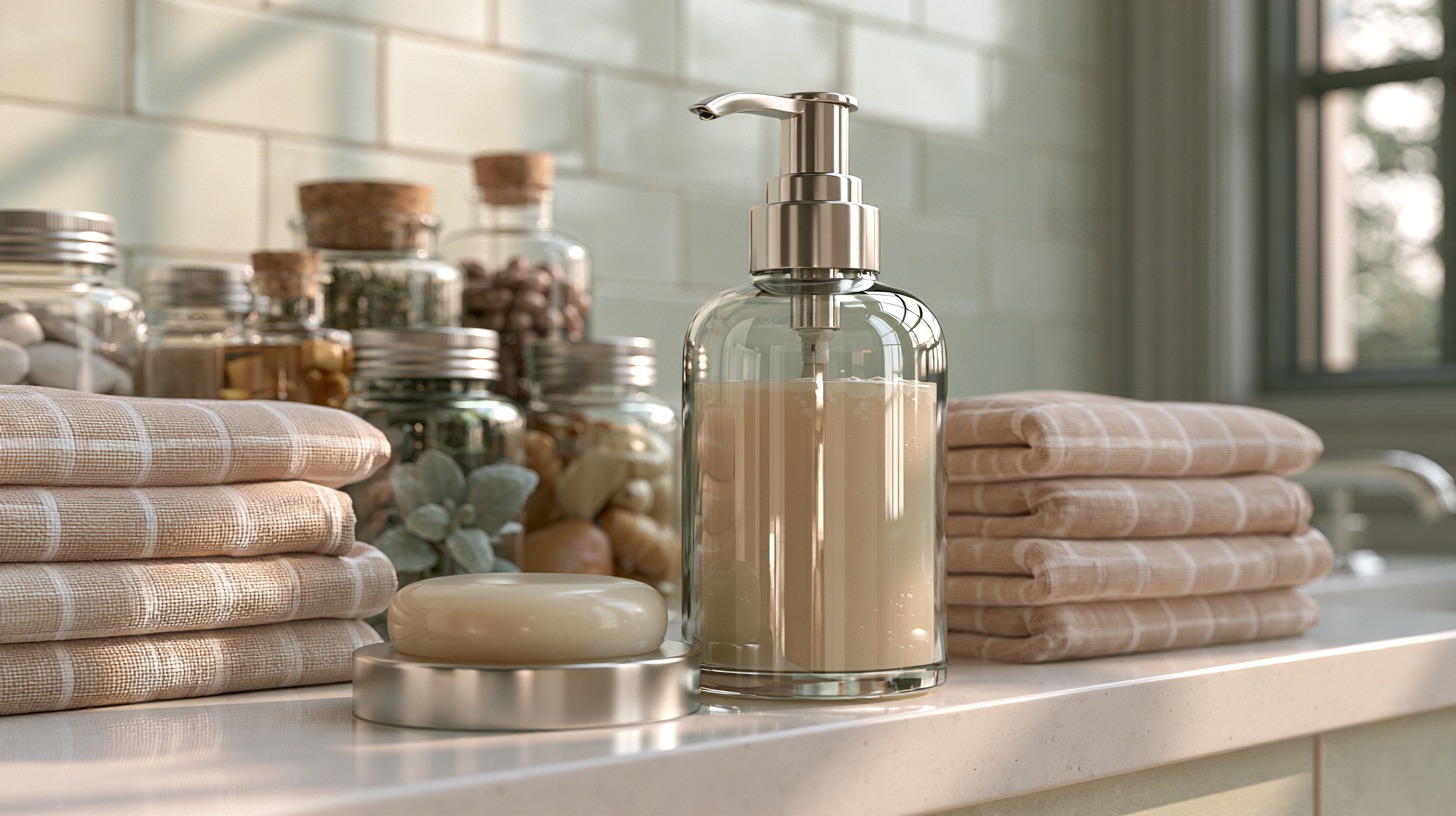
Proper storage keeps your soap fresh and working well.
Store your soap at room temperature, away from direct sunlight and away from heat sources like a stove or heater vent. Since homemade soap has no heavy preservatives, try to use each batch within four to six weeks for the best results.
Label your bottle with the date you made it, so you always know how fresh it is without having to guess. If you added aloe vera or glycerin, keep an eye out for changes in smell or texture, which means it is time to make a fresh batch.
A cloudy look or a sour smell are both signs the batch has passed its prime and should be replaced.
Common Mistakes to Avoid
These small errors are the most common reason foam does not turn out right.
- Using too much soap, which makes the mix too thick to foam
- Adding water before soap, which causes excess bubbling
- Skipping the shake or tip step before first use
- Using a regular pump bottle instead of a foaming one
- Forgetting to label bottles, which can lead to mixing up scents
Troubleshooting Homemade Foaming Hand Soap
If your soap is not foaming right, one of these fixes should help.
If your soap comes out too watery, add a bit more soap to the mix. If it comes out too thick or gel-like, dilute with more water and shake gently.
If the pump gets clogged, remove it and rinse under warm water to clear out any buildup. If the scent fades quickly, add a few extra drops of essential oil during your next refill.
More Ways to Use Homemade Foaming Hand Soap
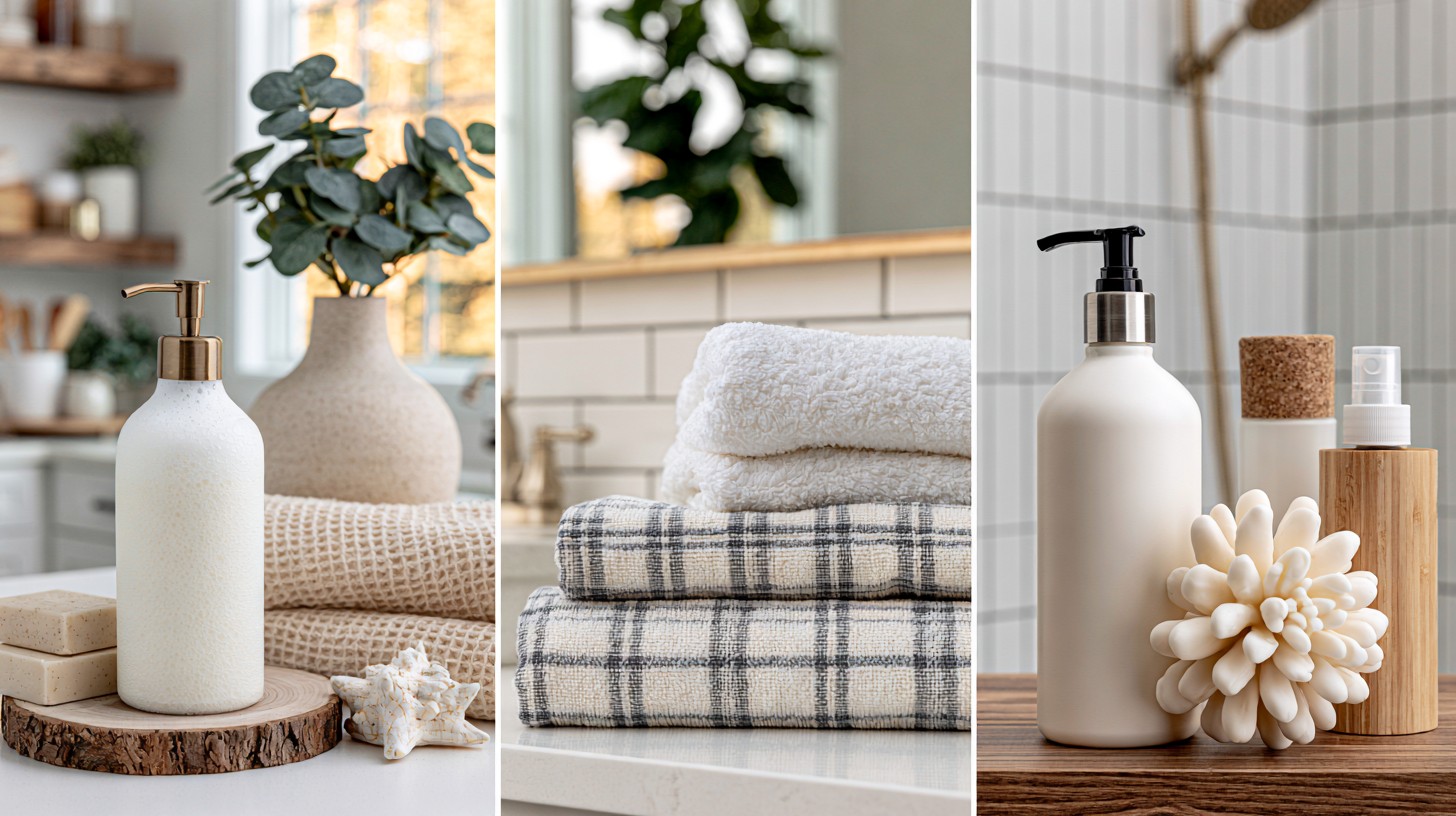
This recipe is more flexible than most people realize.
As a Body Wash
Homemade foaming hand soap works surprisingly well in the shower too. Just mix a slightly more diluted version, using a bit less soap and a bit more water than your hand soap batch. The lighter foam spreads easily over skin without feeling heavy, and it rinses off clean.
This is a great option if you want to cut down on the number of bottles cluttering your shower shelf.
Add a few drops of a calming scent like lavender or chamomile if you want the shower version to feel a little more relaxing after a long day.
As a Shaving Soap
The thick foam from this recipe gives razors enough glide to prevent nicks and irritation. Adding a bit of extra glycerin to the mix helps the foam hold its shape longer, which gives you more slip while shaving.
This works well for both legs and faces, and it skips the harsh chemicals found in many canned shaving creams. If you have sensitive skin, stick with an unscented castile soap base and skip the essential oils to avoid any stinging or redness during shaving.
In the Kitchen
Keeping a bottle of foaming hand soap by the kitchen sink makes it easy to wash hands properly after touching raw food, packaging, or garbage.
Since it foams quickly and rinses off fast, it fits naturally into a busy cooking routine without slowing you down.
Good hand hygiene in the kitchen helps lower the risk of spreading germs to food or surfaces. A citrus scent works especially well here, since it helps cut through cooking smells like garlic and onion left on your hands.
In the Bathroom and Laundry Room
A bottle near the bathroom sink encourages more consistent handwashing for the whole family, especially kids who enjoy pumping the foam.
In the laundry room, a more diluted version can double as a gentle stain pretreater for small spots on clothing before they go into the wash.
Since the base recipe is simple and inexpensive, it makes sense to keep a bottle in multiple rooms rather than buying separate cleaning products for each space in your home.
Expert Tips for Better Results
A few extra habits can make your soap last longer and work better.
- Always use filtered water to avoid clogging the pump with minerals
- Shake gently, not vigorously, to keep the mixture smooth
- Store essential oils away from heat to keep their scent strong
- Make smaller batches more often instead of one large batch
- Test new scent combinations in small amounts before committing to a full bottle
Conclusion
Making your own soap at home does not have to be complicated. With the right ratio and a few simple ingredients, the best homemade foaming hand soap is easy to mix, store, and customize for your household.
Homemade soap can reduce long-term costs and lets you pick scents your family actually likes. Try one of these recipes this week and see how it works for your hands.
If you found this helpful, leave a comment with your results, share it with a friend who loves DIY projects, or check out more natural cleaning guides on the blog.
Frequently Asked Questions
Can I use tap water instead of distilled water?
Yes, but distilled or filtered water is better since tap water minerals can clog the foaming pump faster over time.
How long does homemade foaming soap last before it goes bad?
Most batches stay fresh for four to six weeks when stored at room temperature away from sunlight and heat.
Why does my foaming soap come out as liquid instead of foam?
The mix is likely too diluted or too thick. Adjust the soap to water ratio slightly and test again.
Is homemade foaming soap safe for kids to use daily?
Yes, as long as you use a mild, tear free soap base and skip strong fragrances or essential oils.