I've refinished bathroom vanities myself, and trust me, it's one of the best weekend projects you can do. Replacing a vanity costs hundreds of dollars. Refinishing it?
A fraction of that. In this guide, I'll walk you through exactly how to refinish a bathroom vanity from start to finish.
You'll learn what tools and materials you need, how to prep, prime, and paint, and how to avoid the most common mistakes.
This guide is built on real experience, not guesswork. By the end, you'll have everything you need to get it done right.
Why Refinishing a Bathroom Vanity Is Easier and Cheaper Than Replacing It
Swapping out a vanity sounds simple until you price it out. A new vanity can run anywhere from $300 to over $1,000, not counting installation.
Refinishing costs as little as $50 to $100 in supplies, and the results can look just as good, sometimes better, when done properly.
You save serious money, pick the exact color you want, and get it done in one to two weekends with no plumber or contractor needed.
This guide covers every step, from removing doors to the final coat, including paint recommendations, finish options, and durability tips.
Tools and Materials Needed to Refinish Bathroom Vanity
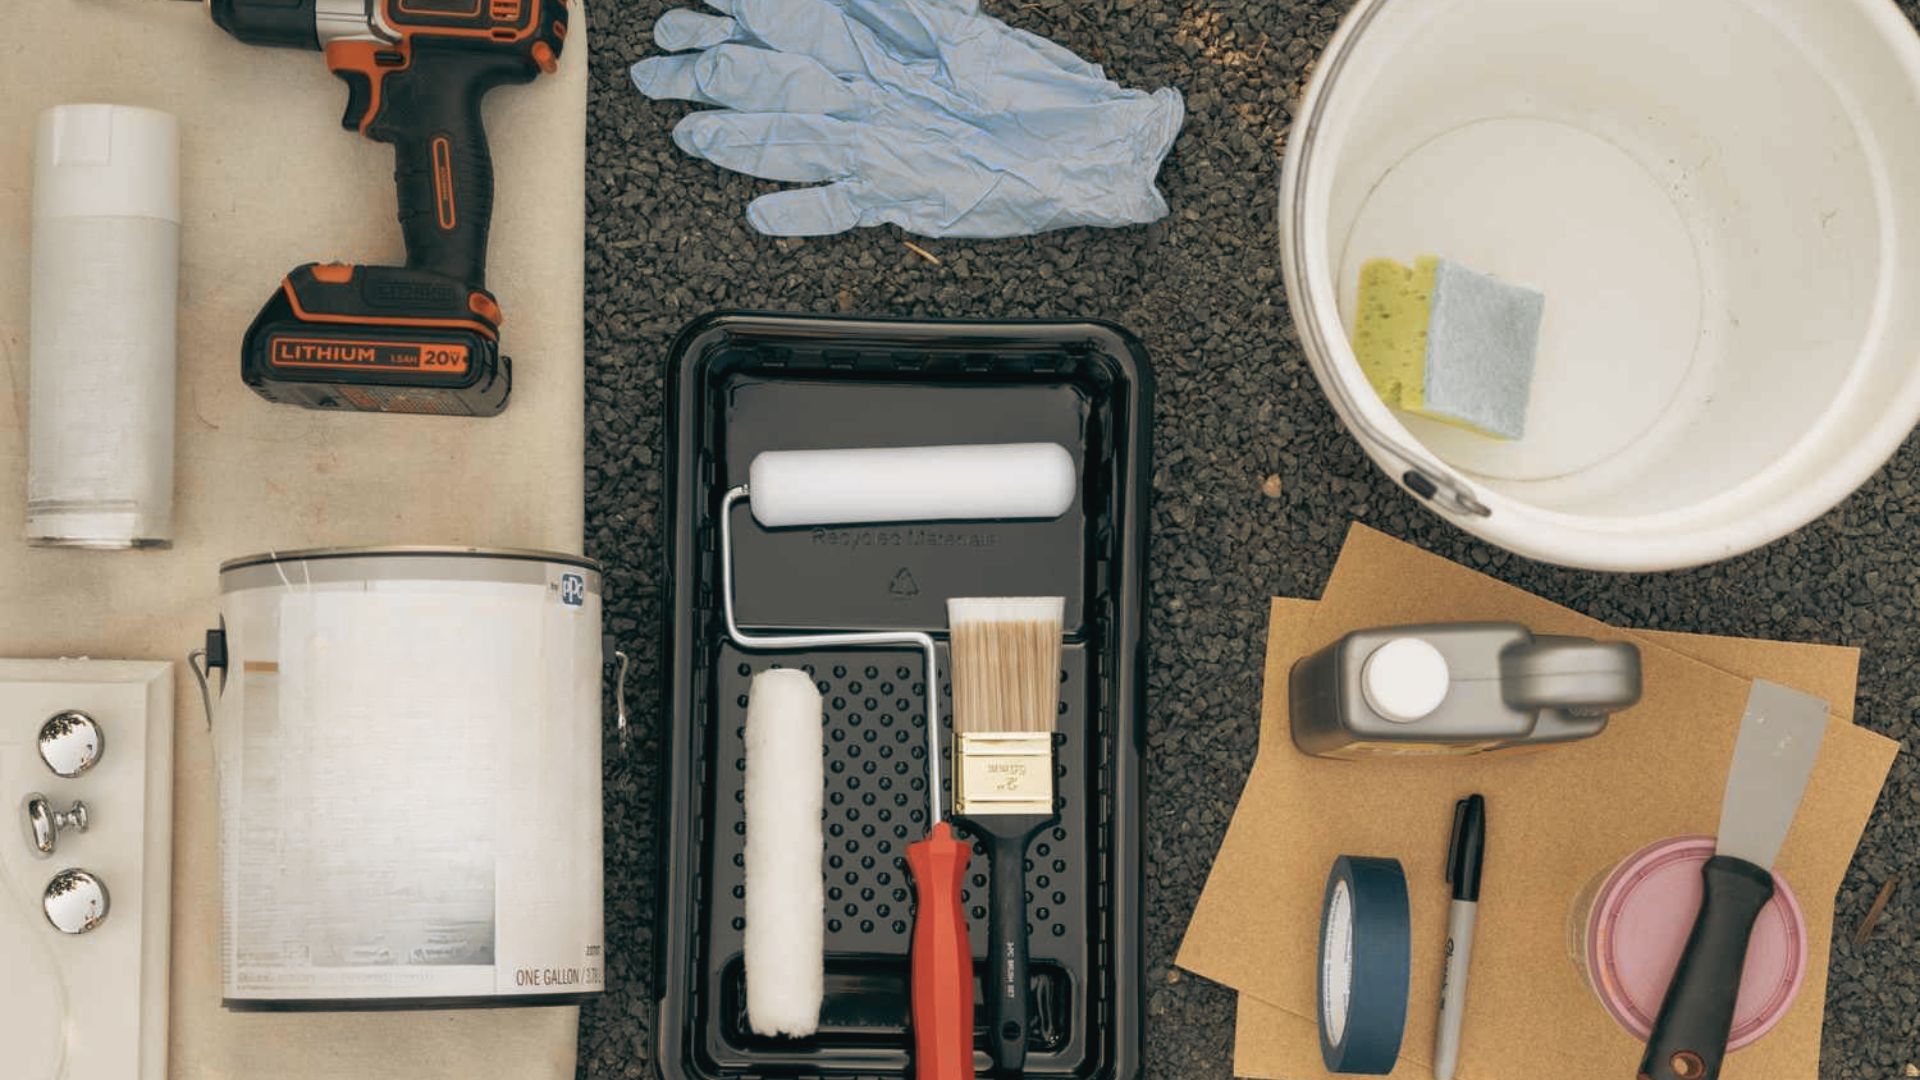
Getting your supplies ready before you start saves time and stress.
Best Paint for Bathroom Vanity Cabinets
Go with a cabinet-specific paint or a waterborne alkyd. These dry hard and hold up well in humid spaces.
Brands like Benjamin Moore Advance or Sherwin-Williams Emerald Urethane work great.
Primer, Sandpaper, and Cleaning Supplies
You'll need:
- A bonding primer (shellac or water-based)
- 120-grit and 220-grit sandpaper
- TSP cleaner or a strong degreaser
- Tack cloth or microfiber rags
Recommended Rollers and Paint Brushes
Use a 4-inch foam roller for flat surfaces. For corners and edges, use a 2-inch angled brush. Avoid cheap foam brushes. They leave marks.
Optional Top Coat for Extra Durability
A water-based polyurethane or polycrylic top coat adds protection. It's especially helpful in bathrooms with high moisture. Not required, but worth it.
How to Refinish Bathroom Vanity Step by Step
Follow these steps in order for the cleanest, most lasting finish.
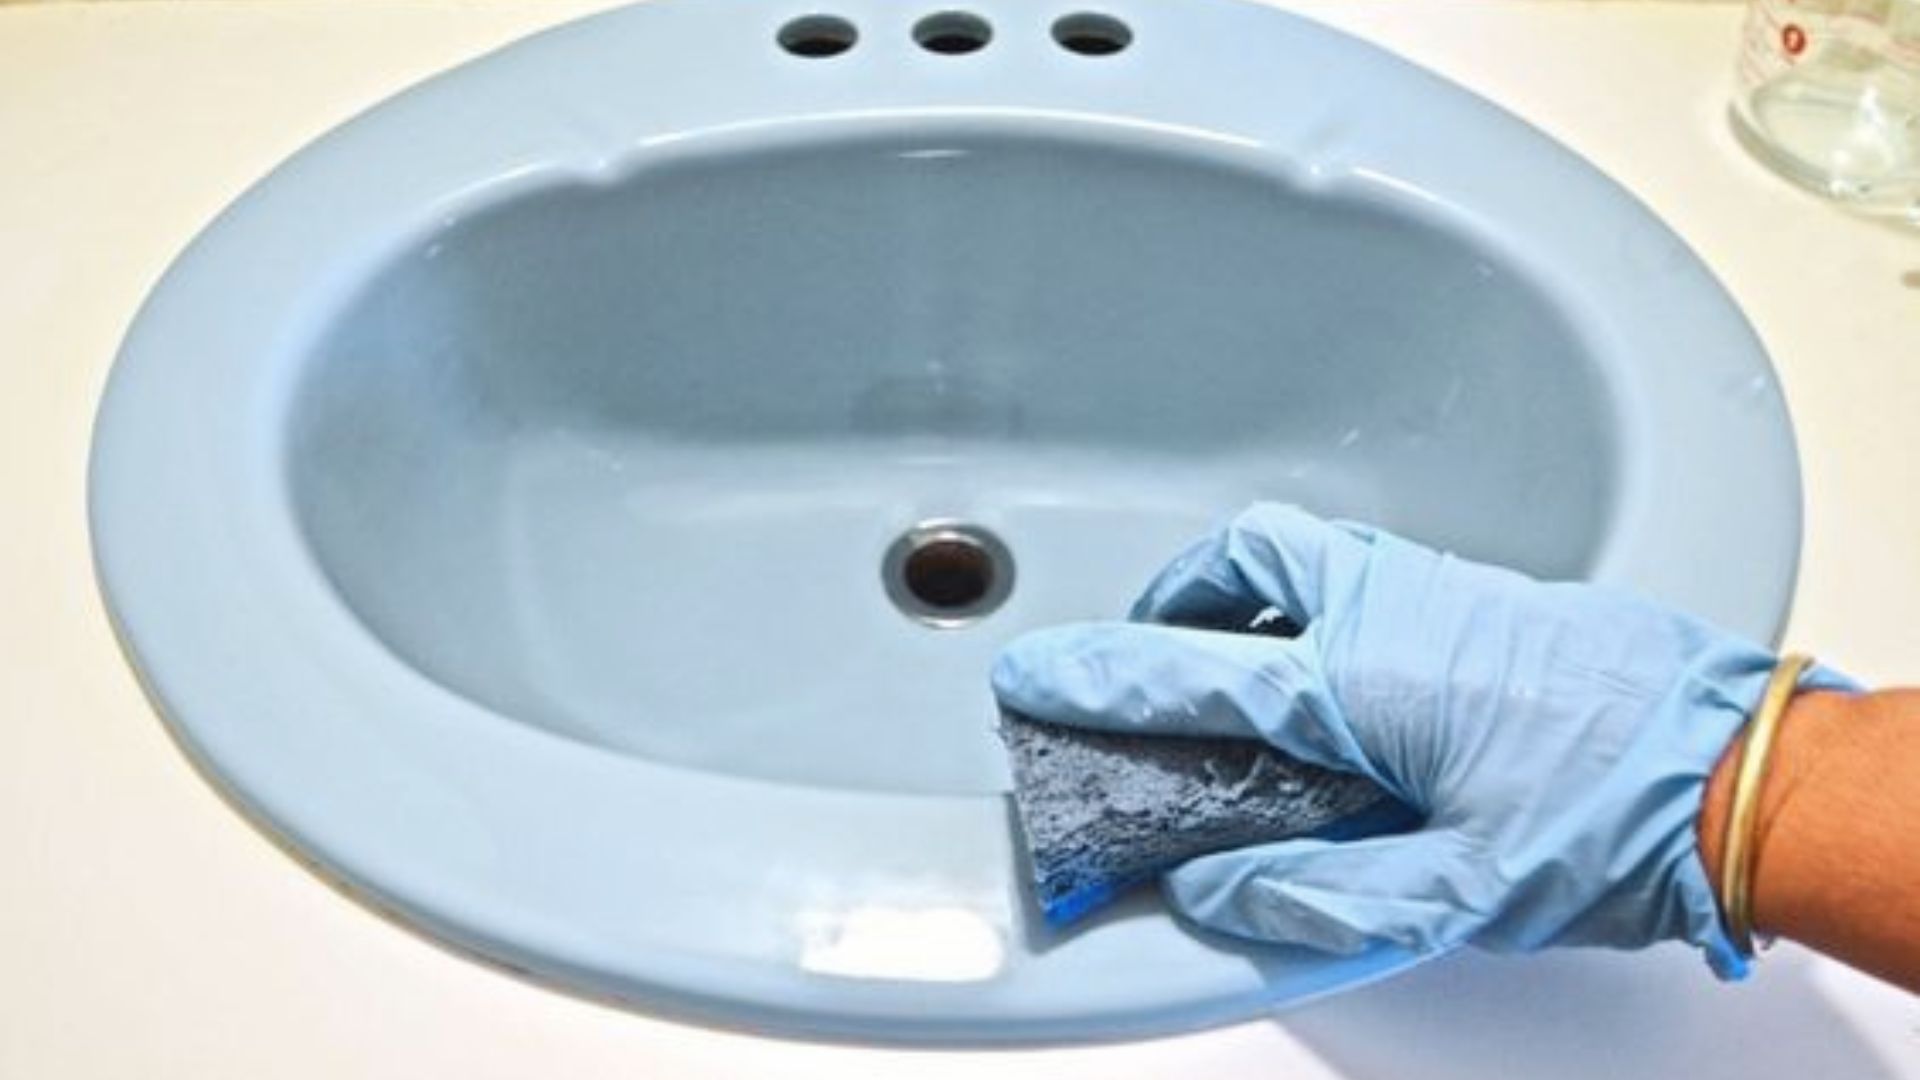
Step 1: Remove, Clean, and Prep the Vanity

Take off all cabinet doors, drawers, and hardware. Label each door so reassembly is easy. Store screws and hinges in a small bag.
Then use a TSP cleaner or degreaser to wipe down every surface. Grease and soap scum will ruin paint adhesion if you skip this.
Finish by lightly sanding with 120-grit paper to scuff the surface so primer sticks. Wipe off all dust with a tack cloth.
Step 2: Tape Off and Apply Primer
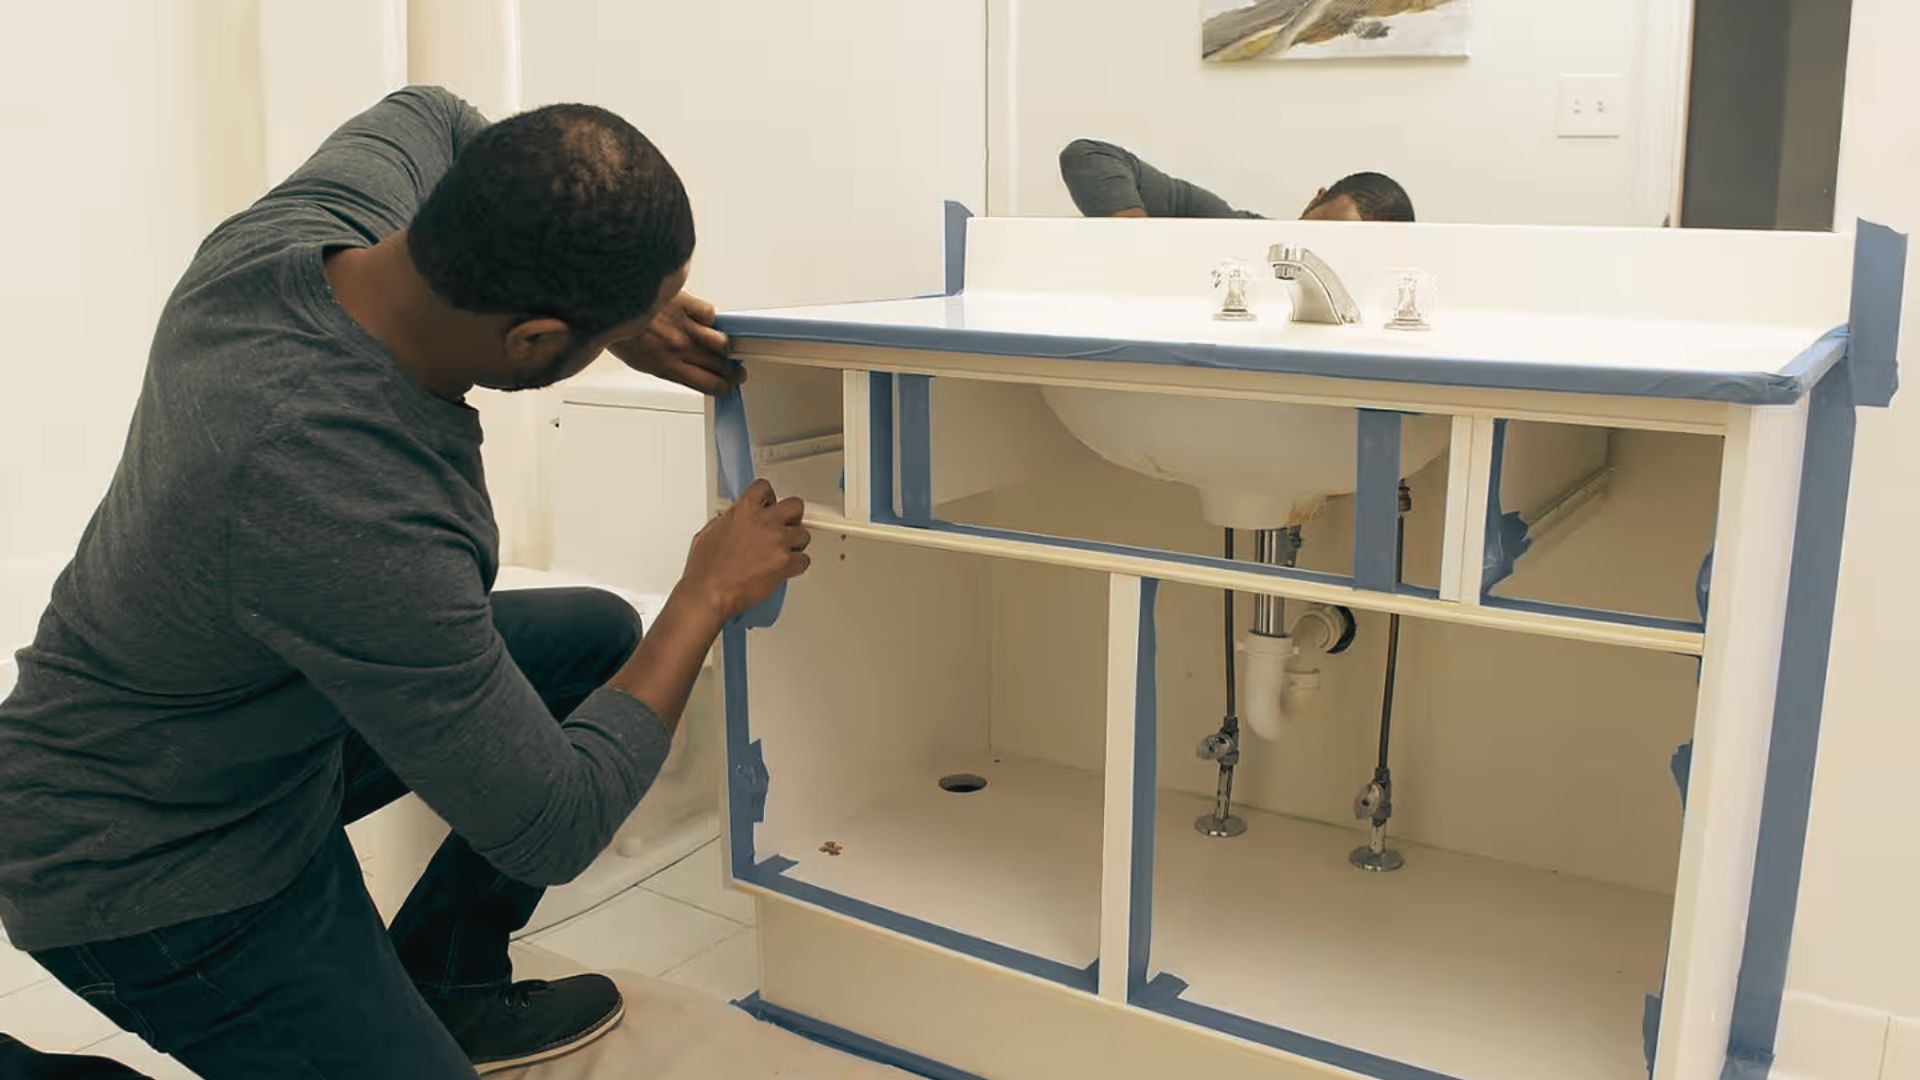
Use painter's tape around the countertop edge, walls, and floor. Cover anything you don't want painted.
Then apply a thin, even coat of bonding primer and let it dry fully. This is the most important step. Skipping primer leads to peeling paint within months.
Step 3: Paint the Vanity with Thin, Even Coats
Use a foam roller for large flat areas and an angled brush for edges and corners. Apply thin coats only.
Don't glob it on. Let the first coat dry for at least four hours, lightly sand with 220-grit paper, wipe clean, then apply the second coat the same way.
Step 4: Let the Paint Dry and Cure Fully
Paint dries fast but cures slowly. Give it at least 24 to 48 hours before handling it. Full cure takes about two to four weeks. Rushing this step causes scratches and surface damage.
Step 5: Reinstall Hardware and Reassemble the Vanity
Once the paint is fully dry, put the doors and drawers back on. Add new hardware if you want a refreshed look. New knobs or pulls make a noticeable difference without adding much cost.
Common Mistakes to Avoid When You Refinish Bathroom Vanity
These are the mistakes that turn a good project into a frustrating one.
- Skipping surface prep is the number one reason refinishing jobs fail. Clean and scuff the surface before anything else.
- Not degreasing properly leaves soap scum and grease behind, which stops paint from sticking no matter how well you prime.
- Using cheap rollers or paint leaves lint, texture, and chips early. Spend a little more on quality supplies. It pays off.
- Applying thick coats causes drips and sagging. Always go thin. Two thin coats beat one thick coat every time.
- Reinstalling doors too early scratches the paint before it hardens. Wait the full cure time, even if the surface feels dry.
Best Paint and Finish Options for Bathroom Vanity Cabinets
Choosing the right paint and finish makes the difference between a job that lasts years and one that chips in months.
Waterborne Alkyd vs Latex Paint
Waterborne alkyd paint levels out better and dries harder than regular latex. It's the top choice for cabinets. Latex works too, but it stays slightly soft longer.
Satin vs Semi-Gloss Finish
Semi-gloss is easier to clean and holds up well in wet spaces. Satin gives a softer look with slightly less shine. Both work well for bathroom vanities.
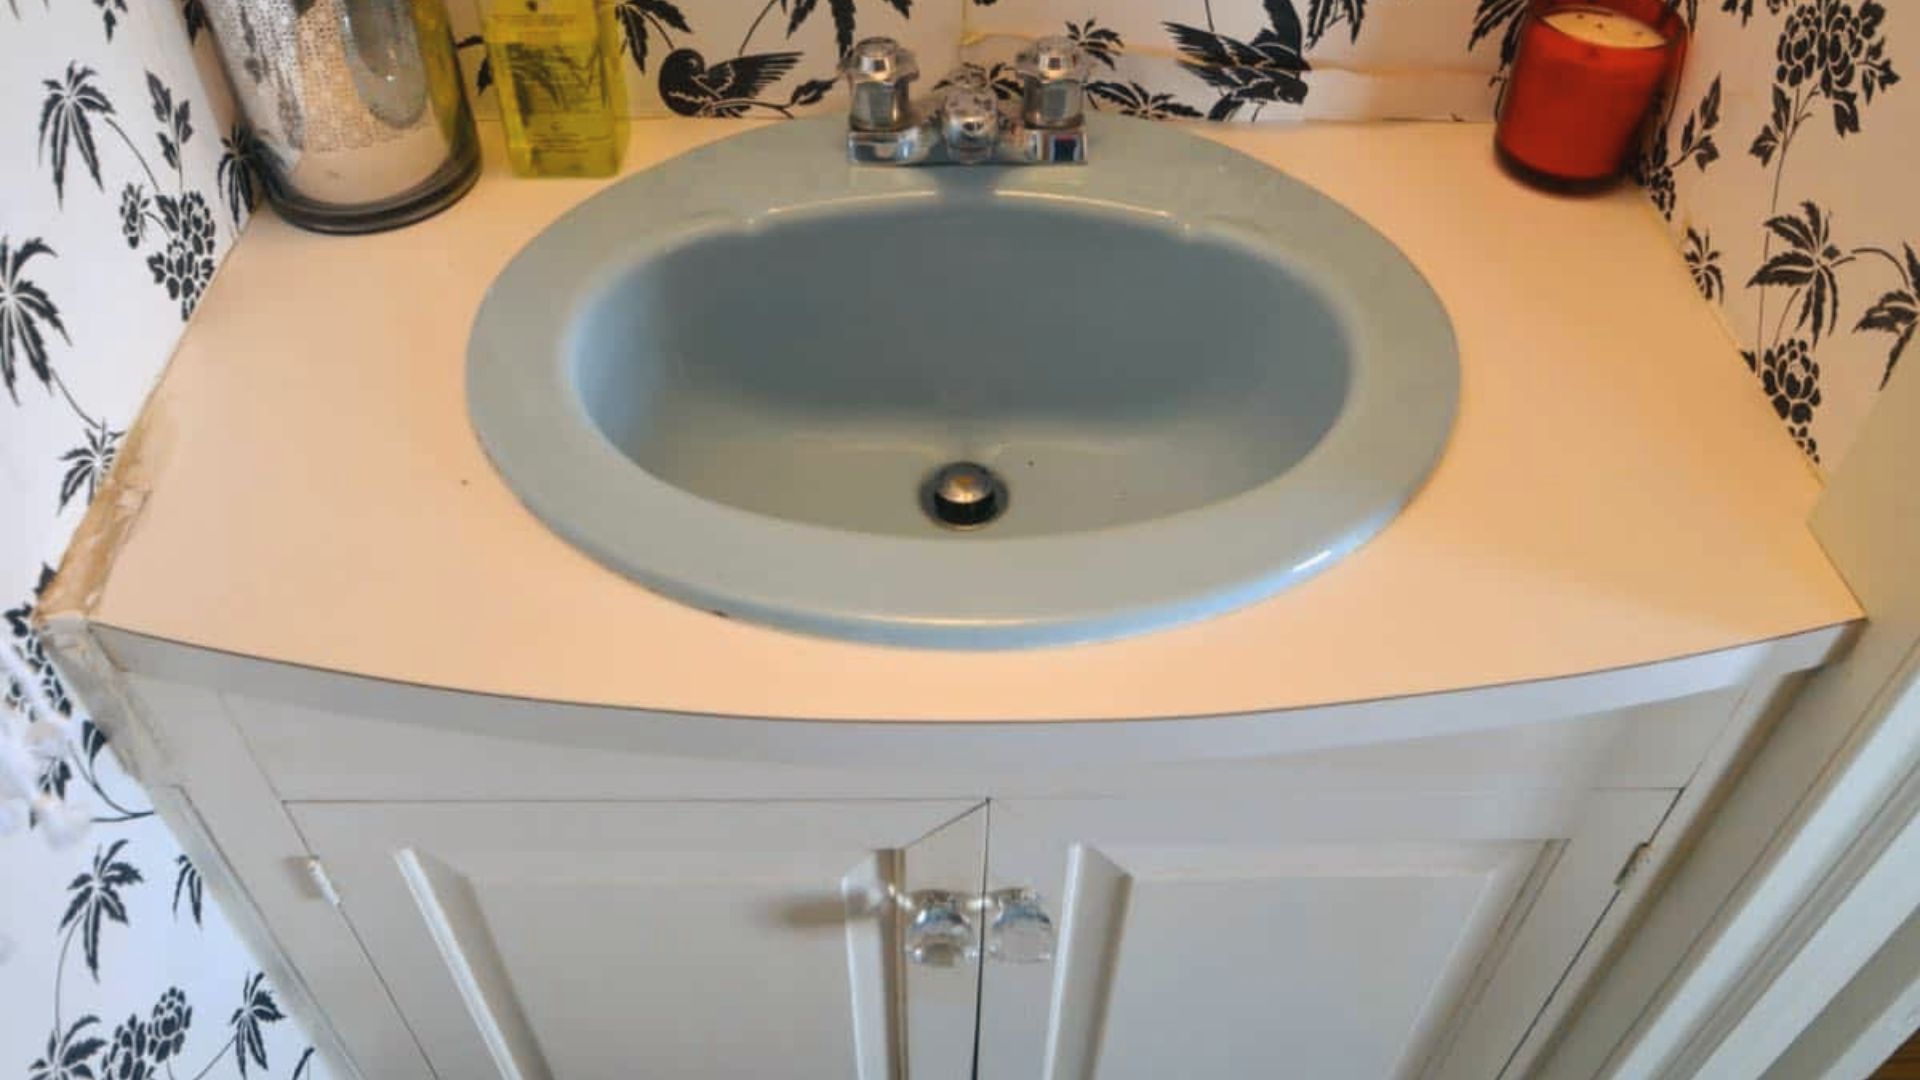
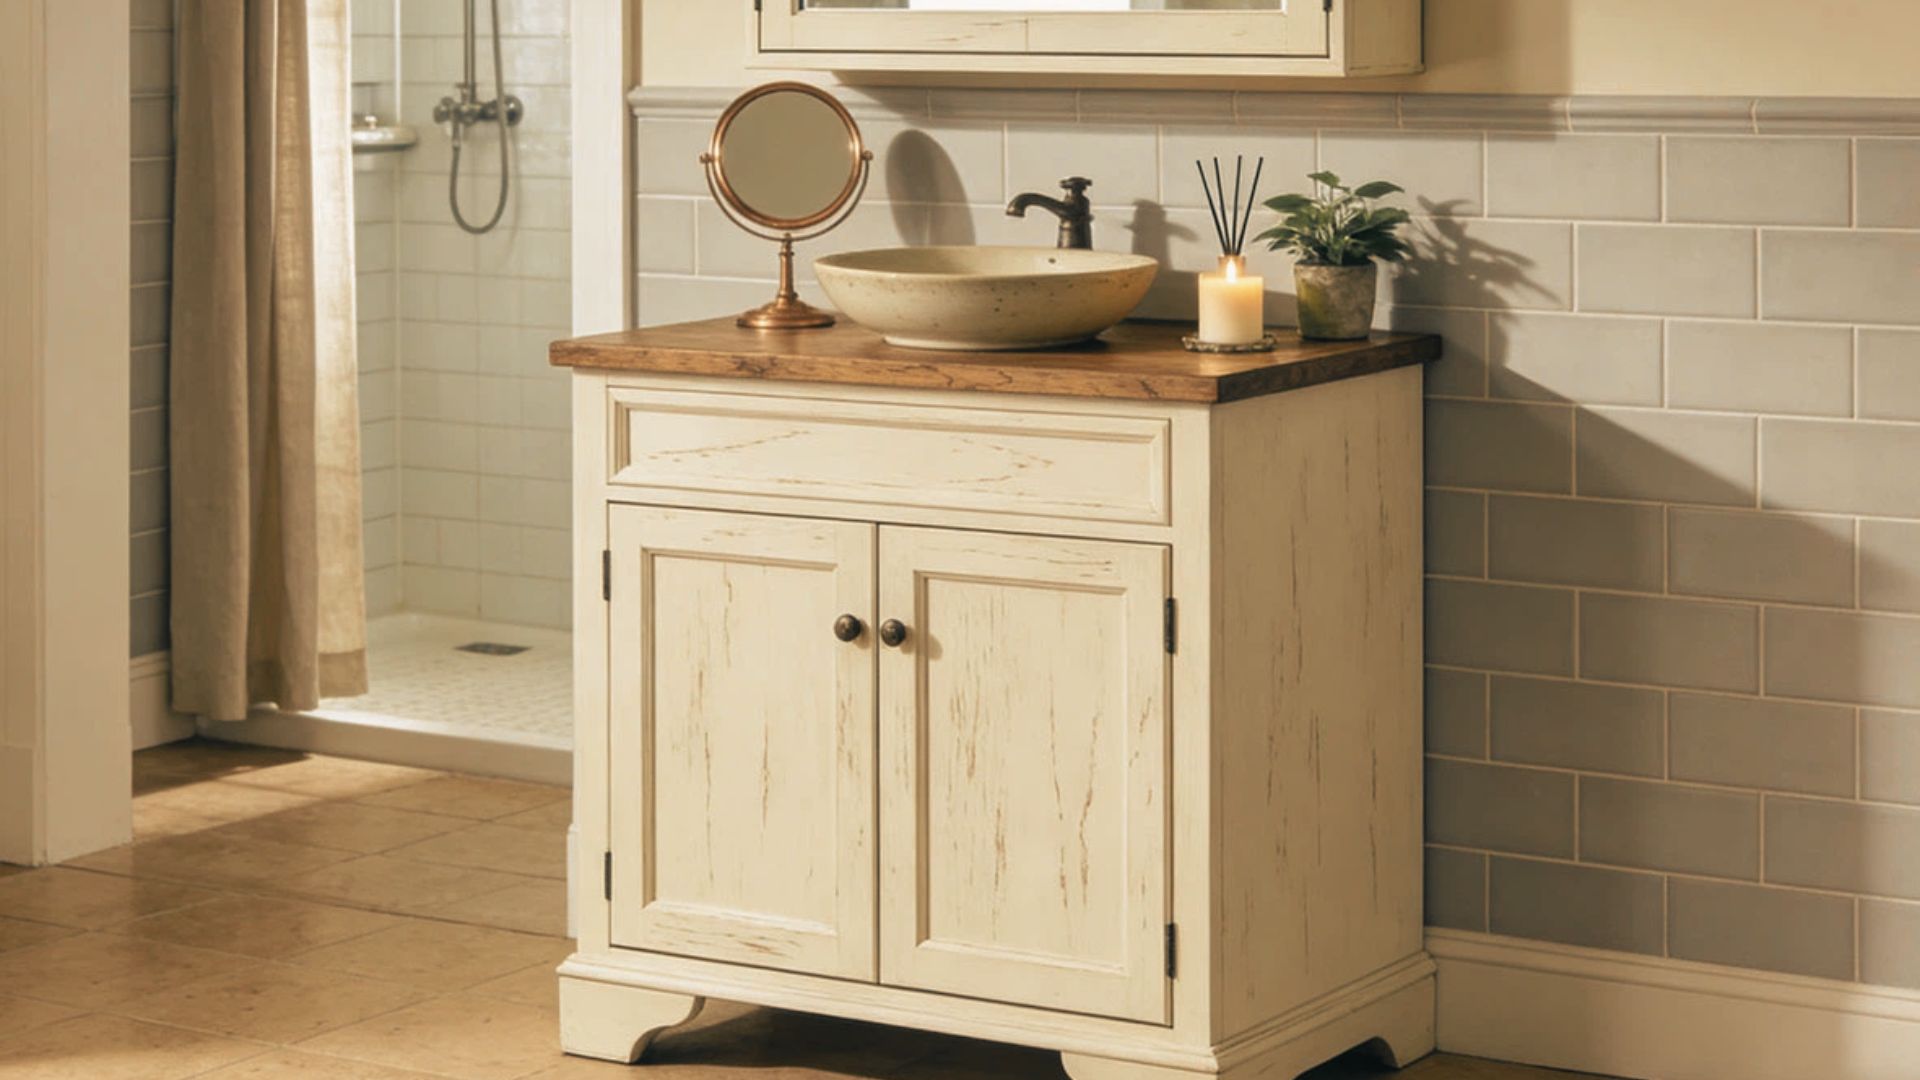
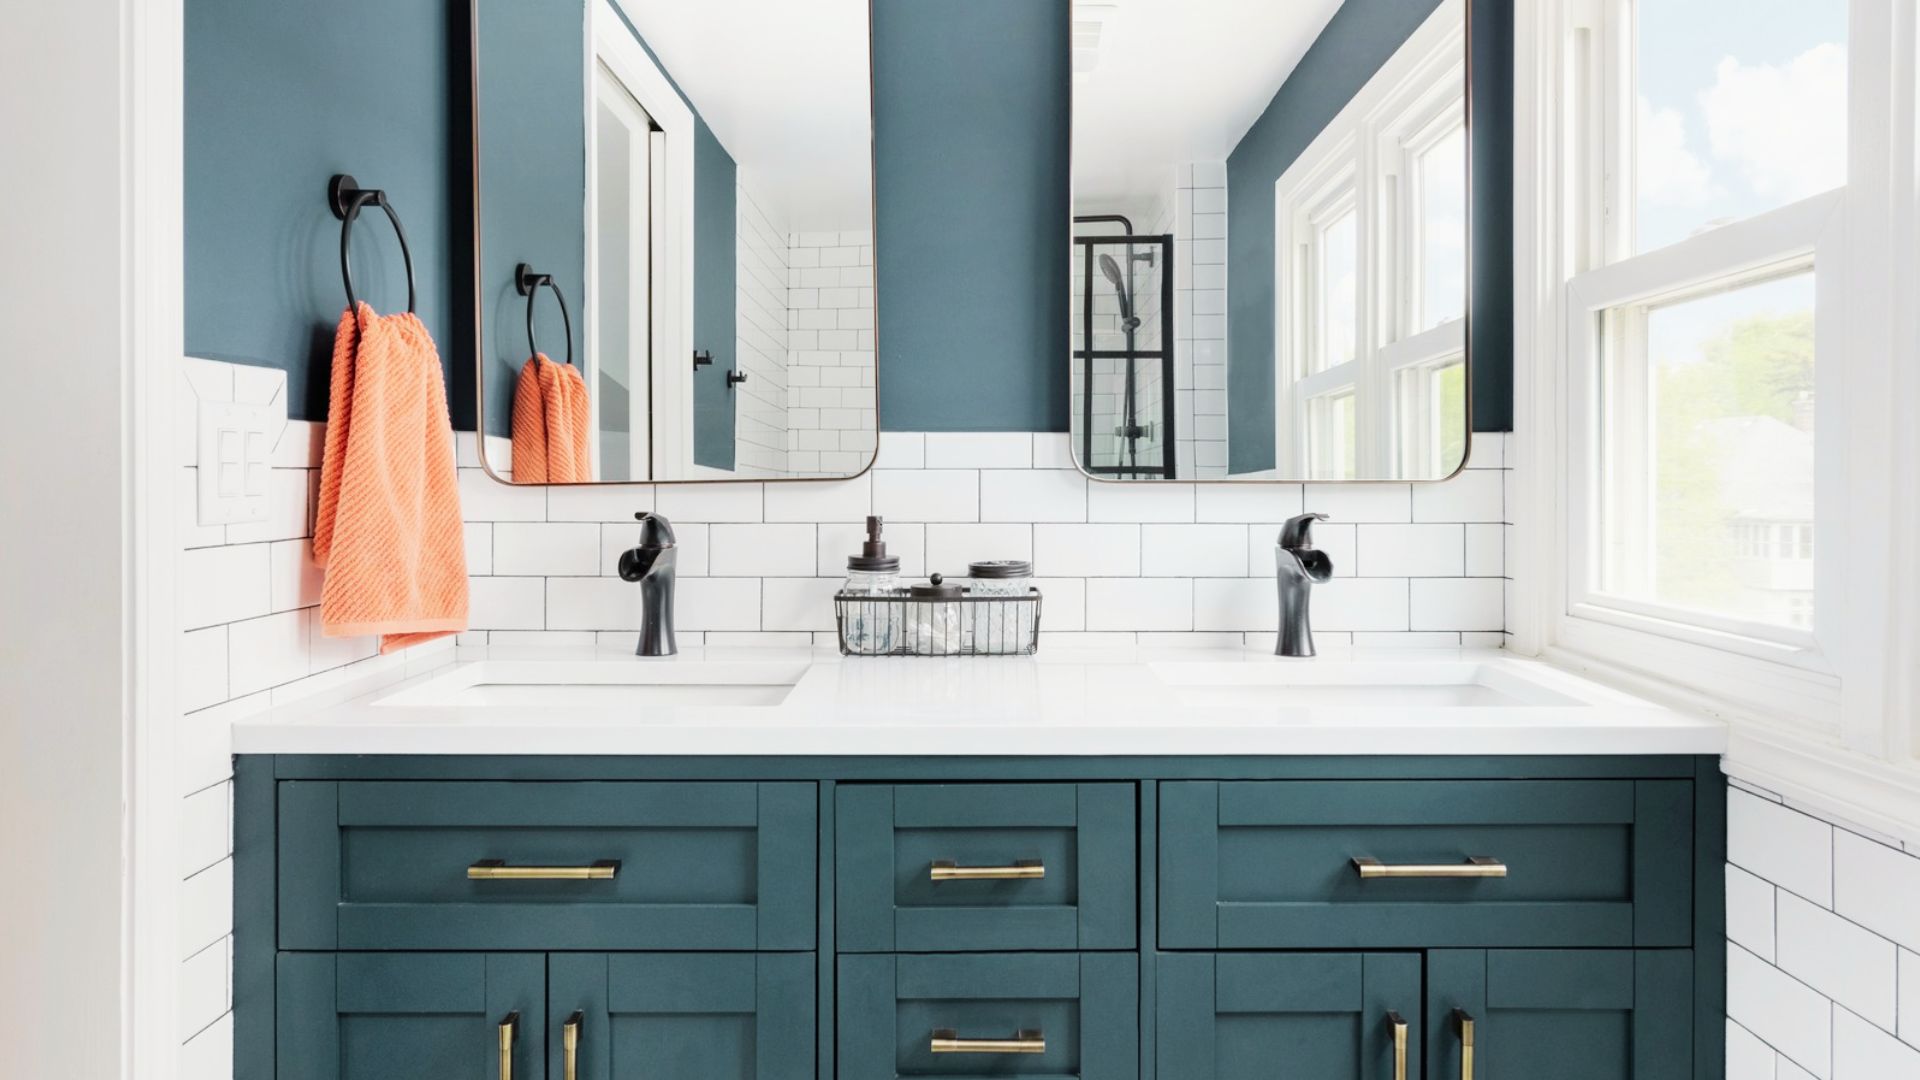
Best Bathroom Vanity Colors for a Modern Look
White, soft gray, navy, and sage green are all popular right now. Darker colors hide water spots better. Lighter colors make small bathrooms feel bigger.
How to Make Painted Cabinets Last Longer
Add a top coat. Use a soft cloth for cleaning, not abrasive scrubbers. Avoid harsh chemical sprays near the surface.
Tips for Getting Professional Results
Small changes in technique make a big difference in how your finished vanity looks and lasts.
- Roll in one direction only and finish with light brush strokes following the wood grain. Never overwork wet paint or it will streak.
- Cut in edges and corners with a brush first, then roll the flat areas. This prevents paint buildup in tight spots and gives you cleaner lines.
- Wipe spills right away and clean with a damp cloth only. Keep bleach sprays away from painted surfaces to avoid early wear.
- Run the exhaust fan during and after every shower. Reducing moisture in the air is one of the easiest ways to protect your paint job long term.
- Add a top coat if you skipped it the first time. A thin layer of polycrylic or water-based polyurethane adds real protection in humid bathroom conditions.
Conclusion
I know how satisfying it feels to step back and see a freshly painted vanity that looks brand new. You did that. No contractor, no big budget, just your own effort.
Refinishing a bathroom vanity is one of the most rewarding DIY projects you can take on. It saves money, looks great, and gives you a real sense of ownership.
Now it's your turn. Grab your supplies, set aside a weekend, and get started. If you've already done this, drop a comment below and share how it went. I'd love to hear about it.
Frequently Asked Questions
How Long Does It Take to Refinish Bathroom Vanity?
Most people finish in one to two weekends. The actual work takes about four to six hours. Drying time between coats adds more time.
Can You Refinish Laminate Bathroom Vanity Cabinets?
Yes, but you need a bonding primer made for slick surfaces. Sand lightly first. Laminate doesn't hold paint as easily as wood, so prep matters more.
Do Bathroom Vanity Cabinets Need a Top Coat?
It's not required, but it helps. A top coat adds a protective layer that makes paint last longer, especially in humid bathrooms.
Is Spray Paint Good for Bathroom Vanities?
Spray paint can work for a quick refresh, but it doesn't hold up as long as brush-and-roll methods. Use cabinet-specific spray paint if you go that route.
What Is the Best Paint for Bathroom Vanity Cabinets?
Waterborne alkyd paint is the top pick. It's durable, levels well, and dries hard. Benjamin Moore Advance and Sherwin-Williams Emerald Urethane are both solid choices.