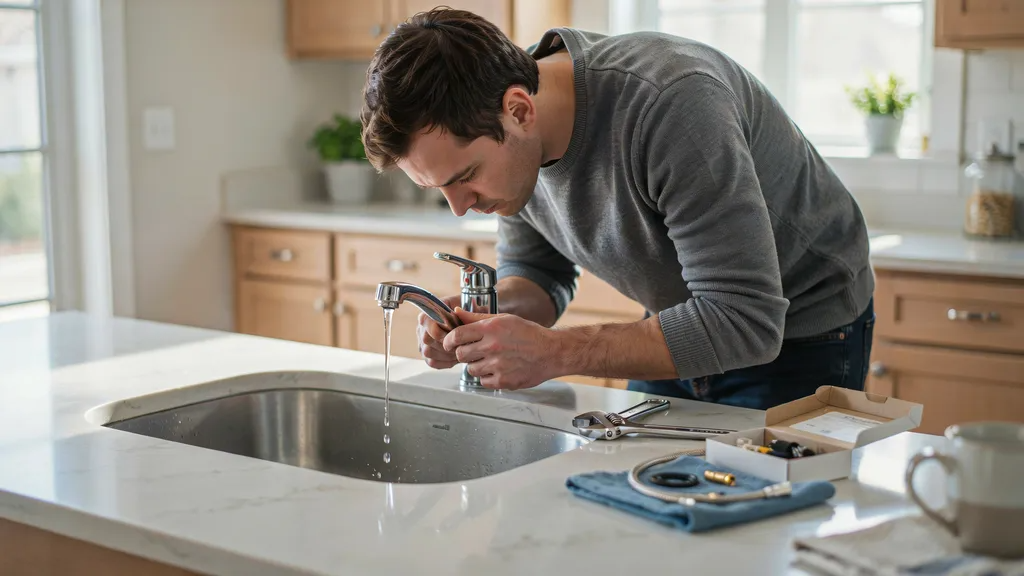
That drip, drip, drip at 2 a.m. used to drive me crazy. I tried ignoring it. That never worked.
If you are dealing with a faucet that won't stop dripping, you are in the right place. You can trust this guide, since every step comes from real fixes I have done myself at home.
This guide will show you exactly how to stop a dripping faucet, step by step.
I will walk you through what causes the drip, the tools you need, and how to fix it based on your faucet type.
You don't need to call a plumber for this. Most fixes take less than an hour with basic tools from home.
By the end of this guide, you will know how to stop the leak for good and keep it from coming back.
What Causes a Dripping Faucet?
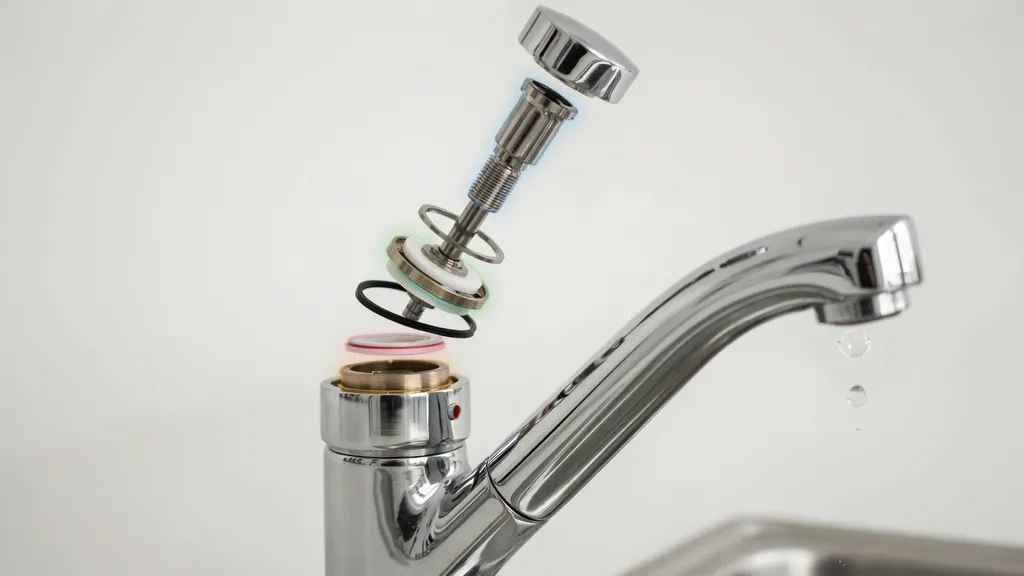
A dripping faucet usually comes down to one small part wearing out over time. A worn washer is the most common cause, since it loses its seal after years of use.
A damaged O-ring can also let water seep through, even when the handle is off. Sometimes the cartridge or valve stem inside the faucet stops working right, which leads to a steady drip.
A corroded valve seat, where the faucet connects to the spout, can also cause leaks. Other times, the internal parts just get loose or worn from daily use.
In rare cases, high water pressure pushes water past parts that are otherwise fine, causing drips even in a faucet with no real damage.
Tools and Materials You'll Need Before You Start
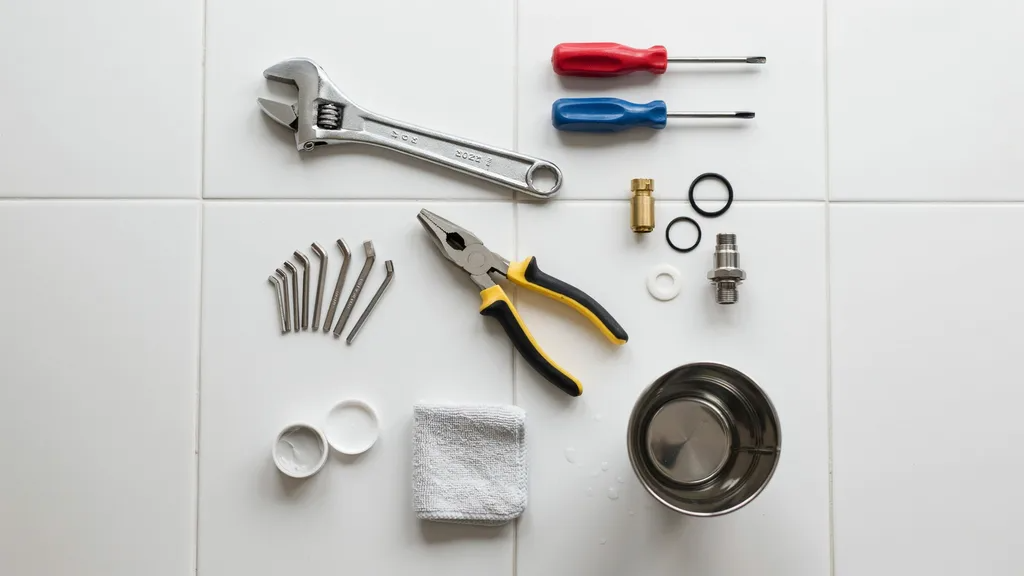
Gather these basic items before you begin, so you don't stop halfway through.
- Adjustable wrench
- Screwdrivers (flathead and Phillips)
- Allen wrench
- Needle-nose pliers
- Replacement washer, O-ring, cartridge, or stem
- Plumber's grease
- Cloth and bucket
How to Stop a Dripping Faucet: Step-by-Step Instructions
Follow these steps in order for the best results.
Step 1: Identify Which Faucet Is Leaking

Walk through your home and check every faucet, kitchen, bathroom, outdoor, and shower included. Sometimes the drip is easy to spot.
Other times it's hidden behind a wall or under a sink. If you can't find it by looking, check your water meter. A meter that keeps moving when no water is in use often points to a hidden leak somewhere in the line.
Step 2: Turn Off the Water Supply

Before you touch anything, shut off the water. Most sinks have small valves underneath for this. If you can't find them, turn off the main water supply to your home instead.
Once the water is off, open the faucet to drain out anything left in the line. This keeps you dry and avoids a mess later.
Step 3: Remove the Faucet Handle

Look for a small decorative cap on top of or behind the handle. Pop it off with a flathead screwdriver.
Underneath, you will find a screw holding the handle in place. Remove it, then gently lift or pull the handle off. Some handles twist off, others pull straight up, so check your faucet type first.
Step 4: Inspect the Internal Parts

With the handle off, look closely at the washer, O-ring, cartridge, stem, and valve seat. Check each one for cracks, wear, or a slimy buildup of minerals.
A washer that looks flat or worn down is often the problem. Cloudy white buildup on metal parts usually means hard water deposits are to blame.
Step 5: Replace the Damaged Part

Take the worn part to your local hardware store to match it exactly, or check the model number first.
Install the correct replacement washer, cartridge, stem, or O-ring in its place. Add a thin layer of plumber's grease on parts that move, like O-rings, to help them seal and last longer.
Step 6: Reassemble and Test the Faucet

Put all the parts back in the order you removed them. Reattach the handle and screw it in place, then snap the decorative cap back on.
Turn the water supply back on slowly. Run the faucet and watch closely for any drips. Check that the water flows smoothly with no odd noises.
Troubleshooting a Dripping Faucet That Won't Stop Leaking

Sometimes a faucet keeps dripping even after a repair, and a few common reasons explain why. You might have installed the wrong replacement part, which means it doesn't form a tight seal.
The cartridge could be sitting in the wrong position, even if it's the right part. A worn valve seat sometimes needs resurfacing instead of just a part swap.
Mineral buildup can also block a proper seal, even with new parts installed. High water pressure puts extra strain on parts and can cause drips on its own.
If the faucet is old or badly damaged, repairs may not hold, and it might be time to think about a replacement instead.
How to Repair Different Types of Dripping Faucets

Each faucet type has its own quirks when it comes to repairs. Compression faucets use a rubber washer that wears out over time and is usually the easiest fix.
Cartridge faucets have a single cartridge that controls flow and temperature, so a worn cartridge causes the drip.
Ball faucets use a rounded ball mechanism with several small parts, so check the springs and seats closely.
Ceramic disc faucets rely on two discs that can wear or crack, leading to slow drips.
Shower and bathtub faucets often combine several of these parts, so you may need to check both the handle and the valve body.
Can You Temporarily Stop a Dripping Faucet?

You might be tempted to try a rubber stopper or tape on the spout, but these quick tricks rarely work and can make a bigger mess.
The only solution you can fully count on is shutting off the water supply until you can make the real repair.
This stops the drip completely while you wait. A temporary fix makes sense if you are waiting on a replacement part to arrive, or if you don't have time to finish the job right away.
Just don't treat it as a long-term answer, since the underlying problem is still there.
When Should You Repair vs. Replace a Dripping Faucet?
Knowing when to fix a part versus replace the whole faucet can save you time and money.
| Repair It If… | Replace It If… |
| Only the washer, cartridge, or O-ring is worn | Replacement parts are unavailable |
| The faucet is otherwise in good condition | The valve seat or faucet body is badly corroded |
| Repairs are inexpensive | The faucet keeps leaking after repeated repairs |
| The leak is recent | The faucet is outdated or beyond repair |
Tips to Prevent Your Faucet from Dripping Again
A bit of regular care keeps drips from coming back.
- Avoid overtightening the handle when you turn it off
- Replace worn seals early, before they fail completely
- Clean mineral deposits regularly, especially with hard water
- Use the correct replacement parts made for your faucet model
- Inspect faucets periodically for early signs of wear
Conclusion
That drip kept me up more nights than I'd like to admit, until I finally sat down and fixed it myself. It took less time than I expected.
You can do the same. Grab your tools and give these steps a try this weekend.
That annoying sound doesn't have to stick around. Once you know how to stop a dripping faucet, the next leak won't catch you off guard either.
Tell me how it worked out for you in the comments below.
Frequently Asked Questions
Why does my faucet keep dripping after I change the washer?
The cartridge or valve seat may also be worn and need replacing.
Is a dripping faucet a big deal?
Yes, it wastes water and can raise your water bill over time.
Can I fix a dripping faucet without turning off the water?
No, you must shut off the water supply before starting any repair.
How do I know what type of faucet I have?
Check the handle style and brand, or look up the model number online.
Do all faucets use a washer?
No, some use cartridges, balls, or ceramic discs instead of a rubber washer.