I didn't realize how dirty my Keurig had gotten until my coffee started tasting off. Slightly bitter. Weaker than usual.
That's when I looked into cleaning Keurig with vinegar and it made a huge difference.
In this article, I'll cover whether vinegar is safe for your machine, how often you should clean it, and a full step-by-step method that works.
No expensive products. No guesswork. Just a simple, honest guide based on what actually gets the job done.
Does Keurig Allow Vinegar for Cleaning?
This is a question I had too. Keurig does not officially recommend vinegar for descaling.
They prefer their own descaling solution. But white vinegar has been used by millions of Keurig owners for years and it works.
It's acidic enough to break down mineral buildup inside the machine.
As long as you rinse the machine thoroughly afterward, vinegar is a practical and affordable option that gets the job done without any damage to your Keurig.
How Often Should You Clean a Keurig?
A clean Keurig brews better coffee every single time.
- Keurig officially recommends descaling your machine every three months to keep it running properly.
- If your coffee tastes bitter, weak, or just off, that's a clear sign it needs cleaning right away.
- Slow brewing or a machine that takes longer than usual to heat up also signals mineral buildup.
- Visible white or brown deposits around the water reservoir or needle mean it's overdue for a clean.
- If you use hard water at home, you may need to clean your Keurig more often than every three months.
Don't wait for problems to show up. Set a reminder and clean it on schedule.
Best 7 Cleaning Keurig with Vinegar or Alternative Methods
Cleaning a Keurig with vinegar is straightforward when you follow the right steps in the right order.
1. Preparing the Machine Before Cleaning
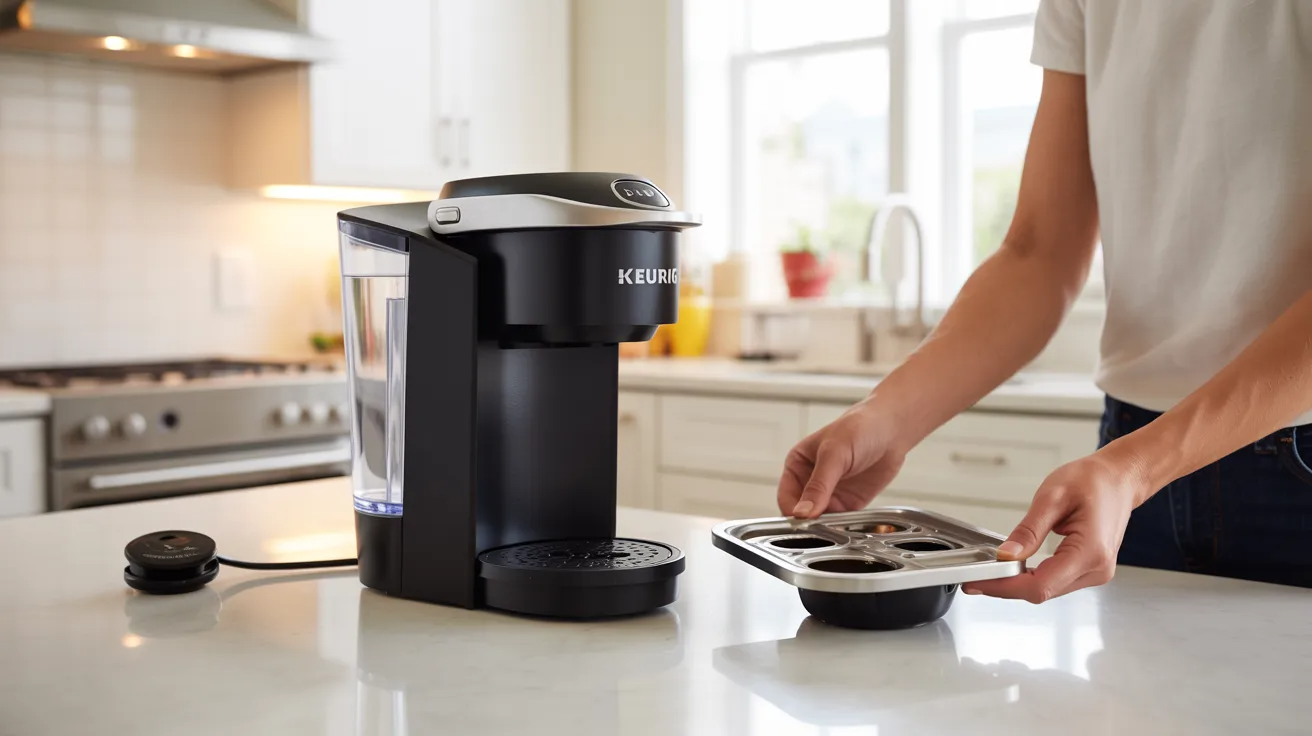
Before you start, turn off your Keurig and unplug it. Remove any used K-Cup pods and empty the drip tray.
Give the outside a quick wipe down with a damp cloth. Make sure the machine is fully cooled before you begin.
Starting with a clean, cool, and unplugged machine makes the whole process safer and more effective. This step takes less than two minutes.
2. Emptying the Water Reservoir and Removing the K-Cup Pod
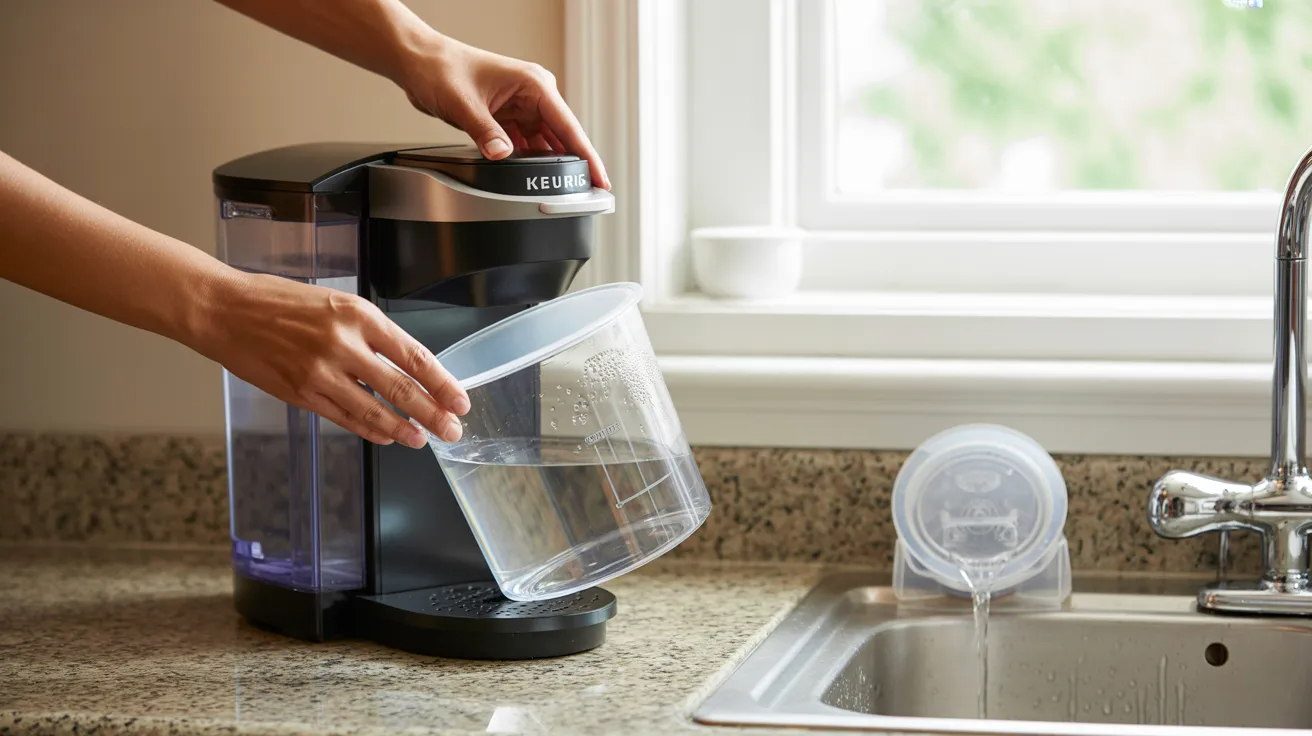
Take out the water reservoir and pour out any remaining water. Remove the K-Cup pod holder and rinse it separately under warm water.
Check for any debris or old coffee grounds stuck near the needle. A clean reservoir and pod area means the vinegar solution can do its job without anything blocking the internal parts.
Dry the reservoir lightly before adding your cleaning solution.
3. Mixing White Vinegar and Water in the Reservoir

Fill the reservoir with a mix of white vinegar and water. A common ratio is half vinegar and half water.
For a standard Keurig, that's about six ounces of white vinegar and six ounces of water. This mixture is strong enough to break down limescale and mineral deposits inside the machine without causing any damage.
Put the reservoir back in place before moving to the next step.
4. Running Brew Cycles Without a K-Cup
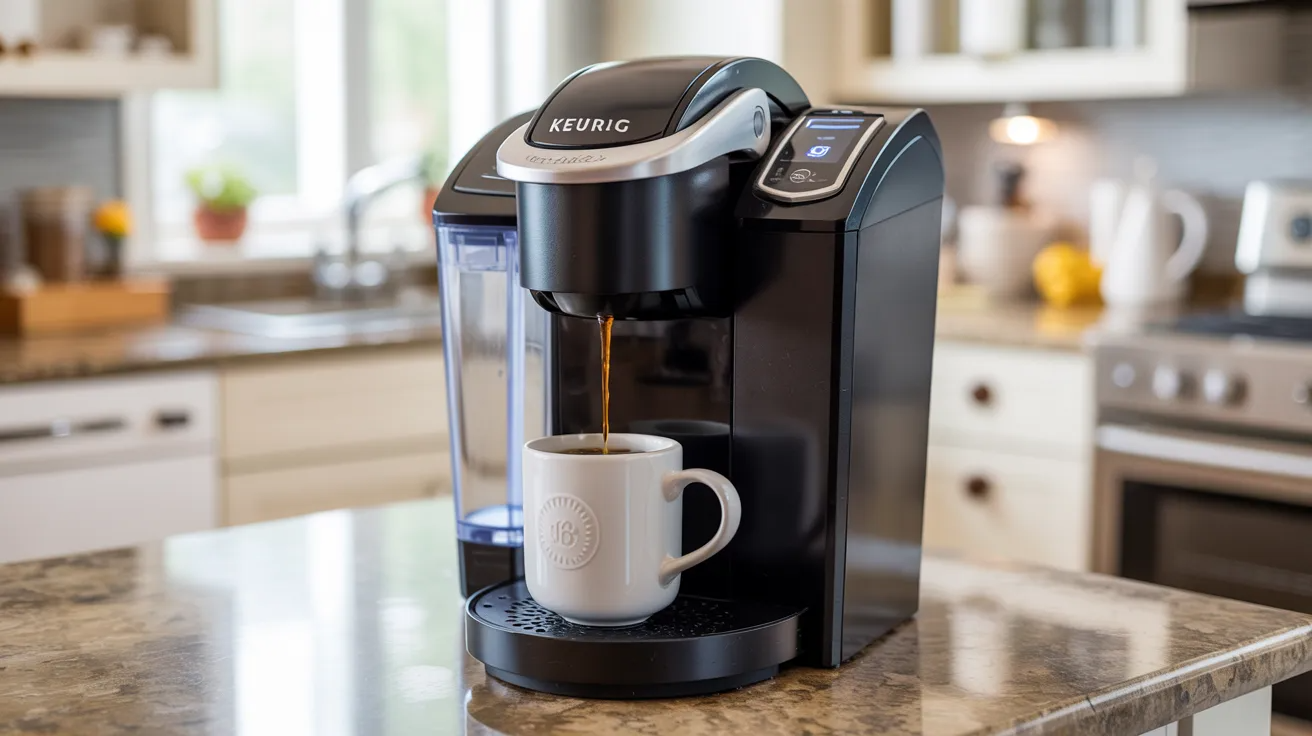
Place a large mug on the drip tray. Do not put a K-Cup in the machine. Turn it on and run a full brew cycle using the largest cup setting.
The vinegar and water solution will run through the internal parts, breaking down buildup along the way.
Keep repeating these brew cycles until the reservoir is completely empty. This may take several cycles depending on your machine size.
5. Letting the Solution Sit for Internal Descaling
Once the reservoir is empty, turn the machine off and let it sit for at least thirty minutes.
This resting period allows any remaining vinegar solution inside the machine to work on stubborn mineral deposits that the brew cycles may have missed.
Do not skip this step. It makes a real difference, especially if your machine has not been cleaned in a long time or if you have very hard water.
6. Rinsing Thoroughly with Fresh Water Cycles
After the resting period, fill the reservoir with clean, fresh water. Run full brew cycles again without a K-Cup until the reservoir is completely empty.
This flushes out the vinegar and any loosened mineral deposits from inside the machine. Repeat this at least two to three times.
Each rinse cycle makes the next cup of coffee taste cleaner and removes more of the vinegar from the internal parts.
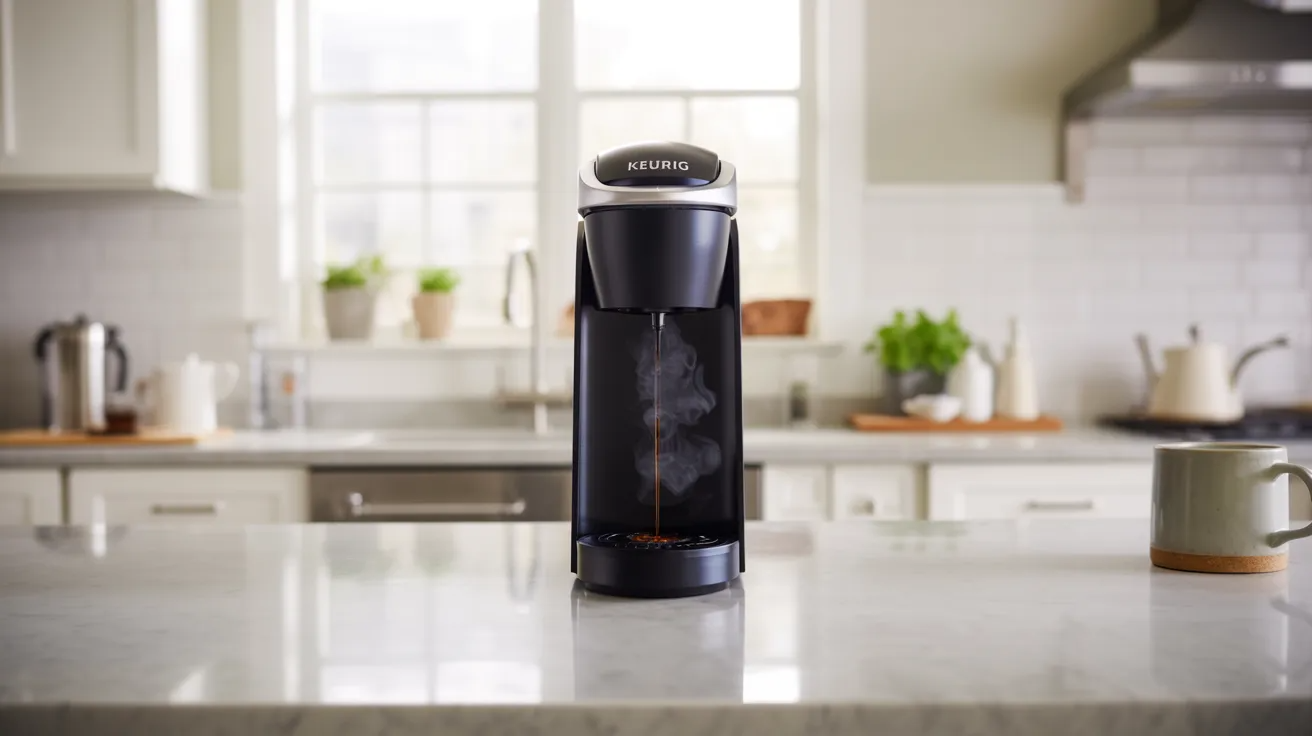
7. Repeating Rinse Cycles Until Vinegar Smell Is Fully Removed

Keep running fresh water cycles until you can no longer smell vinegar in the water coming out. This usually takes three to five full reservoir cycles.
Smell the water in the mug after each cycle. Once it smells clean and neutral, your Keurig is ready to brew coffee again.
Skipping rinse cycles is the most common mistake people make. Always rinse until the smell is completely gone.
Tips for Cleaning a Keurig with Vinegar
Keeping your Keurig clean ensures better-tasting coffee every time.
- Use only white distilled vinegar for safe and effective descaling
- Run multiple fresh water rinse cycles to remove all vinegar residue
- Clean removable parts like the pod holder and reservoir separately
- Let the vinegar solution sit for 20–30 minutes for deeper cleaning
- Descale every 2–3 months to prevent mineral buildup
A simple routine like this keeps your machine running smoothly and your coffee tasting fresh.
Conclusion
Cleaning your Keurig with vinegar is one of the easiest ways to keep your machine running well.
I do this every three months and the difference in my coffee's taste is immediate. It costs almost nothing and takes under an hour.
Try it today and see for yourself. If this helped you, share it with a friend who's been dealing with bad coffee.
Drop a comment below. I'd love to hear how it went.
Frequently Asked Questions
Can I use apple cider vinegar instead of white vinegar to clean my Keurig?
Stick to white vinegar. Apple cider vinegar smells stronger and can leave residue inside your machine.
How many rinse cycles do I need after cleaning with vinegar?
Run three to five full reservoirs of fresh water until the vinegar smell is completely gone.
Will cleaning with vinegar void my Keurig warranty?
It might. Keurig officially recommends their own descaling solution, so check your warranty terms first.
How long does it take to clean a Keurig with vinegar?
About one hour, including brew cycles, the resting period, and rinse cycles.
Why does my coffee still taste like vinegar after cleaning?
You need more rinse cycles. Keep running fresh water through until there is no smell or taste left.