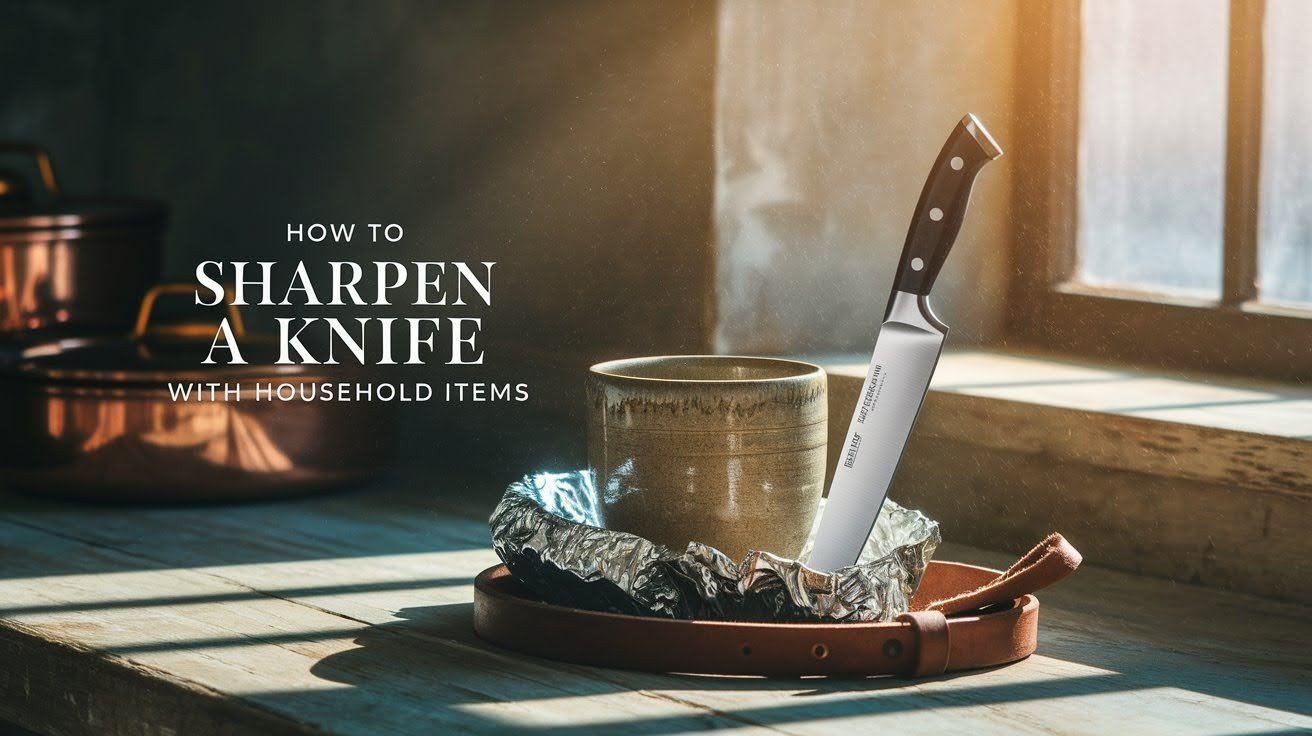
I have learned over the years that sharp knives make cooking safer and easier. You do not need costly gear or professional help to keep them in good shape. I often use simple things at home to get a clean edge.
A coffee mug, a leather belt, or a strip of sandpaper can all work. The rough base of a mug helps restore a blade. A belt gives a smooth polish.
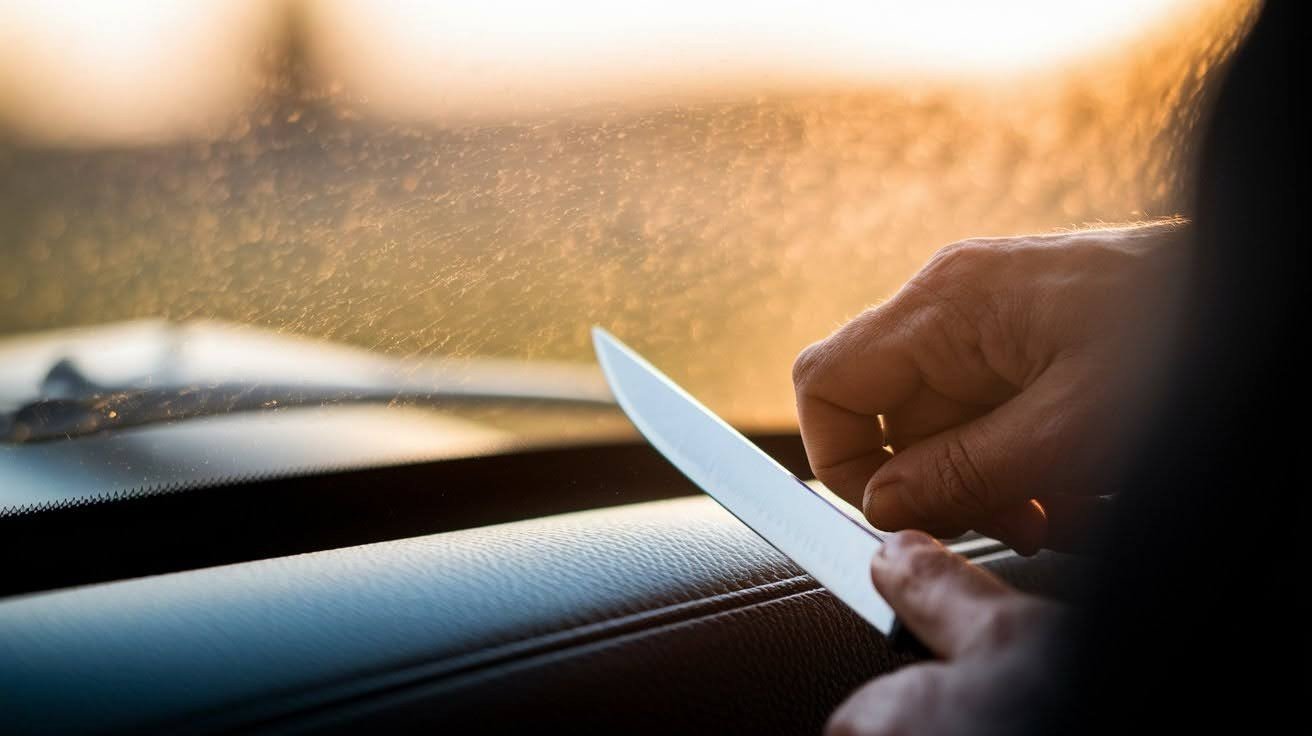
I always hold the knife at a steady angle and move it slowly. Good light makes the process safer.
These small habits keep my knives ready for daily meals.
The Problem: Dull Knife, No Sharpener
A dull knife makes cooking dangerous and difficult. You’ll know your blade needs attention when it crushes tomatoes instead of slicing them or when you need to press hard to cut through food. These signs mean your knife edge has worn down from regular use.
Professional sharpening services aren’t always available when you need them most. Many people don’t own proper sharpening stones or electric sharpeners. This leaves you stuck with a useless knife right when you need it most.
The Solution: Household Items That Work
Common items in your home can bring life back to a dull blade. Coffee mugs, car windows, leather belts, and sandpaper all have surfaces that can sharpen knives. These methods won’t replace professional sharpening, but they work well for emergencies and basic maintenance.
Primary Household Sharpening Methods
These three methods work best for most people and produce good results with items you likely have at home.
Coffee Mug Method

The ceramic ring on the bottom of most coffee mugs creates an excellent sharpening surface. This unglazed ceramic has just the right texture to restore a knife edge. Turn any mug upside down and look for the rough ceramic ring around the base.
Hold the knife at a 20-degree angle against the ceramic ring. Draw the blade across the surface from heel to tip in one smooth motion. Repeat this process 10-15 times on each side of the blade, keeping the angle steady throughout.
Always keep your fingers away from the blade edge during this process. Work slowly and maintain control of both the knife and mug. Clean the ceramic surface before and after use to remove any metal particles.
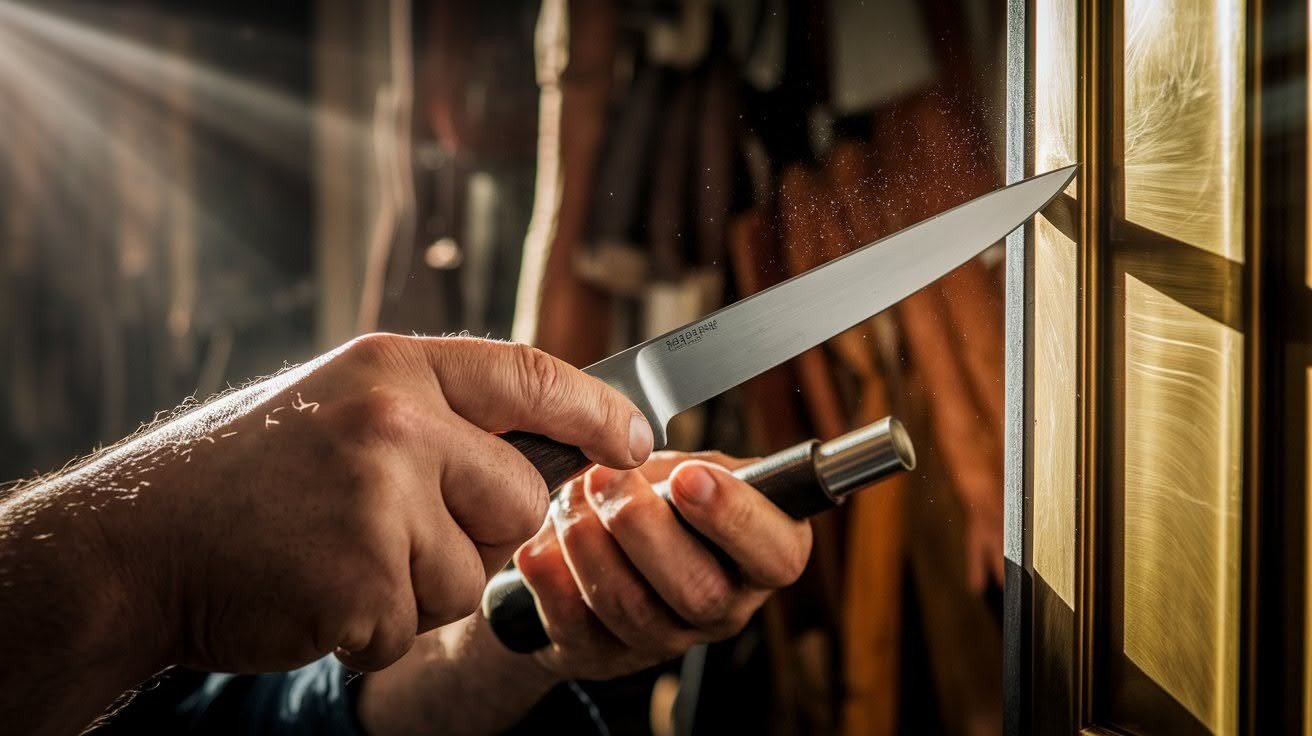
Car Window Edge Technique
The top edge of car windows has a fine grit that works well for knife sharpening. This method works best on older vehicles where the window edge has developed a slightly rough texture from use and weather exposure.
Roll the window down slightly to access the top edge safely. Hold the knife at the same 20-degree angle and draw it along the window edge carefully. This technique requires more caution than the mug method due to the glass surface.
The grit level on car windows is typically finer than ceramic mugs. This makes it better for final polishing rather than major sharpening work. Use this method only when you can do so safely and legally.
Leather Belt Stropping
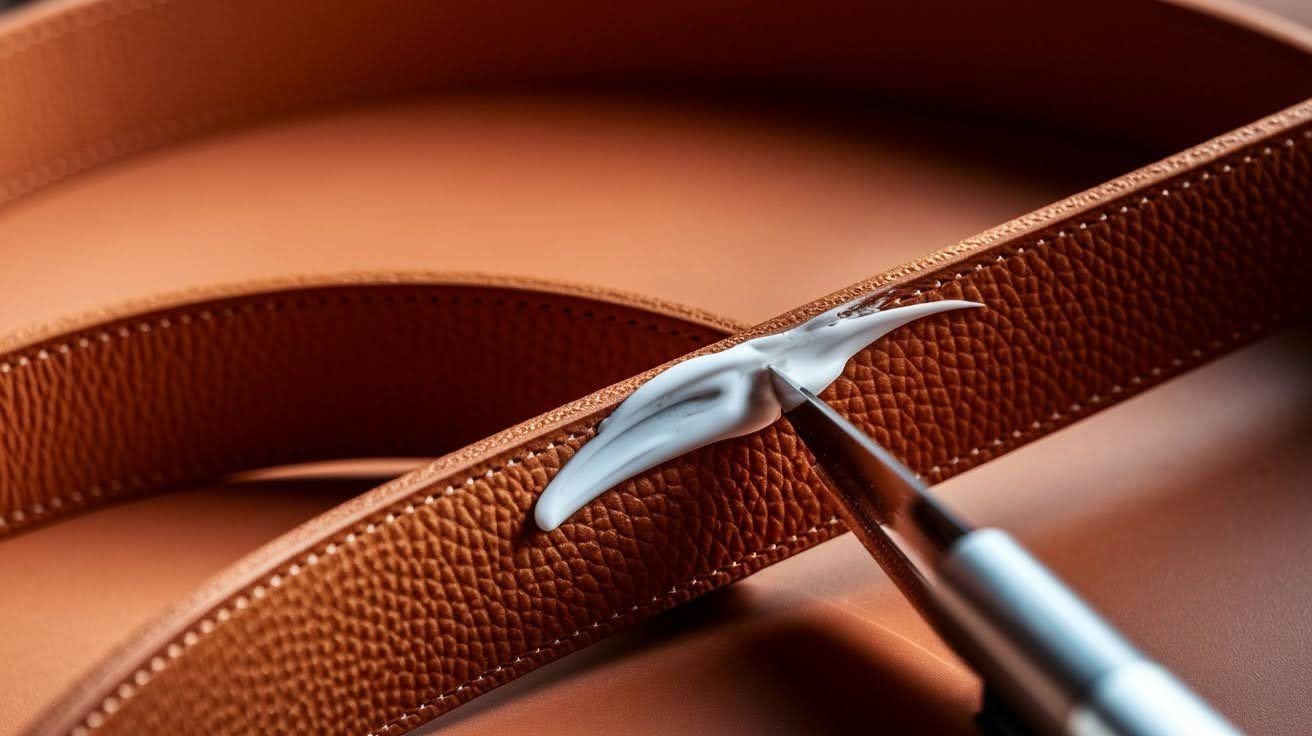
Any leather belt can serve as a makeshift strop for finishing knife edges. This method polishes the blade rather than removing metal, making it perfect for maintaining sharp knives. Remove the belt from your waist and hold it tight between your hands.
Draw the knife backward across the leather surface, keeping the edge trailing behind the motion. This backward motion prevents the blade from cutting into the leather. Work both sides of the knife equally with light pressure.
Add a small amount of toothpaste to the leather for better results. The mild abrasives in toothpaste help polish the metal edge. This combination works especially well for putting the final finish on a knife that’s already fairly sharp.
Additional Sharpening Techniques
These methods require more setup but can handle severely dull knives that need major work.
Sandpaper Method
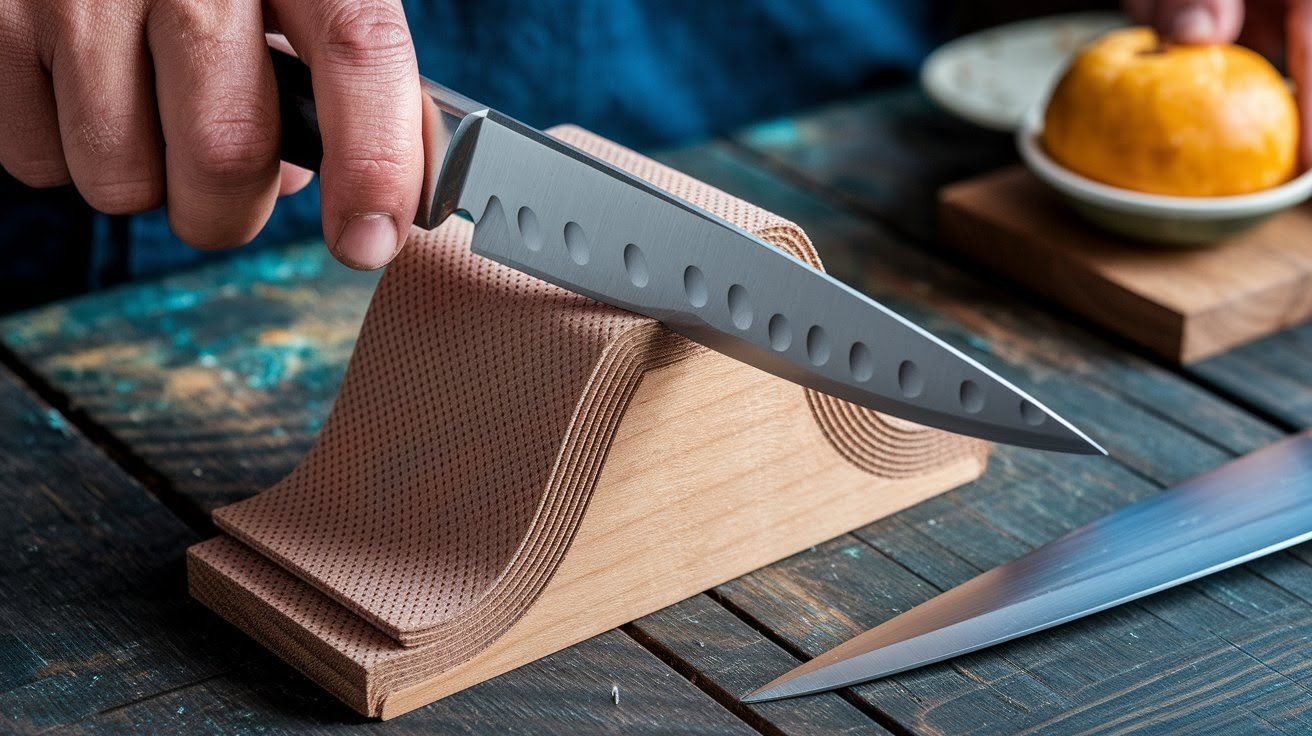
Sandpaper provides controlled grit levels for systematic knife sharpening. Start with 200-grit paper for very dull knives, then progress through 400, 600, and 1000-grit papers. This method takes more time but produces professional-level results.
Fold the sandpaper over a flat surface or wooden block for stability. Hold the knife at a consistent 20-degree angle and move it across the paper from heel to tip. Count your strokes to ensure equal treatment on both sides of the blade.
This technique works best for knives that are extremely dull or damaged. The coarse grits remove metal quickly, while fine grits polish the edge smooth. Clean the blade between grit changes to remove metal particles and debris.
Glass Surface Sharpening
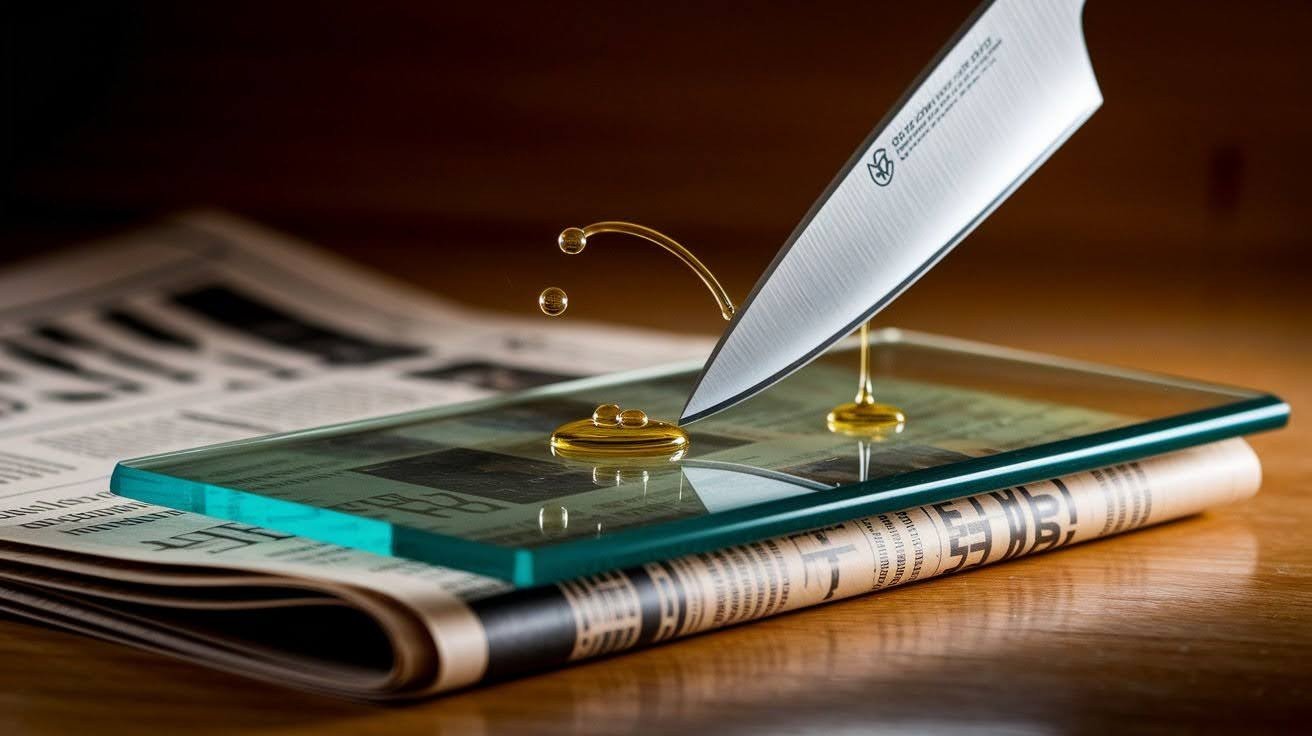
Smooth glass surfaces can sharpen knives when used with proper lubrication and technique. Place a newspaper under the glass to catch metal particles and prevent slipping. Add a few drops of oil or water to reduce friction and heat buildup.
Use a curved dragging motion across the glass surface rather than straight strokes. This technique requires steady hands and careful attention to blade angle. The glass surface is harder than most knife steels, making it effective for sharpening.
Work slowly with this method to avoid accidents or damage to the knife tip. Glass sharpening works well for emergencies, but shouldn’t be your first choice if other methods are available.
Honing Steel Alternative Methods
Any smooth steel surface can work like a honing steel for knife maintenance. The spine of another knife, steel rulers, or metal door frames all have the right hardness for honing. Remember that honing straightens the edge rather than sharpening it.
Hold the steel surface steady and draw the knife along it at the proper angle. Use the same motion you would with a professional honing steel. This method works best for maintaining knives that are already reasonably sharp.
The key difference between honing and sharpening is metal removal. Honing realigns the existing edge, while sharpening removes metal to create a new edge. Both techniques are useful, but they serve different purposes in knife care.
Proper Technique Essentials
Success with household sharpening methods depends on consistent technique and patience. These fundamentals apply to all the methods described above.
- Maintain the same angle throughout each stroke – usually 20 degrees
- Use light, steady pressure – heavy pressure can damage the blade
- Keep edge-trailing motions when stropping – prevents cuts and damage
- Work both sides equally – balance prevents uneven wear patterns
Consistency matters more than speed when sharpening knives. Focus on repeating the same motion and angle rather than trying to work quickly.
When DIY Isn’t Enough?
Home tricks work for minor touch-ups, but seriously damaged or dull knives require expert sharpening to restore their true edge
Limitations of Household Methods
Household sharpening techniques work well for emergencies and basic maintenance, but have clear limits. These methods can’t fix seriously damaged blades or restore factory-sharp edges to very dull knives. Think of them as temporary solutions rather than permanent replacements for proper sharpening tools.
Professional sharpening becomes necessary when household methods stop producing results. Chips, deep nicks, or extremely worn edges need professional attention or proper sharpening equipment.
Recommended Proper Sharpening Tools
Serious cooks should invest in quality sharpening equipment for regular knife maintenance. These tools produce better results and last longer than household alternatives.
- Whetstones – provide precise control and professional results
- Electric sharpeners – offer convenience and consistent angles
- Pull-through sharpeners – work well for quick maintenance
- Honing steels – essential for regular edge alignment
Combining household techniques with proper tools gives you options for any situation. Use household methods for emergencies and proper tools for regular maintenance.
Common Mistakes to Avoid
Many people make basic errors when learning how to sharpen a knife with household items. These mistakes can damage your knife or make it less sharp than when you started.
- Using the wrong angle, most knives need 20 degrees per side
- Applying too much pressure, let the abrasive do the work
- Over-sharpening, know when to stop working the edge
- Choosing inappropriate tools, avoid anything too rough or uneven
Taking your time and using light pressure produces better results than rushing through the process. Practice on old knives before working on your best kitchen blades.
Conclusion
Learning how to sharpen a knife with household items gives you valuable skills for kitchen emergencies. Coffee mugs offer the most accessible option, while leather belts provide excellent finishing results. Sandpaper methods work best for severely dull blades that need major restoration.
These techniques serve as stepping stones to understanding proper knife care. They help you recognize what sharp knives feel like and how different methods affect blade performance. Regular practice with household items builds the skills needed for advanced sharpening tools.
Remember that these methods supplement rather than replace proper knife maintenance. Combine household techniques with quality sharpening tools for the best long-term results. A sharp knife makes cooking safer, faster, and more enjoyable for everyone who uses it.
Frequently Asked Questions
How often should I sharpen my kitchen knives at home?
I like to check my knives every few weeks if I cook regularly. Dull knives slow me down and can be dangerous. Using household items for light touch-ups between professional sharpening keeps my knives slicing smoothly.
Can I really sharpen a knife using a coffee mug?
Yes! The unglazed ceramic ring at the bottom of most mugs works surprisingly well. I hold my knife at a 20-degree angle and draw the blade across it. It restores basic sharpness quickly, perfect for emergencies in my kitchen.
Is honing with a leather belt safe for all knives?
Absolutely, but only for finishing edges. I use a backward motion across the belt to polish without cutting the leather. Toothpaste adds a little abrasive boost. This works best on knives that are already fairly sharp.
Can I use sandpaper to sharpen very dull knives?
Yes, sandpaper is great for major sharpening. I start with coarse grits and gradually move to finer ones. It removes metal quickly, but patience is key. This method is excellent for older knives that need serious attention.
When should I consider professional sharpening instead of household methods?
If your knife has deep chips, serious nicks, or a completely worn edge, household tricks aren’t enough. I’ve learned that professional sharpening or proper whetstones restore factory-sharp results that DIY methods simply can’t achieve.