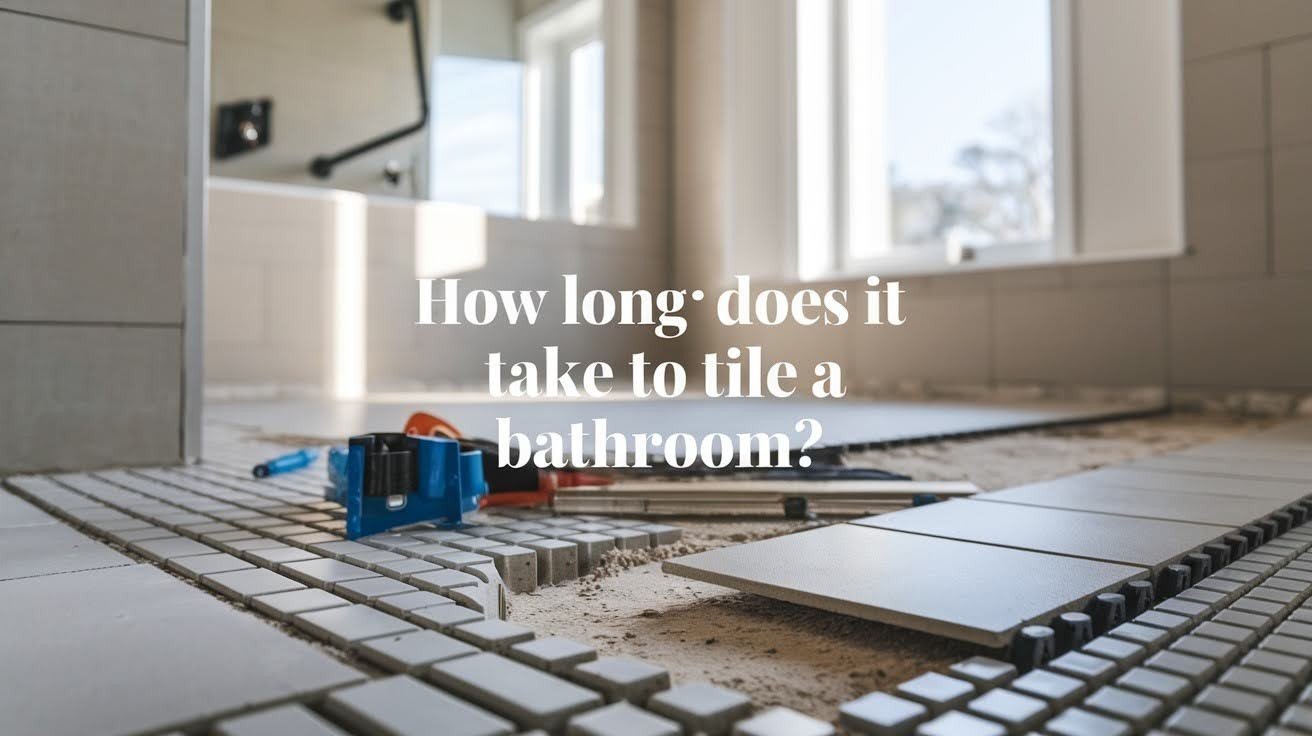
After finishing over 50 bathroom makeovers in the past ten years, I’ve learned that most tiling jobs take twice as long as homeowners think. My first DIY bathroom took three weeks instead of the planned weekend, a costly lesson in proper planning.
For most bathrooms, tiling takes 2-7 days based on size, how tricky the job is, and the installer’s skill. This timeline comes from tracking real jobs, from 40-square-foot powder rooms to 150-square-foot master baths.
You’ll learn the exact things that control your timeline: bathroom size, tile difficulty, surface prep needs, and skill gaps. I’ll share real examples from actual jobs, plus time-saving tricks and costly mistakes to avoid.
This guide gives you honest expectations and practical ways to keep your job on track and within budget.
Factors That Control Bathroom Tiling Times
Different things can speed up or slow down your job a lot. In my 15 years of home renovation work, I’ve seen how these factors make or break project timelines.
Size of Bathroom
Small bathrooms up to 50 square feet usually take 1 to 2 days to finish. These tight spaces have less area to cover, making them great for weekend DIY jobs.
Most homeowners can finish a small powder room or half bath in this time. The small space also means fewer cuts and less stuff to move around.
Medium bathrooms between 50 to 100 square feet usually need 3 to 4 days of work. This size includes most standard full bathrooms with a tub or shower combo.
The extra space means more tile work and maybe trickier layouts around fixtures. You’ll also need more time for cutting tiles to fit around toilets, sinks, and other things in the way.
Large bathrooms over 100 square feet can take 5 to 7 days to tile right. These big bathrooms often have separate showers, double sinks, and fancier designs.
Master bathrooms with multiple areas need careful planning and timing. The bigger surface area and tricky layouts need more care and time.
How Tricky Is Your Tile Layout?
Simple straight-line layouts move much faster than fancy patterns. Basic grid patterns let you work quickly without hard measuring or cutting.
When you tile a bathroom with a simple design, the work becomes more predictable. You can keep a steady pace and avoid time-eating fixes.
Hard patterns like herringbone or detailed mosaics can easily double your time. These designs need careful measuring, perfect alignment, and lots of small cuts.
My neighbor tried a herringbone pattern in his shower and spent a whole weekend just planning. Fancy patterns look great, but need patience and skill to do right.
Tile Size and Type
Large tiles cover more area quickly but need longer cutting times when trimming around fixtures. 12×24-inch tiles can speed up work on open walls a lot.
But large tiles need perfectly flat surfaces and exact cuts for good results. Any mistakes show up more with bigger tiles.
Small mosaic tiles need careful placement and take much longer to put in. Each tiny piece needs individual attention and careful spacing.
I once helped a friend install penny tiles on his bathroom floor, and it took three times longer than we thought. The detailed work looks beautiful, but takes forever.
How Much Experience Do You Have?
Professional installers work faster and better than most DIY folks. They know shortcuts, have the right tools, and rarely make costly mistakes that need fixing.
Pros can also handle multiple steps at once, like mixing grout while tiles dry. Their know-how shows in smooth, steady work that saves time overall.
DIY jobs often take several extra days because of learning and trial and error. First-time installers often need to redo sections or fix alignment problems.
Weekend workers also move at a more relaxed pace and may only have evenings or weekends free. This stretched timeline can turn a simple job into weeks of work.
Step-by-Step Timeline for Bathroom Tiling
Breaking down each step helps you see where time gets spent and how to plan better. From my experience with hundreds of bathroom projects, most steps can overlap when pros handle the work.
Getting Ready and Planning (1 Day)

Measuring your space right and planning tile layouts stops problems later. This step includes figuring out materials, marking reference lines, and getting all the needed tools.
Taking time up front to plan saves hours of frustration during installation. Good prep also helps you spot problems before they become expensive mistakes.
Taking Out Old Tiles (1 to 2 Days, if needed)
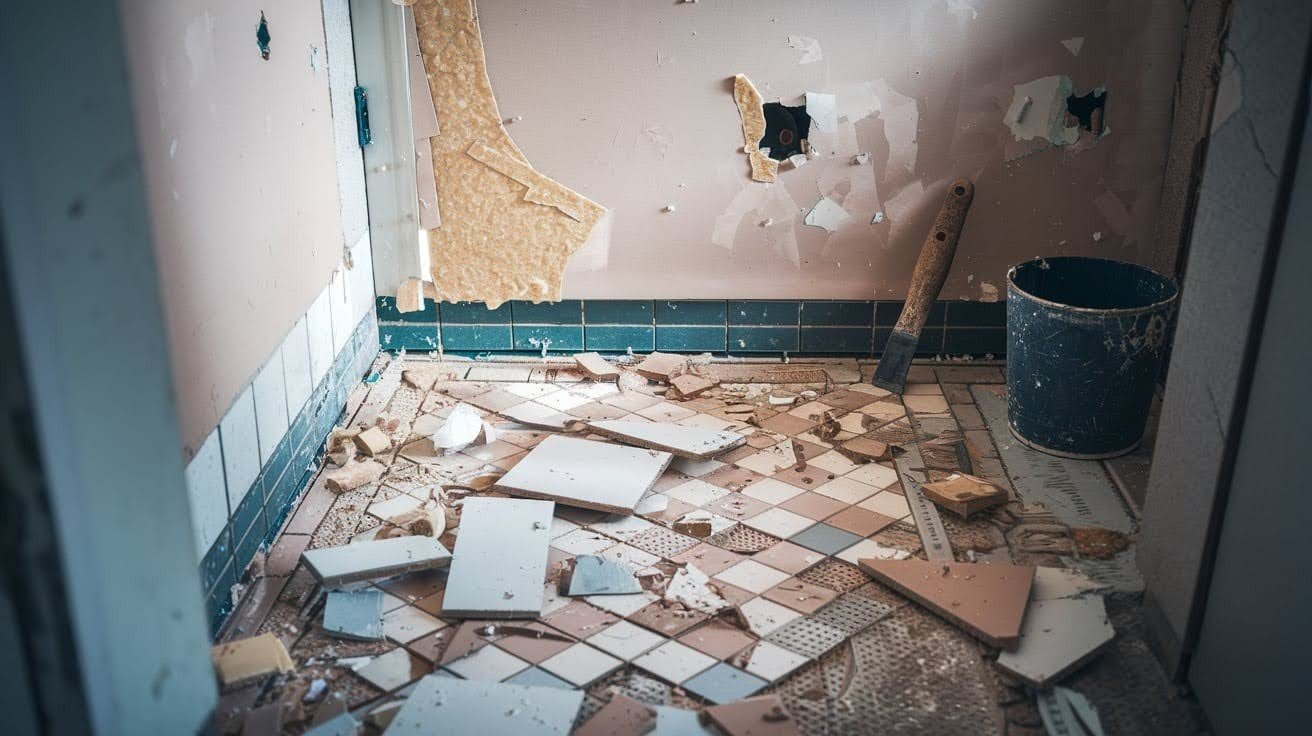
Demo work can take surprisingly long, especially with stubborn glue or multiple tile layers. In my experience, old tiles often come off in small pieces rather than big sections.
Getting rid of debris and thorough surface cleaning adds extra time to this step. You need completely clean surfaces before starting the new installation.
Getting Surfaces Ready and Waterproofing (1 Day)
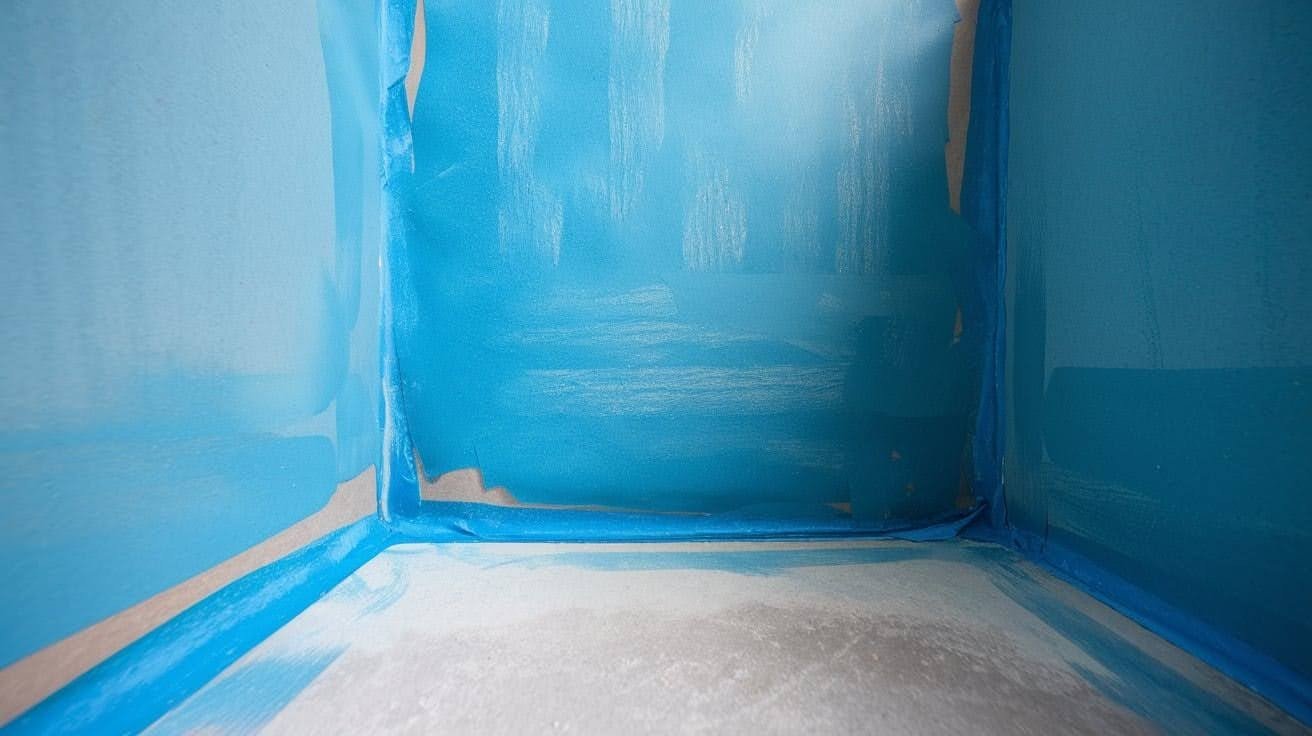
Making walls and floors level takes patience, but stops major headaches later. Uneven surfaces cause tiles to crack or look wavy over time.
Putting on a waterproof membrane requires careful attention to corners and seams. This key step protects your investment but can’t be rushed.
Tile Layout and Test Fitting (Half Day to 1 Day)
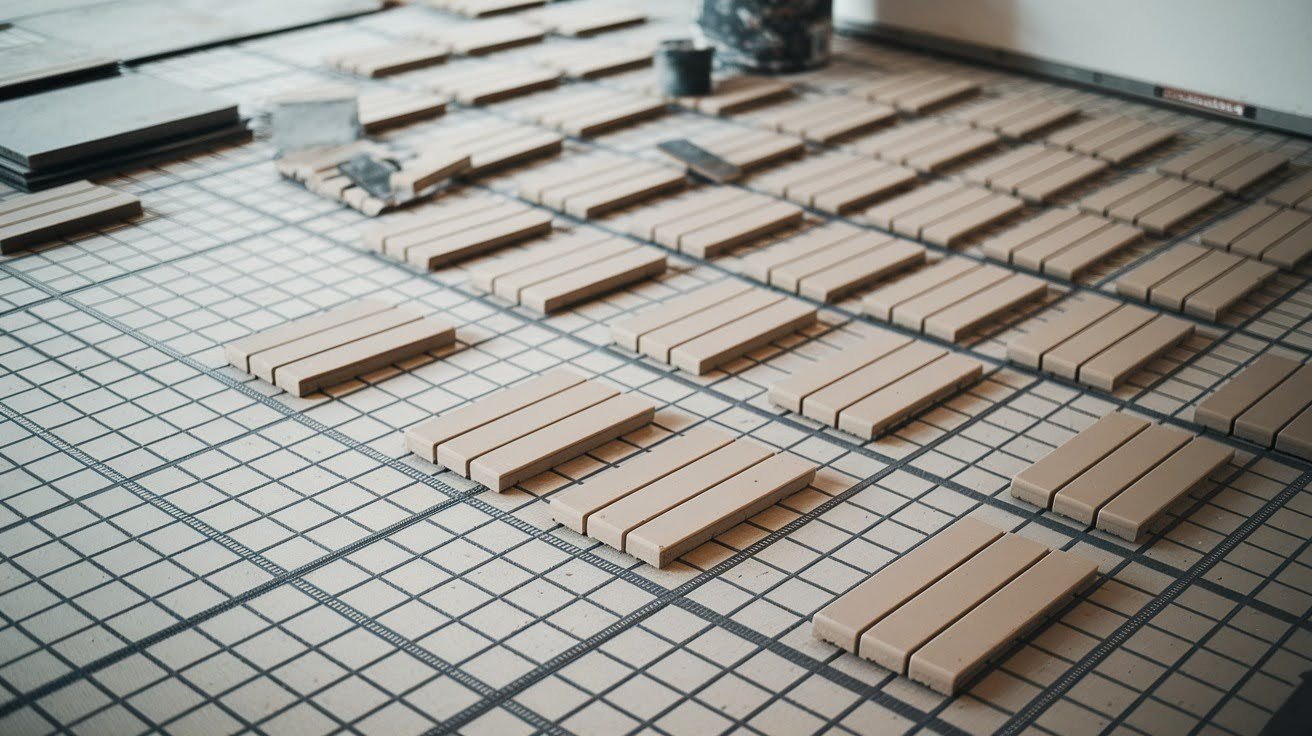
Testing your layout before putting on glue catches spacing and alignment issues early. This trial run helps you find problem areas and plan cuts.
Changing your starting point or tile arrangement during test fitting saves time during real installation. Taking photos of your layout helps keep things steady.
Putting in Tiles (1 to 3 Days)

Actually setting tiles takes the most time in any job. The process involves putting on glue, placing tiles, checking alignment, and making cuts as needed.
Tricky layouts or detailed cutting work can stretch this step to three full days. Working carefully stops mistakes that need expensive repairs later.
Grouting and Finishing (1 Day)
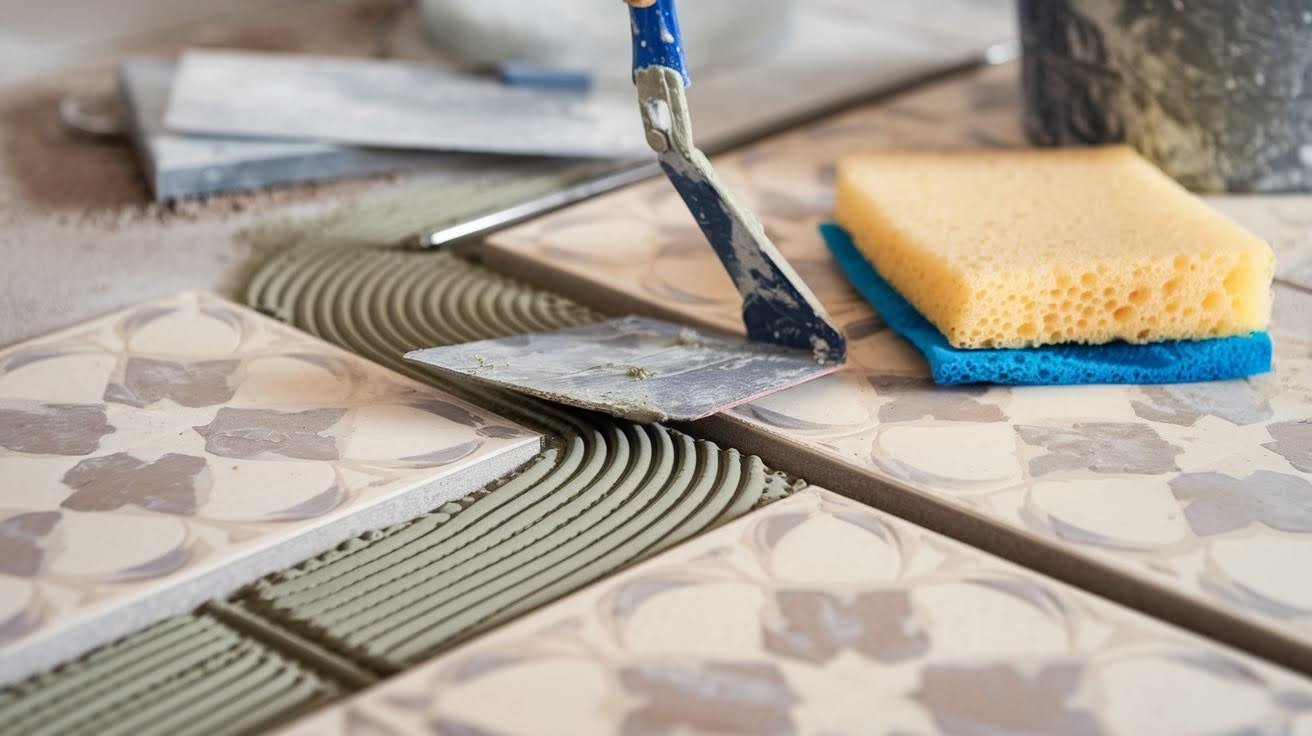
Putting in grout needs working in sections and cleaning extra material quickly. This step can’t be rushed since proper drying affects long-term strength.
Sealing grout lines and final cleaning finish the job. These finishing touches make the difference between amateur and professional-looking results.
Final Touch-Ups (Half Day)
Final inspection often shows small issues that need attention. Replacing a cracked tile or fixing uneven grout lines takes little time but makes the overall result better.
Putting back fixtures like towel bars and toilet paper holders finishes the job. Taking time for these details makes sure everything works right.
DIY vs. Hiring a Pro: Which Saves More Time?
Picking between doing it yourself and hiring help really affects your timeline. After managing both types of projects for years, each approach has clear benefits based on your situation.
DIY jobs cost less money but take more time because of learning curves and a slower work pace. Most homeowners work evenings and weekends, stretching simple jobs over several weeks.
Pro installers finish most bathroom tile jobs much faster with better results. They handle multiple tasks at once and rarely need to redo work because of mistakes.
Your choice should take about bathroom size, tile difficulty, and your skill level. Simple jobs in small spaces work well for DIY, while large or tricky jobs benefit from pro know-how.
Smart Tips to Speed Up Your Bathroom Tiling Job
Several tricks can cut big time from your job while keeping quality results. In my years of renovation work, planning and making smart choices have stopped common delays.
- Pick larger tiles for faster coverage and fewer grout lines to maintain
- Prep surfaces well to avoid delays from poor sticking or uneven tiles
- Hire pros if you need quicker turnaround times or lack skills
- Order extra materials to avoid job delays from running short
- Use proper tools made for tile work rather than making do with household items
These simple changes can save days on typical bathroom jobs. Smart planning up front stops the delays that turn quick jobs into long ordeals.
Cost Considerations Related to Tiling Timelines
Longer timelines usually mean higher labor costs when hiring pros. Most contractors charge by the day or have minimum charges that go up with job length.
Tricky designs and custom patterns need more time and skill, raising overall investment. Hard work commands higher rates because of the skill needed.
Careful planning stops unexpected expenses that blow budgets and stretch timelines. Having a clear plan and proper materials ready keeps jobs on track, money-wise and schedule-wise.
Avoiding Common Bathroom Tiling Mistakes
Many problems that slow down jobs come from rushing through important steps or cutting corners on prep. From fixing dozens of failed tile jobs, learning what mistakes to avoid saves time and money.
- Rushing through surface prep work leads to tiles falling off later
- Using the wrong glue or grout types causes failures that need a complete redo
- Skipping waterproofing steps creates expensive water damage down the road
- Poor layout planning results in awkward cuts and wasted materials
- Not ordering enough materials causes delays waiting for matching tiles
Most bathroom tile problems come from these common mistakes. Taking time to do things right the first time stops costly repairs and delays later.
Conclusion
Based on tracking dozens of real bathroom jobs, 2 to 7 days is the right timeline for most installations. My experience shows small bathrooms (under 50 sq ft) always finish in 1 to 2 days, while large master baths need 5 to 7 days.
DIY jobs typically take 40 to 60% longer than pro work because of learning curves and part-time schedules. But careful prep and realistic planning help both approaches succeed.
The most successful jobs share common traits: thorough surface prep, proper material calculations, and matching difficulty to skill level. These things matter more than rushing through steps.
Your bathroom tile job will succeed with honest timeline expectations and proper prep. Take time up front to plan right, and you’ll avoid the expensive mistakes that turn simple weekend jobs into month-long ordeals.
Frequently Asked Questions
Can You Tile Over Existing Bathroom Tiles?
Yes, you can tile over existing tiles, but only if they’re firmly attached and the surface is level. This approach can save 1 to 2 days compared to full removal, but you’ll need to clean thoroughly and use a bonding primer.
How Long Should You Wait Before Using A Shower After Tiling?
Wait at least 24 hours after grouting before using your shower, though 48 to 72 hours is better for full curing. Using the shower too early can cause grout to crack or fail over time.
What Type Of Tile Is Best For Bathroom Floors?
Porcelain tiles work best for bathroom floors because they resist water and are easy to clean. Ceramic tiles also work well and cost less, but avoid natural stone unless you want regular sealing and maintenance.
Do You Need To Seal Bathroom Tiles And Grout?
Most ceramic and porcelain tiles don’t need sealing, but grout lines always do to prevent water damage. Apply grout sealer 48 hours after installation, then reapply every 1 to 2 years.
What Tools Do You Need For DIY Bathroom Tiling?
You’ll need basic tools like a tile cutter, notched trowel, level, spacers, and rubber float for grouting. I recommend renting a wet saw for cutting and getting safety gear like knee pads and safety glasses.