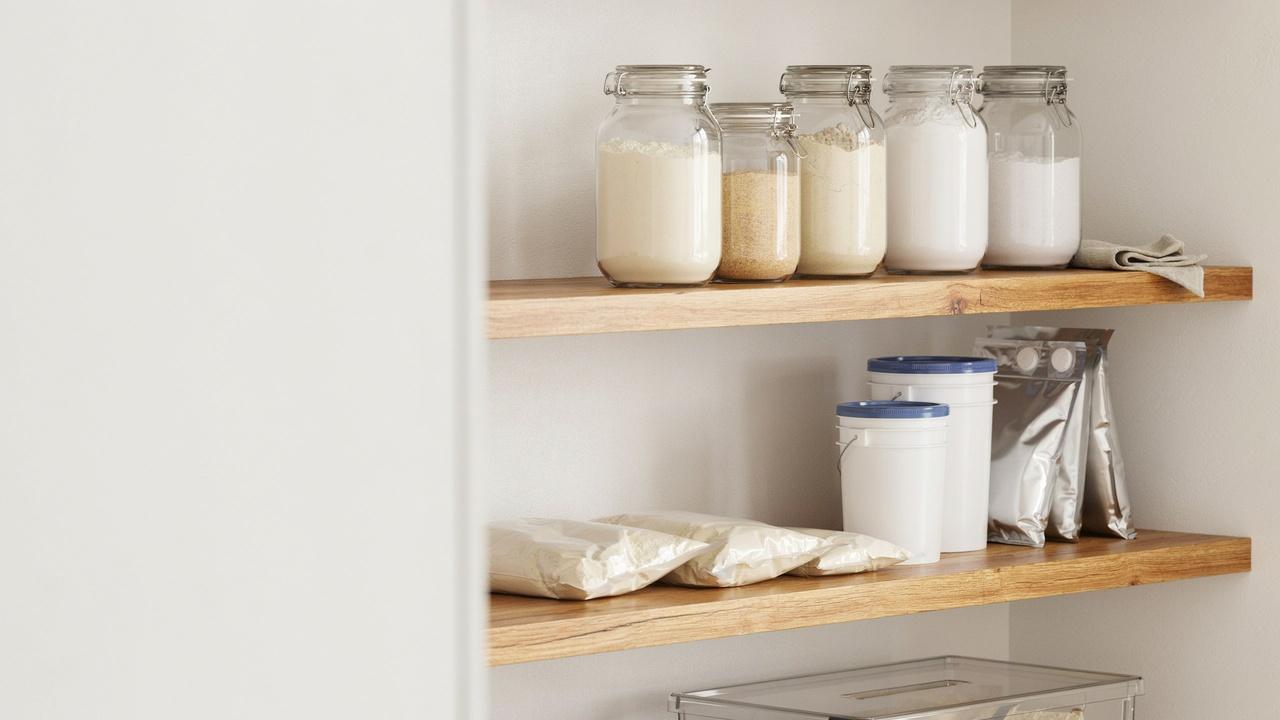
Flour goes bad faster than most people think. If you have ever opened a bag and noticed a strange smell or tiny bugs, you know how frustrating that can be.
Knowing how to store flour long term can save you money, reduce waste, and keep your pantry ready at all times.
This guide covers everything you need to know, from choosing the right containers to freezing methods, shelf life by flour type, and bulk storage for emergencies.
I have spent years testing different storage methods in my own kitchen, and I will share what actually works so you can keep your flour fresh longer.
How to Store Flour Long Term
Flour does not last forever without proper care, but the right steps can keep it fresh for months or even years.
Start by choosing white flours like all-purpose or bread flour, as they last longer than whole grain or nut-based flours.
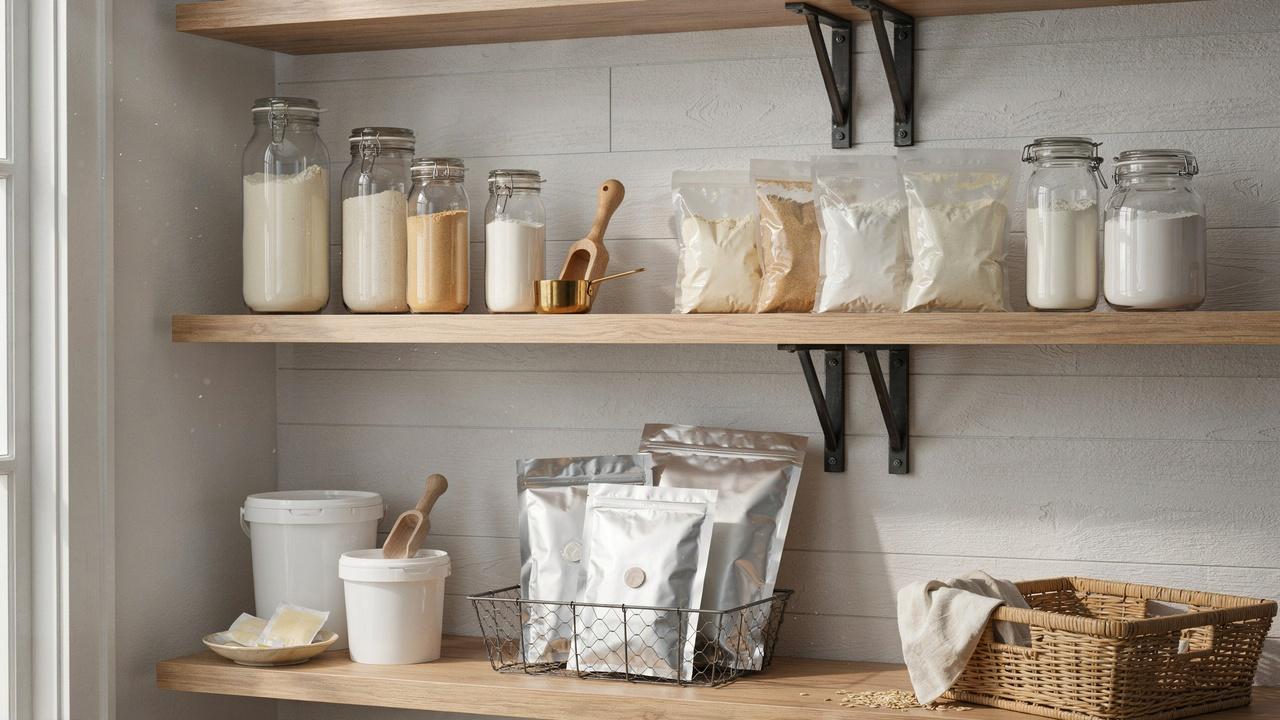
Before storing, freeze flour for 48 hours to kill any insect eggs. Once it reaches room temperature, transfer it to an airtight food-grade container such as a glass jar, plastic bucket, or Mylar bag.
Add oxygen absorbers for storage beyond one year. Always label containers with the flour type and date, and store everything in a cool, dark, dry place away from heat and humidity.
How Long Does Flour Last? Shelf Life by Flour Type
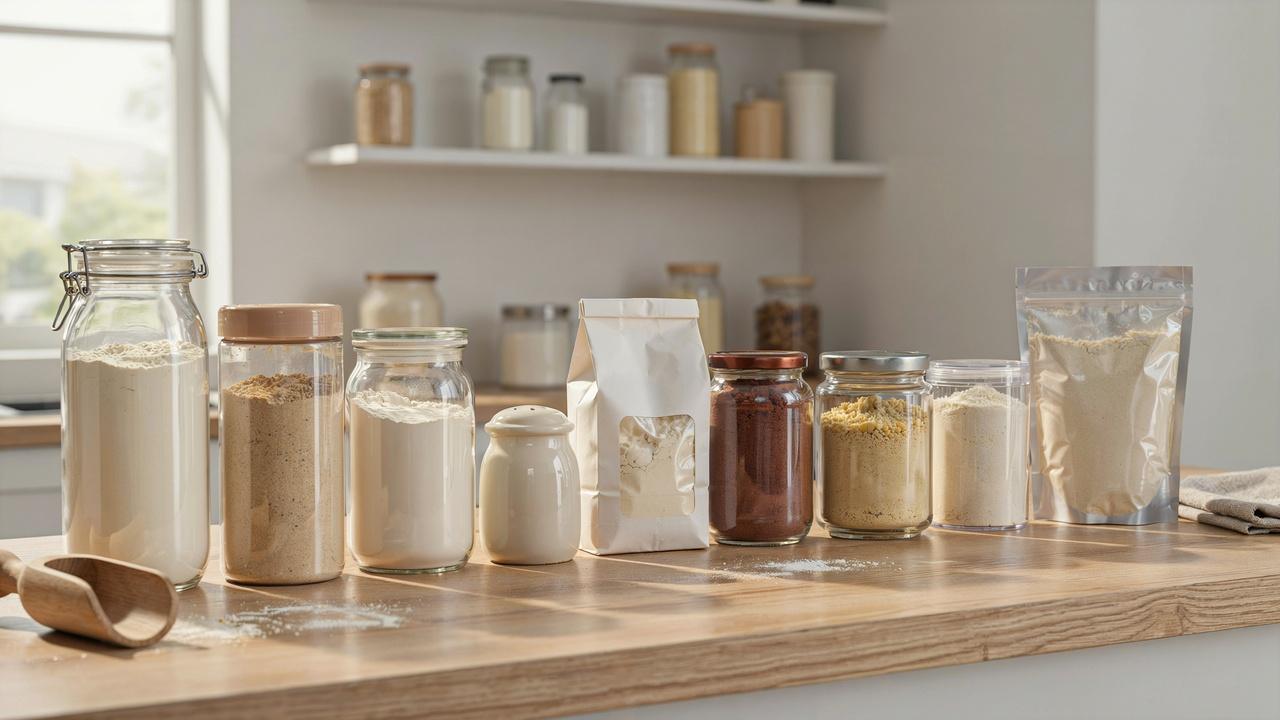
Shelf life varies widely depending on the type of flour and how it is stored. Here is a breakdown of what to expect.
All-Purpose Flour
All-purpose flour has one of the longest shelf lives of any flour. In its original sealed bag, it lasts 6 to 12 months at room temperature.
When transferred to an airtight container and stored properly, it can last 1 to 2 years. With oxygen absorbers in a cool location, some sources report shelf lives of up to 5 years or more.
Bread Flour
Bread flour behaves similarly to all-purpose flour because it is also made from refined white wheat.
Expect a shelf life of 1 to 2 years in proper storage conditions.
The higher protein content does not significantly affect how long it stays fresh.
Whole Wheat Flour
Whole wheat flour contains the bran and germ, both of which are high in oils. At room temperature, it lasts only 1 to 3 months before the oils start to go rancid.
In the refrigerator, it can last up to 6 months. In the freezer, whole wheat flour can last up to 1 year.
Self-Rising Flour
Self-rising flour has a shorter shelf life than regular all-purpose flour because it contains baking powder.
The baking powder loses its leavening power over time, even if the flour itself has not spoiled. Expect a shelf life of about 6 to 12 months.
After that, baked goods may not rise properly even if the flour smells fine.
Gluten-Free and Nut Flours
Almond flour, coconut flour, oat flour, and other alternative flours tend to have short shelf lives.
Almond flour lasts about 2 to 4 months at room temperature but up to a year in the freezer.
Coconut flour lasts a bit longer, around 12 to 18 months in proper storage. Always check the fat content of specialty flours before buying in bulk.
Flour Shelf Life Comparison Table
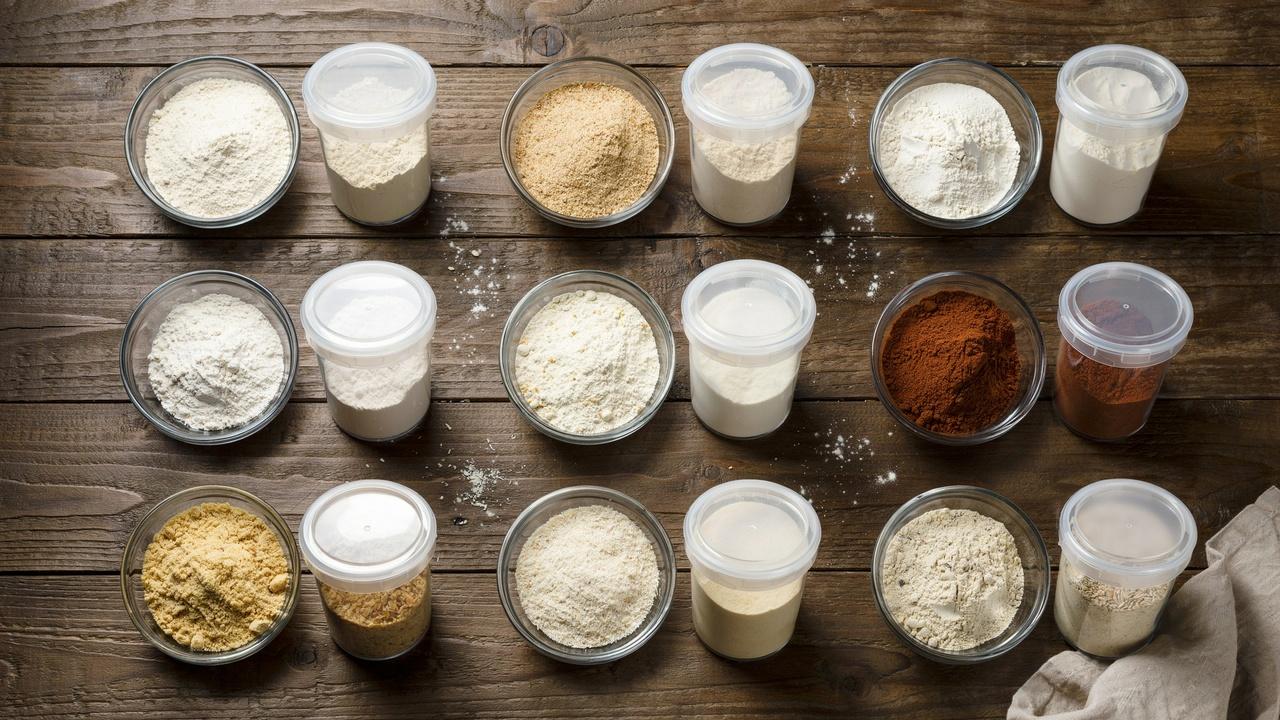
Here is a quick look at how long each flour type lasts depending on where and how you store it.
| Flour Type | Room Temperature | Refrigerator | Freezer |
| All-Purpose Flour | 1 to 2 years | 2 years | Up to 5 years |
| Bread Flour | 1 to 2 years | 2 years | Up to 5 years |
| Whole Wheat Flour | 1 to 3 months | 6 months | 1 year |
| Self-Rising Flour | 6 to 12 months | 1 year | 1 to 2 years |
| Almond Flour | 2 to 4 months | 6 months | 1 year |
| Coconut Flour | 12 to 18 months | 18 months | 2 years |
Best Containers for Long-Term Flour Storage
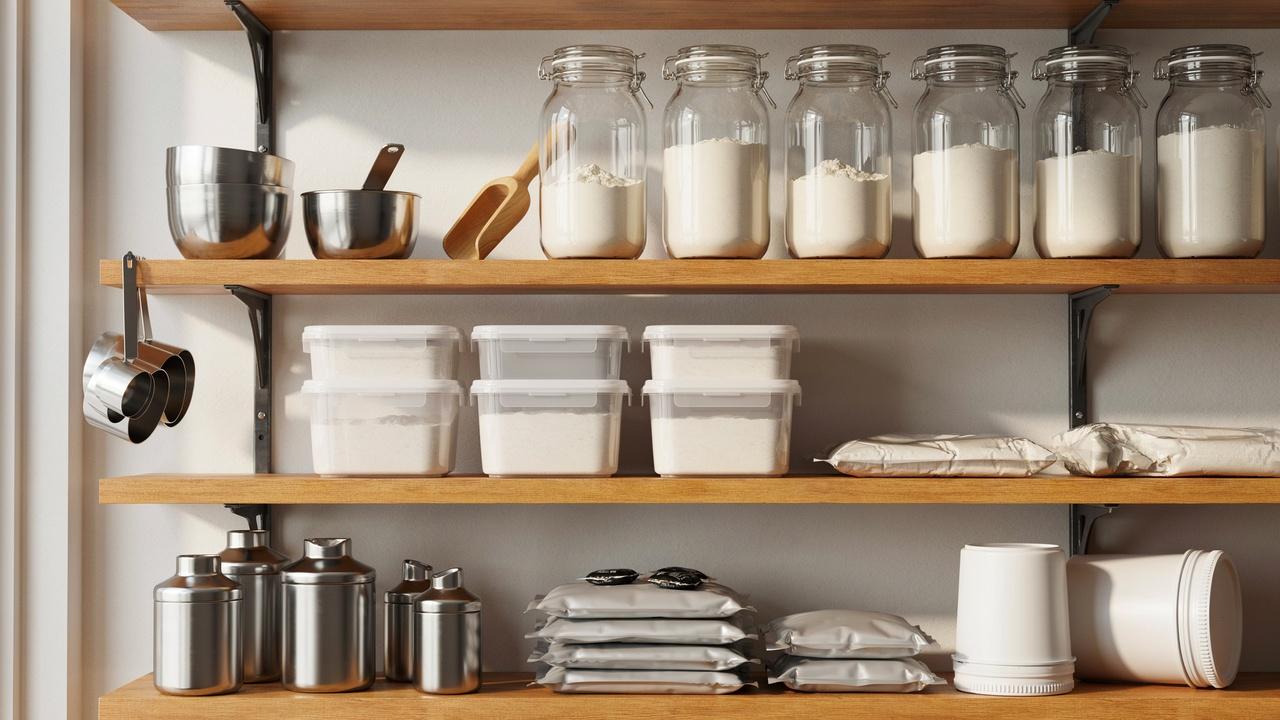
The container you choose makes a big difference in how long your flour stays fresh. Here are the best options available.
Food-Grade Plastic Buckets
Five-gallon food-grade plastic buckets are a popular choice for bulk flour storage. They are durable, stackable, and hold a large amount of flour.
Make sure the bucket is labeled food-grade and has a gasket lid that creates an airtight seal.
Gamma lids are a great option because they screw on and off easily while maintaining a tight seal.
A five-gallon bucket holds about 25 pounds of flour. Line it with a Mylar bag for even better protection before sealing.
Mylar Bags with Oxygen Absorbers
Mylar bags are made from a metallic polyester film that blocks light, moisture, and air very effectively.
When combined with oxygen absorbers and heat-sealed, they offer one of the best long-term storage solutions available. Mylar bags are especially popular for emergency food storage.
To use them, place the flour-filled Mylar bag inside a food-grade bucket for added structure and pest protection. Seal the bag with a flat iron or hair straightener along the top edge.
Glass Mason Jars
Glass mason jars work well for smaller quantities of flour. They do not absorb odors, they are easy to clean, and you can see exactly how much flour you have left.
The downside is that glass is heavy and breakable.
For best results, store sealed mason jars in a dark cabinet or box to protect flour from light.
You can also use a vacuum sealer with a jar attachment to remove oxygen from the jar before sealing.
Vacuum-Sealed Bags
Vacuum-sealed bags remove air from around the flour, which slows oxidation and keeps flour fresh longer.
They work best for medium-term storage and are a good option if you bake regularly but want to keep flour fresh between uses.
Keep in mind that flour is fine and powdery, so it can clog some vacuum sealers. Use bags designed for powdery foods or pre-freeze the flour slightly to make it denser before sealing.
Airtight Pantry Containers
Airtight plastic or stainless steel canisters are great for everyday flour storage. They keep flour fresh for months and are easy to access when you bake often.
Look for containers with rubber-sealed lids for the best protection.
These containers work best for flour you plan to use within a few months rather than flour you are storing for years.
Which Storage Container Is Best for You?
The right container depends on how much flour you are storing and for how long. For everyday baking, an airtight pantry canister works fine.
For medium-term storage of 1 to 2 years, food-grade buckets or mason jars are a solid choice.
For long-term emergency storage of 3 to 5 years or more, go with Mylar bags and oxygen absorbers inside food-grade buckets.
Pantry vs Refrigerator vs Freezer: Which Storage Method Is Best?
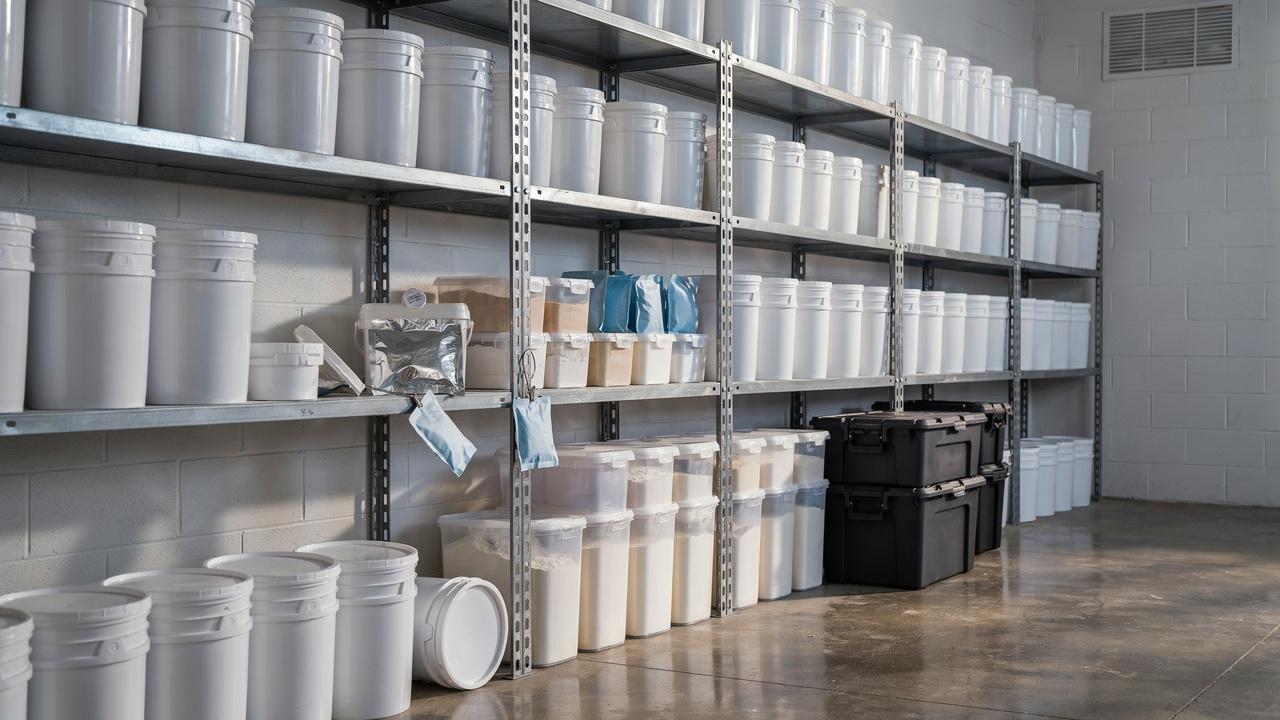
Each method works differently depending on how often you bake and how long you want your flour to last.
| Storage Method | Best For | Shelf Life | Key Benefit | Main Risk |
| Pantry | Flour used regularly | Up to 2 years | Most convenient, no temperature changes needed | Heat, humidity, and pests |
| Refrigerator | Whole grain and specialty flours | Up to 1 to 2 years | Slows oxidation and rancidity | Moisture and odor absorption |
| Freezer | All flour types, especially high-fat flours | 1 to 5 years | Longest shelf life of all three methods | Condensation if opened too soon |
Signs Your Flour Has Gone Bad
Knowing when flour has gone bad can save you from ruining a batch of baked goods or getting sick.
- Fresh flour smells mild and neutral. If it smells sour, musty, or sharp like paint, it has gone rancid and should be thrown out.
- Check the color and texture. Fresh flour is white or cream with a smooth feel. Gray patches, hard lumps, or clumps that will not break apart mean moisture got in.
- Look for tiny brown bugs or fine webbing in the flour. These are signs of weevils or pantry moth larvae. Discard the entire batch if you spot even a few.
- Best-by dates on flour packaging are not strict safety deadlines. Do a quick smell and visual check before using flour that is past its date.
- Throw flour away if it smells off, looks discolored, has visible mold, contains bugs, or has hard clumps that will not break up. When in doubt, replace it.
How to Store Flour in Bulk for Emergency Preparedness
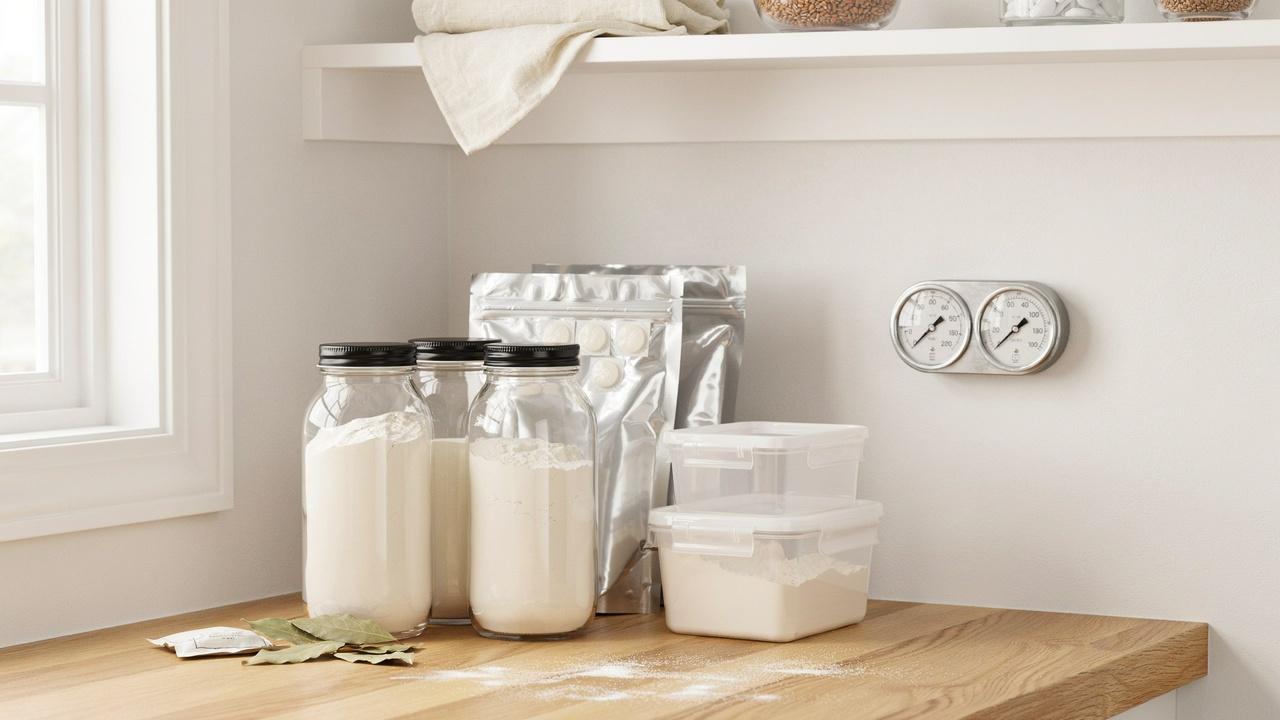
Buying and storing flour in bulk is a smart move for homesteaders, large families, or anyone who wants to be prepared for emergencies.
Storing 10 to 25 Pounds of Flour
For quantities in this range, food-grade plastic buckets with gamma lids are a practical choice. A standard five-gallon bucket holds around 25 pounds of flour comfortably.
Line the bucket with a Mylar bag and add oxygen absorbers before sealing for the best results.
Store buckets in a basement or cool interior closet where temperatures stay stable. Label each bucket clearly with the flour type and storage date.
Storing 50 Pounds or More
At this scale, organization becomes very important. Use multiple five-gallon buckets rather than one giant container so you are not exposing all your flour to air every time you open one.
Keep buckets stacked in a dedicated storage area that stays cool and dry.
Consider rotating stock by placing the newest buckets at the back and pulling from the oldest ones first.
At 50 pounds or more, even a short lapse in rotation can mean wasting a significant amount of flour.
Best Bulk Storage Setup for Homesteaders
Homesteaders often deal with large amounts of flour year-round. A combination of Mylar bags, food-grade buckets, and a dedicated cool storage room works well.
Some homesteaders also store flour in a root cellar, which naturally maintains low, stable temperatures.
Keep a simple inventory list of what you have stored, when it was packed, and when it should be rotated. A basic spreadsheet or handwritten log works perfectly for this.
How Often Should You Rotate Stored Flour?
For all-purpose and white flours stored properly, rotate every 1 to 2 years. For whole grain flours, rotate every 6 to 12 months.
Even if the flour still looks fine, using older stock regularly and replacing it keeps your supply fresh and prevents waste.
Common Flour Storage Mistakes to Avoid
Even small mistakes in storage can shorten the life of your flour significantly.
- Leaving flour in the original paper bag after opening is one of the biggest mistakes people make. Paper bags are not airtight and do not protect against moisture or pests. Transfer flour to a proper container as soon as you open the bag.
- Using the wrong storage container also causes problems. Not all plastic containers create a proper seal. Avoid thin plastic containers with snap lids that do not seal tightly. Look for containers with rubber gaskets or screw-top lids.
- Storing flour near heat or humidity shortens its shelf life quickly. Avoid placing flour next to the stove, oven, or refrigerator motor, all of which generate heat. Also avoid storing flour in areas that get humid, such as under the sink.
- Mixing fresh flour with old flour makes it difficult to track how long your supply has been stored. Always use up older flour before adding new flour to the same container.
- Forgetting to label storage dates is a simple mistake with real consequences. Without a date, you cannot tell how old your flour is or when it should be rotated. Always write the date on the container before storing.
How to Keep Flour Fresh and Bug-Free
Grain weevils and pantry moths are the most common flour pests, often arriving in store-bought bags before you even get home.
Freeze flour for 48 hours before storing to kill any eggs, and place a bay leaf inside each container as an extra deterrent.
Always use a tight-fitting lid to keep moisture out, and add a food-safe desiccant packet in humid climates.
Rancidity is another risk, caused by fats breaking down over time. Oxygen absorbers remove almost all air from the container and slow this process significantly.
After taking flour out of the freezer, let it reach room temperature before opening.
Expert Tips for Long-Term Flour Storage
These tips go beyond the basics and come from real experience managing flour in different storage situations.
- Only buy flour in amounts you can use before it spoils, store it in multiple smaller containers to limit air exposure, and keep a simple inventory log to track dates and quantities.
- Bread flour kept in the freezer works just as well for sourdough and stays fresh much longer. Keep a two to four week supply in a countertop container and replenish from a larger sealed container as needed.
- For emergency storage, keep all-purpose white flour in Mylar bags with oxygen absorbers in a cool basement where it can last up to five years or more.
- Label every container with the flour type, date, and quantity so you can find what you need quickly and rotate stock without confusion.
- Use clear containers, group all flour together in one pantry zone, and store whole grain and specialty flours in a dedicated section of the fridge or freezer for easy access and better organization.
Conclusion
Knowing how to store flour long term is one of the most practical skills you can build in your kitchen.
With the right containers, proper freezing techniques, and a cool storage location, your flour can stay fresh for months or even years.
Start with one change today, whether that is sealing your flour in an airtight container or freezing it before storage.
Small steps add up to a much better-stocked pantry.
If this guide helped you, share it with someone who bakes, leave a comment below with your storage setup, or check out our other articles on pantry organization and food storage.