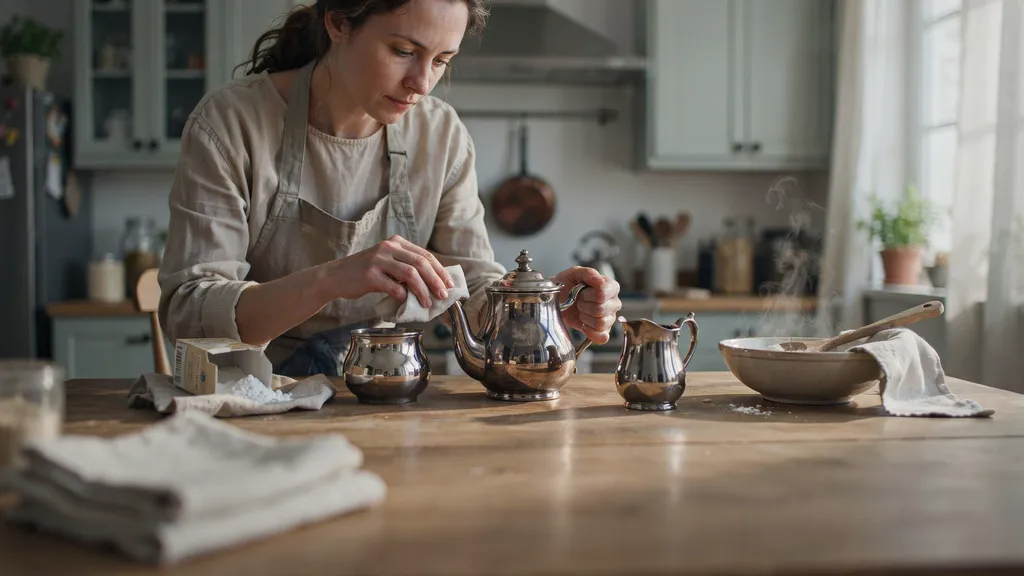
My grandmother's silver tea set sat in a box for years. Tarnished black. I almost gave up on it.
Then I learned how to polish silver the right way, and it changed everything.
If your silver looks dull or spotted, you are not alone. This happens to almost every piece over time. The good news? You don't need fancy tools or a big budget to fix it.
In this guide, I will show you simple, tested methods to clean silver at home.
From baking soda paste to foil tricks, I will walk you through each step. You will also learn which silver pieces need special care, and how to avoid common mistakes.
By the end, your silver will shine like new.
Why Silver Tarnishes and When It Needs Polishing
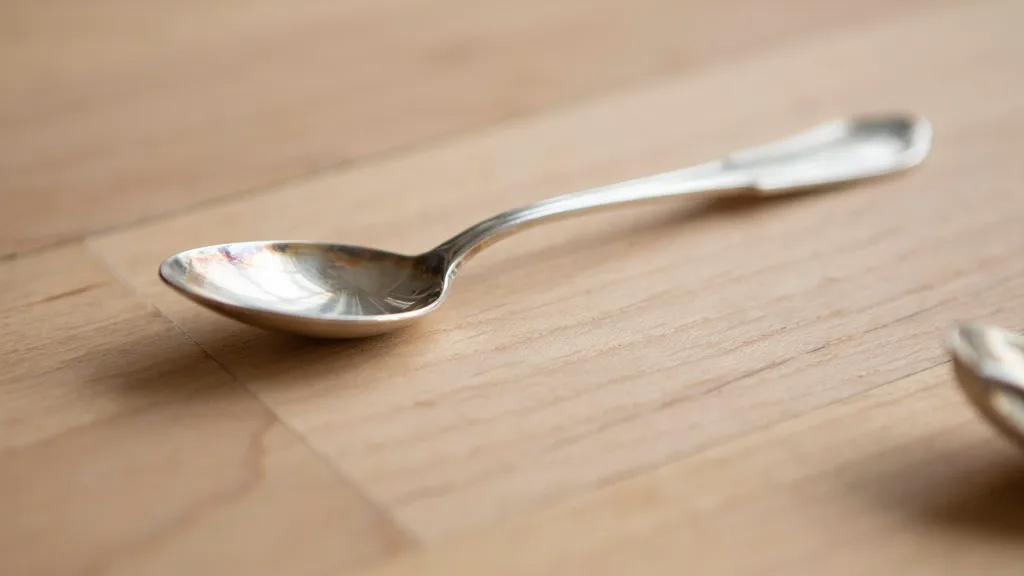
Silver tarnishes because it reacts with sulfur in the air. This creates a dark layer on top of the metal. You will notice it as a yellow tint at first.
Over time, it turns brown, then black. Humidity, perfume, and even some foods speed this up.
So how do you know it's time to polish? Look for a dull surface, dark spots, or a cloudy look that won't wipe off with a dry cloth.
Cleaning just removes dirt and dust. Polishing goes deeper. It removes the tarnish layer and restores the shine underneath.
Materials You'll Need to Polish Silver

You probably have most of these items in your kitchen already.
- Baking soda
- Aluminum foil
- Mild dish soap
- Microfiber or soft polishing cloth
- Warm or hot water
- Commercial silver polish (optional)
How to Polish Silver with Baking Soda Paste
This simple paste method works great for trays, bowls, and other larger silver pieces.
Step 1: Mix Baking Soda and Water to Make a Thick Paste
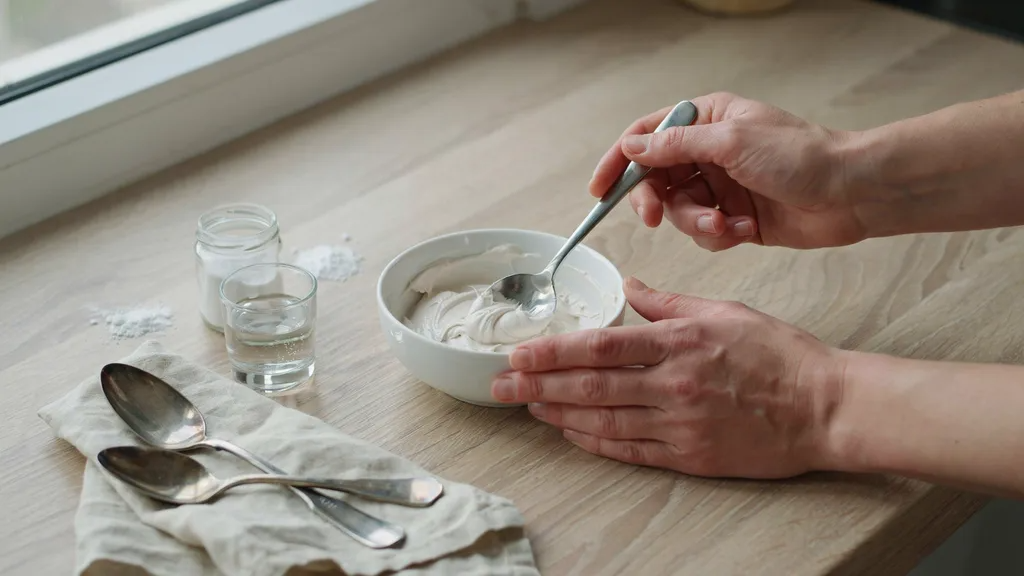
Start with a small bowl. Add baking soda, then pour in water a little at a time. Stir as you go. You want a thick mix, close to toothpaste in texture, not runny at all.
A thick paste sticks to the silver better and stays where you put it. If it feels too watery, just add more baking soda until it firms up.
Step 2: Apply the Paste Evenly to the Silver
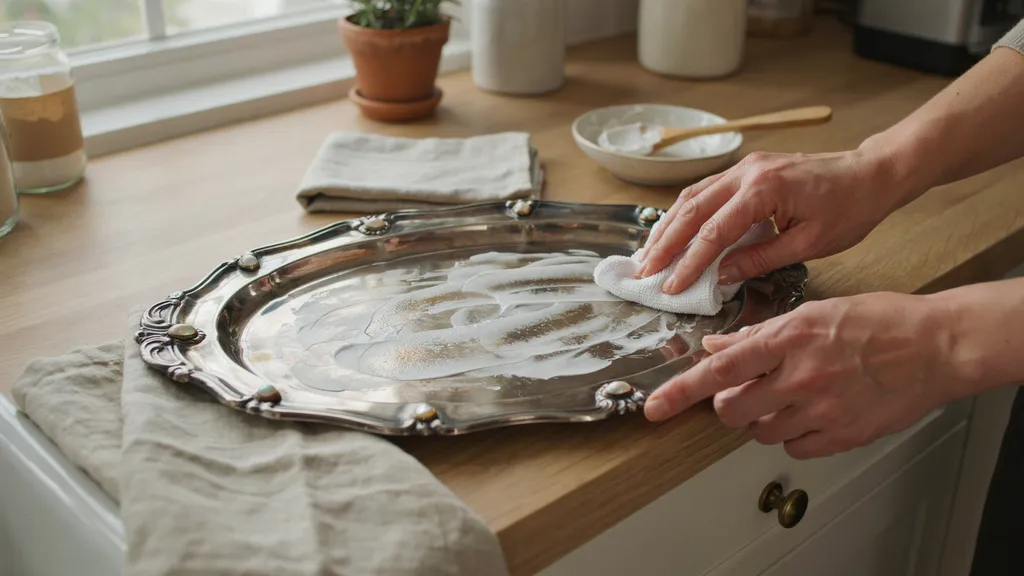
Use your fingers or a soft cloth to spread the paste over every part that looks tarnished. Take your time here.
An even layer means the baking soda can work on all the dark spots at once, not just a few. If your piece has gemstones or other delicate bits, gently skip over those areas to keep them safe.
Step 3: Let the Paste Sit for a Few Minutes
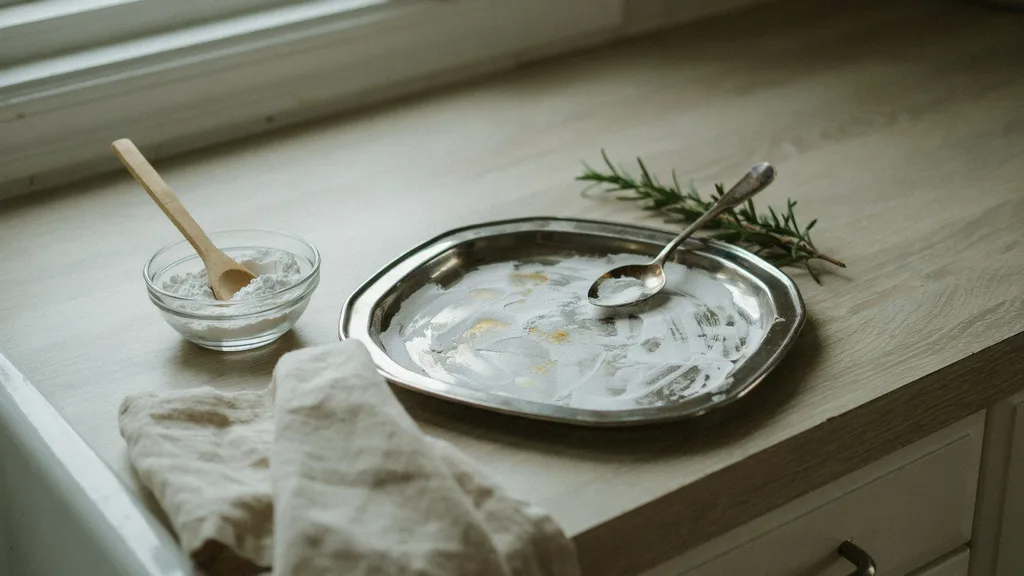
Once the paste is on, leave it alone for two to three minutes. This gives the baking soda time to loosen the tarnish underneath.
You might notice the paste turning slightly gray or yellow as it sits. That's a good sign. It means the tarnish is already starting to lift off the surface.
Step 4: Gently Rub Away the Tarnish

Grab a soft cloth and rub the paste in small, gentle circles. There's no need to press hard at all. Light pressure does the job just fine and protects the silver from scratches.
As you rub, you should start to see the shine peek through right away. Rinse your cloth now and then to keep it working well.
Step 5: Rinse Thoroughly with Clean Water

Hold the silver under warm running water and rinse off all the paste. Check the grooves, edges, and any detailed patterns closely, since paste can hide there.
Leftover residue can dry into a chalky film if you skip this step. Take a little extra time on pieces with engravings to make sure nothing is left behind.
Step 6: Dry and Buff with a Soft Cloth for a Brilliant Shine
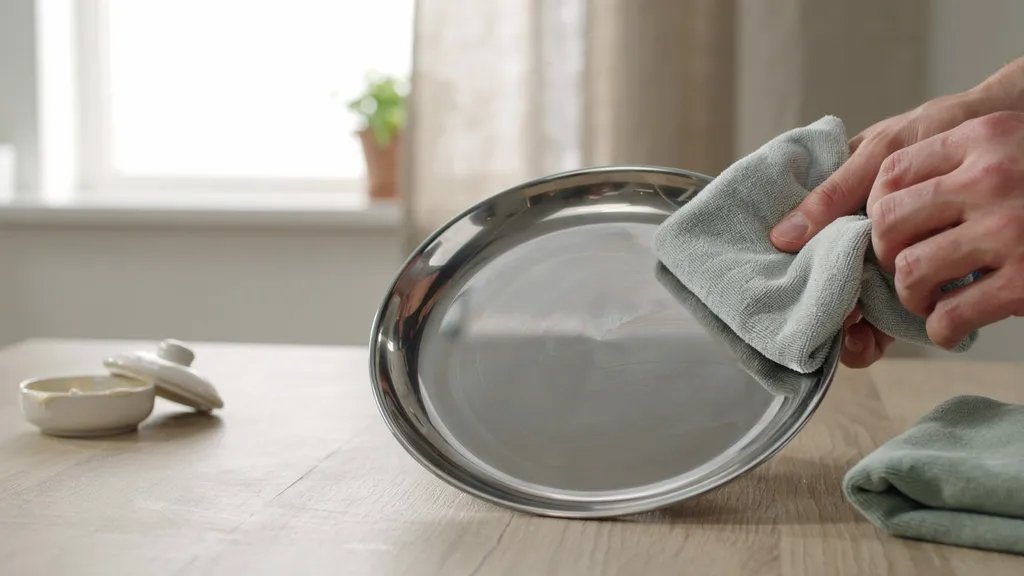
Dry your silver right away with a clean towel to stop water spots from forming. Then take a soft, dry cloth and buff the whole piece in gentle strokes.
This last step is where the real shine shows up. You will notice a clear difference between how it looked before and how it looks now.
How to Polish Different Types of Silver
Different silver pieces need different care, so the method you pick really matters.
Sterling Silver Jewelry
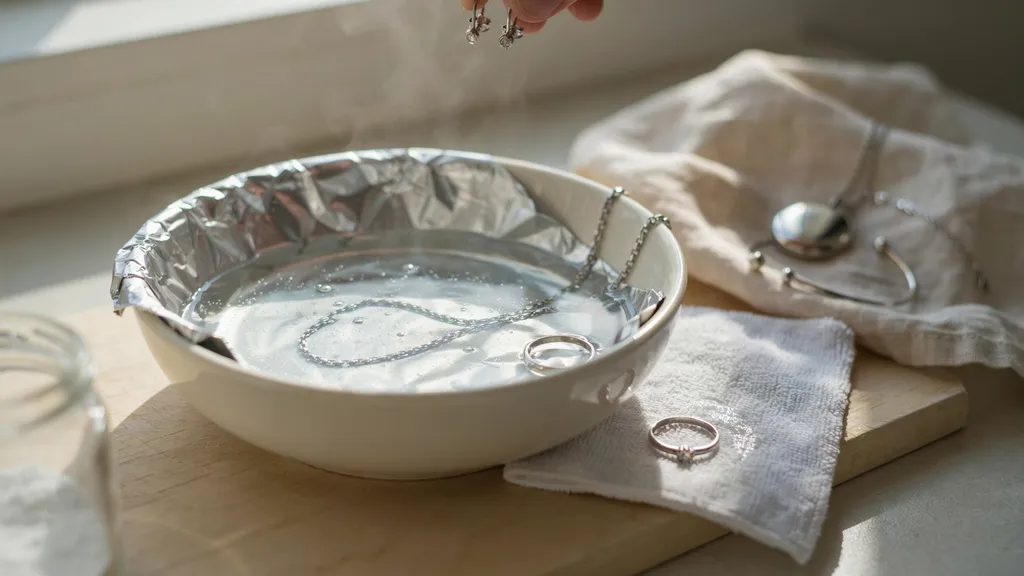
Sterling silver jewelry needs a gentle touch, especially around stones and tiny details. The foil and baking soda soak works fast and skips heavy rubbing, which is safer for thin bands or chains.
Skip the soak if your piece has pearls or soft gemstones, since water and heat can harm them. Finish with a soft cloth buff to bring back the shine quickly and safely.
Silver-Plated Items

Silver-plated pieces only have a thin layer of silver on top of another metal. Scrub too hard, and you risk wearing that layer down to the metal underneath.
Stick to a light baking soda paste or a mild commercial polish instead. Avoid the foil soak method here, since the chemical reaction can be too strong for such a thin coating to handle.
Silverware and Decorative Pieces
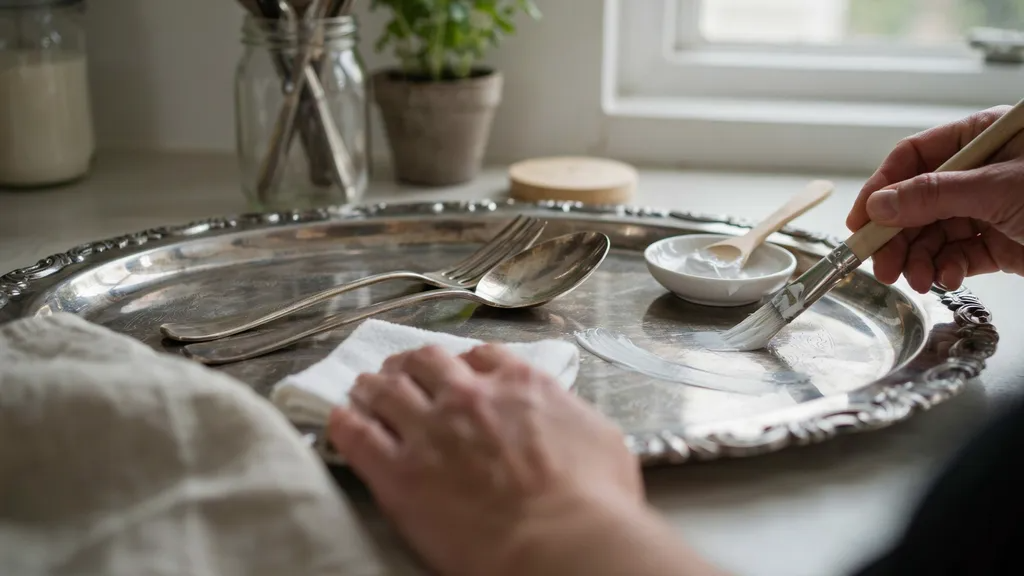
Silverware and bigger decorative pieces can take the baking soda paste method well. Their flat, open surfaces make rubbing and buffing simple and quick.
For spoons or trays with deep engravings, use a soft brush to reach into the small grooves before you rinse. This keeps every detail clean without scratching the surface or rushing the job.
DIY vs. Commercial Silver Polish: Comparison Table
Here's a quick look at which method fits your needs best.
| Method | Best For | Cost | Effort | Removes Heavy Tarnish |
| Baking Soda Paste | Large silver items | Low | Low | Yes |
| Baking Soda + Aluminum Foil | Jewelry & silverware | Low | Very Low | Yes |
| Commercial Silver Polish | Antique and premium silver | Medium | Moderate | Excellent |
Tips to Keep Silver Shiny Longer
- Store silver in a dry, airtight place to keep air and moisture away from it.
- Use anti-tarnish cloth or storage bags when you put pieces away for a while.
- Wipe off fingerprints right after use, since oils from your skin speed up tarnish.
- Polish silver before heavy tarnish sets in, not after it gets bad.
- Keep silver away from humidity and sulfur sources, like near the stove or in a damp closet.
Conclusion
I still remember the moment my grandmother's tea set went from dull and gray to bright and clear again.
It felt like getting a piece of her back. You can get that same feeling with your own silver. Pick a method from this guide, grab what you have at home, and give it a try this weekend.
Once you see that first shine come through, you will want to keep at it. Drop a comment and tell me how how to polish silver worked for you.
Frequently Asked Questions
How often should I polish my silver?
Polish silver every three to six months, or sooner if you notice tarnish forming.
Can I use toothpaste to polish silver?
No, toothpaste is too abrasive and can scratch the surface over time.
Is the baking soda and foil method safe for all silver?
It's safe for solid silver but not recommended for plated items or pieces with gemstones.
Why does my silver tarnish so fast?
Humidity, perfume, and sulfur in the air all speed up the tarnishing process.
Can I polish antique silver the same way as new silver?
No, antique silver needs gentler care to keep its original detail and finish.